- Account notifications deal mainly with setting up users and information for your account as a whole. You will see this at the top of the page within your global settings.

Quick Links
Account Manager
- The account manager tab will have all of the information about the property management company. The first one is "Account Info". This will hold the following:
- Company Name- the default name used for the property management company.
- Address- default address used for the property management company.
- Email- the default email used for the property management company.
- Phone- the default phone used for the property management company.

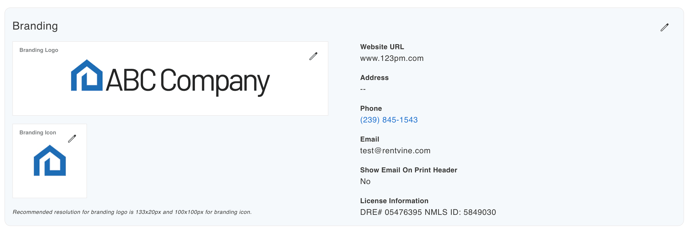
- The next thing will be the "Branding" section. This will be the info that is pulled on reports and owner statements within the system. This contains the following fields:
- Website URL- URL of the website for your property management company.
- Address- this is displayed on owner statements and hot fields that pull branding information.
- Phone- this is displayed on owner statements and hot fields that pull branding information.
- Email- this is displayed on owner statements and hot fields that pull branding information.
- Show Email on Print Header- This is where you can choose whether you would like to display the email listed above on headers within the system. This also relates to what shows on the owner statement header.
- License Info- this is displayed on owner statements and hot fields that pull branding information.
- Logo- here you can add an image of your company logo that will be added to important items like the owner statement.
- The next box will be the "Payment Information". This will be the payment information for your company and will be how you designate your payouts. This includes:
- Check- whenever you pay yourself out, a check will be generated that you can print out.
- Other- does not send the funds, but records them being paid out. (i.e., if you pay yourself out with a manual bank transfer and need to show that paid).
- eCheck- will send an eCheck to be processed through Forte when you pay yourself out.
- NACHA- will generate a NACHA file for you to download and send to your bank when you pay yourself out.
- Default Other Payment Type- only applicable if you have the payment type set to other. This option will default to a certain type, like bank transfer, cash, CC/debit card, etc.
- Max Line Items per Check- This will be where you can set the max number of line items on a check if the check payout type is selected.

- Follow this you will see the "Tax Information" box. This will house important information regarding 1099 reporting for your company. This includes:
- Payee Name- this will be the name you would like to show on the 1099.
- Tax ID- This will be the tax ID for your company.
- Form Type- here you can select "1099" to make sure one is generated for your company.

The last box will be "QuickBooks Information". Here you can turn on the QuickBooks export and enter your company name. For more information on enabling this export, you can click here.

Users, Roles, & API
Users
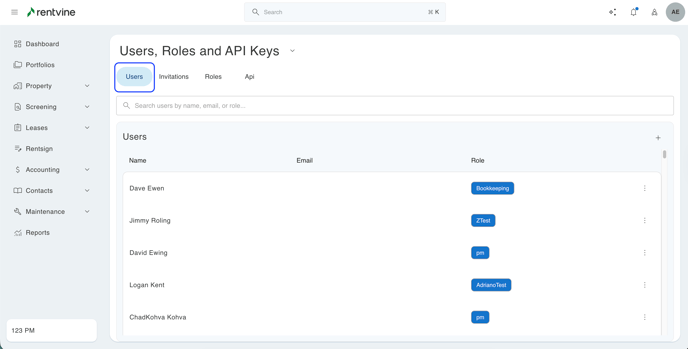
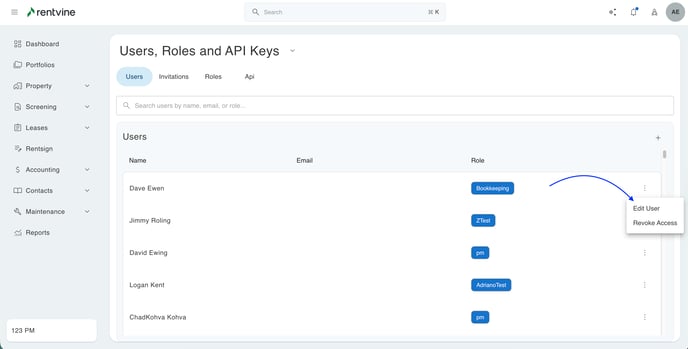
- The first tab here will be Users. You can control all of the users who have access to the administrative side of your account. This will also be where you set the role for different users in the system.
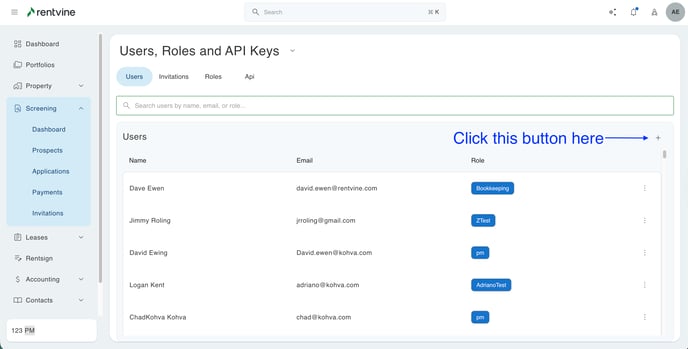
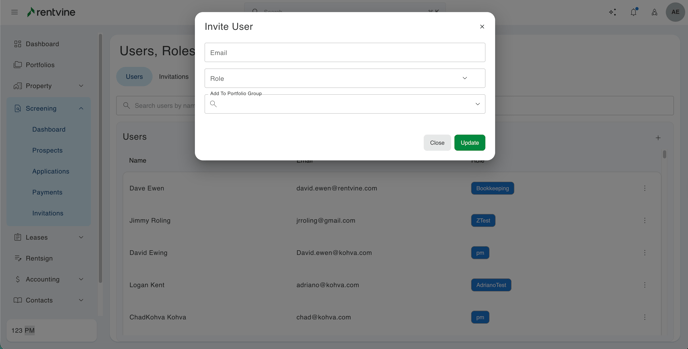
- To invite a user, you can click the blue "Invite User" button. This will pull up a side tab where you can enter the email address of the person you are trying to invite, and you can select the role for their login.
- After a user is created and their role is set, you can still make changes. To do this, you can click the ellipses next to the user. In here, you can either change the role or revoke access from the user.
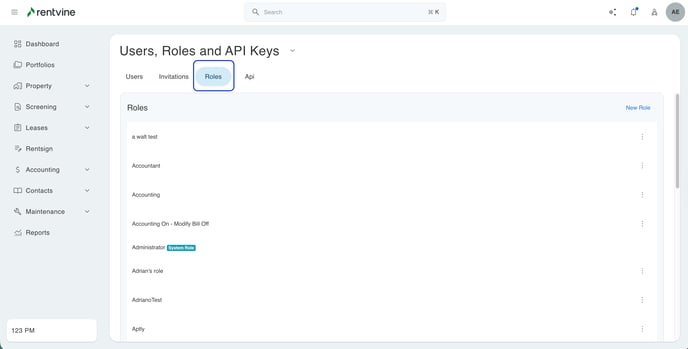
Roles
- The next tab you will see on this page is Roles. Here you will be able to create new roles and set the permissions for your users in the system.
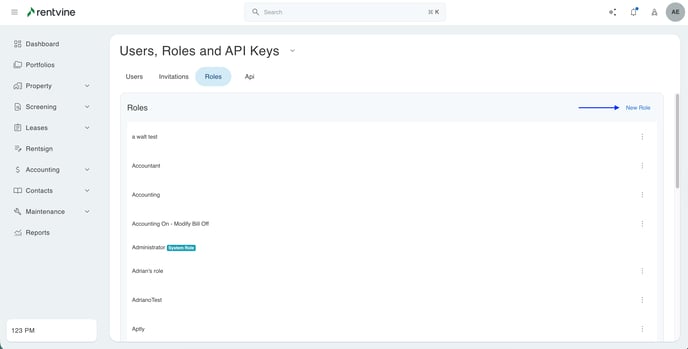
- To create a role for your users, you can click the "New Role" button in the top right of this box.
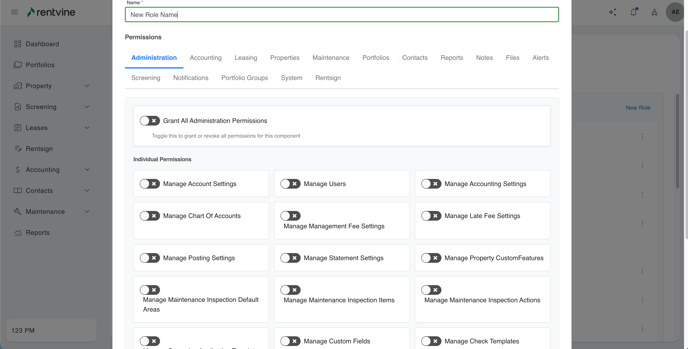
- From this page, you can enter the name of the role, and you can turn on the toggles for the different permissions of this role. For an in-depth overview of all the role settings, you can click here.
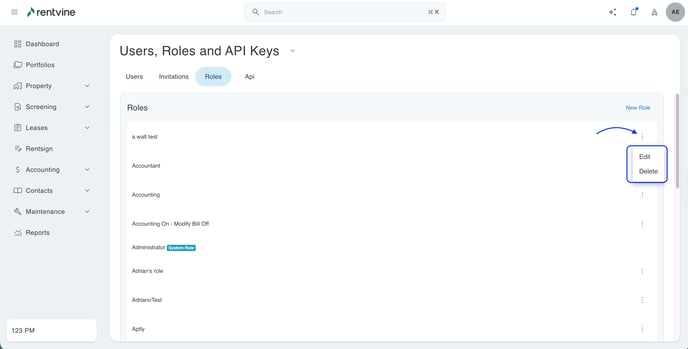
- You can also click the ellipses next to any of the role settings you have. This will give you the ability to edit the settings or delete the role entirely.
API
- The last setting in here is going to be the API. Here you can create a new API key that can be sent to third-party vendors in order for them to access information in your system.
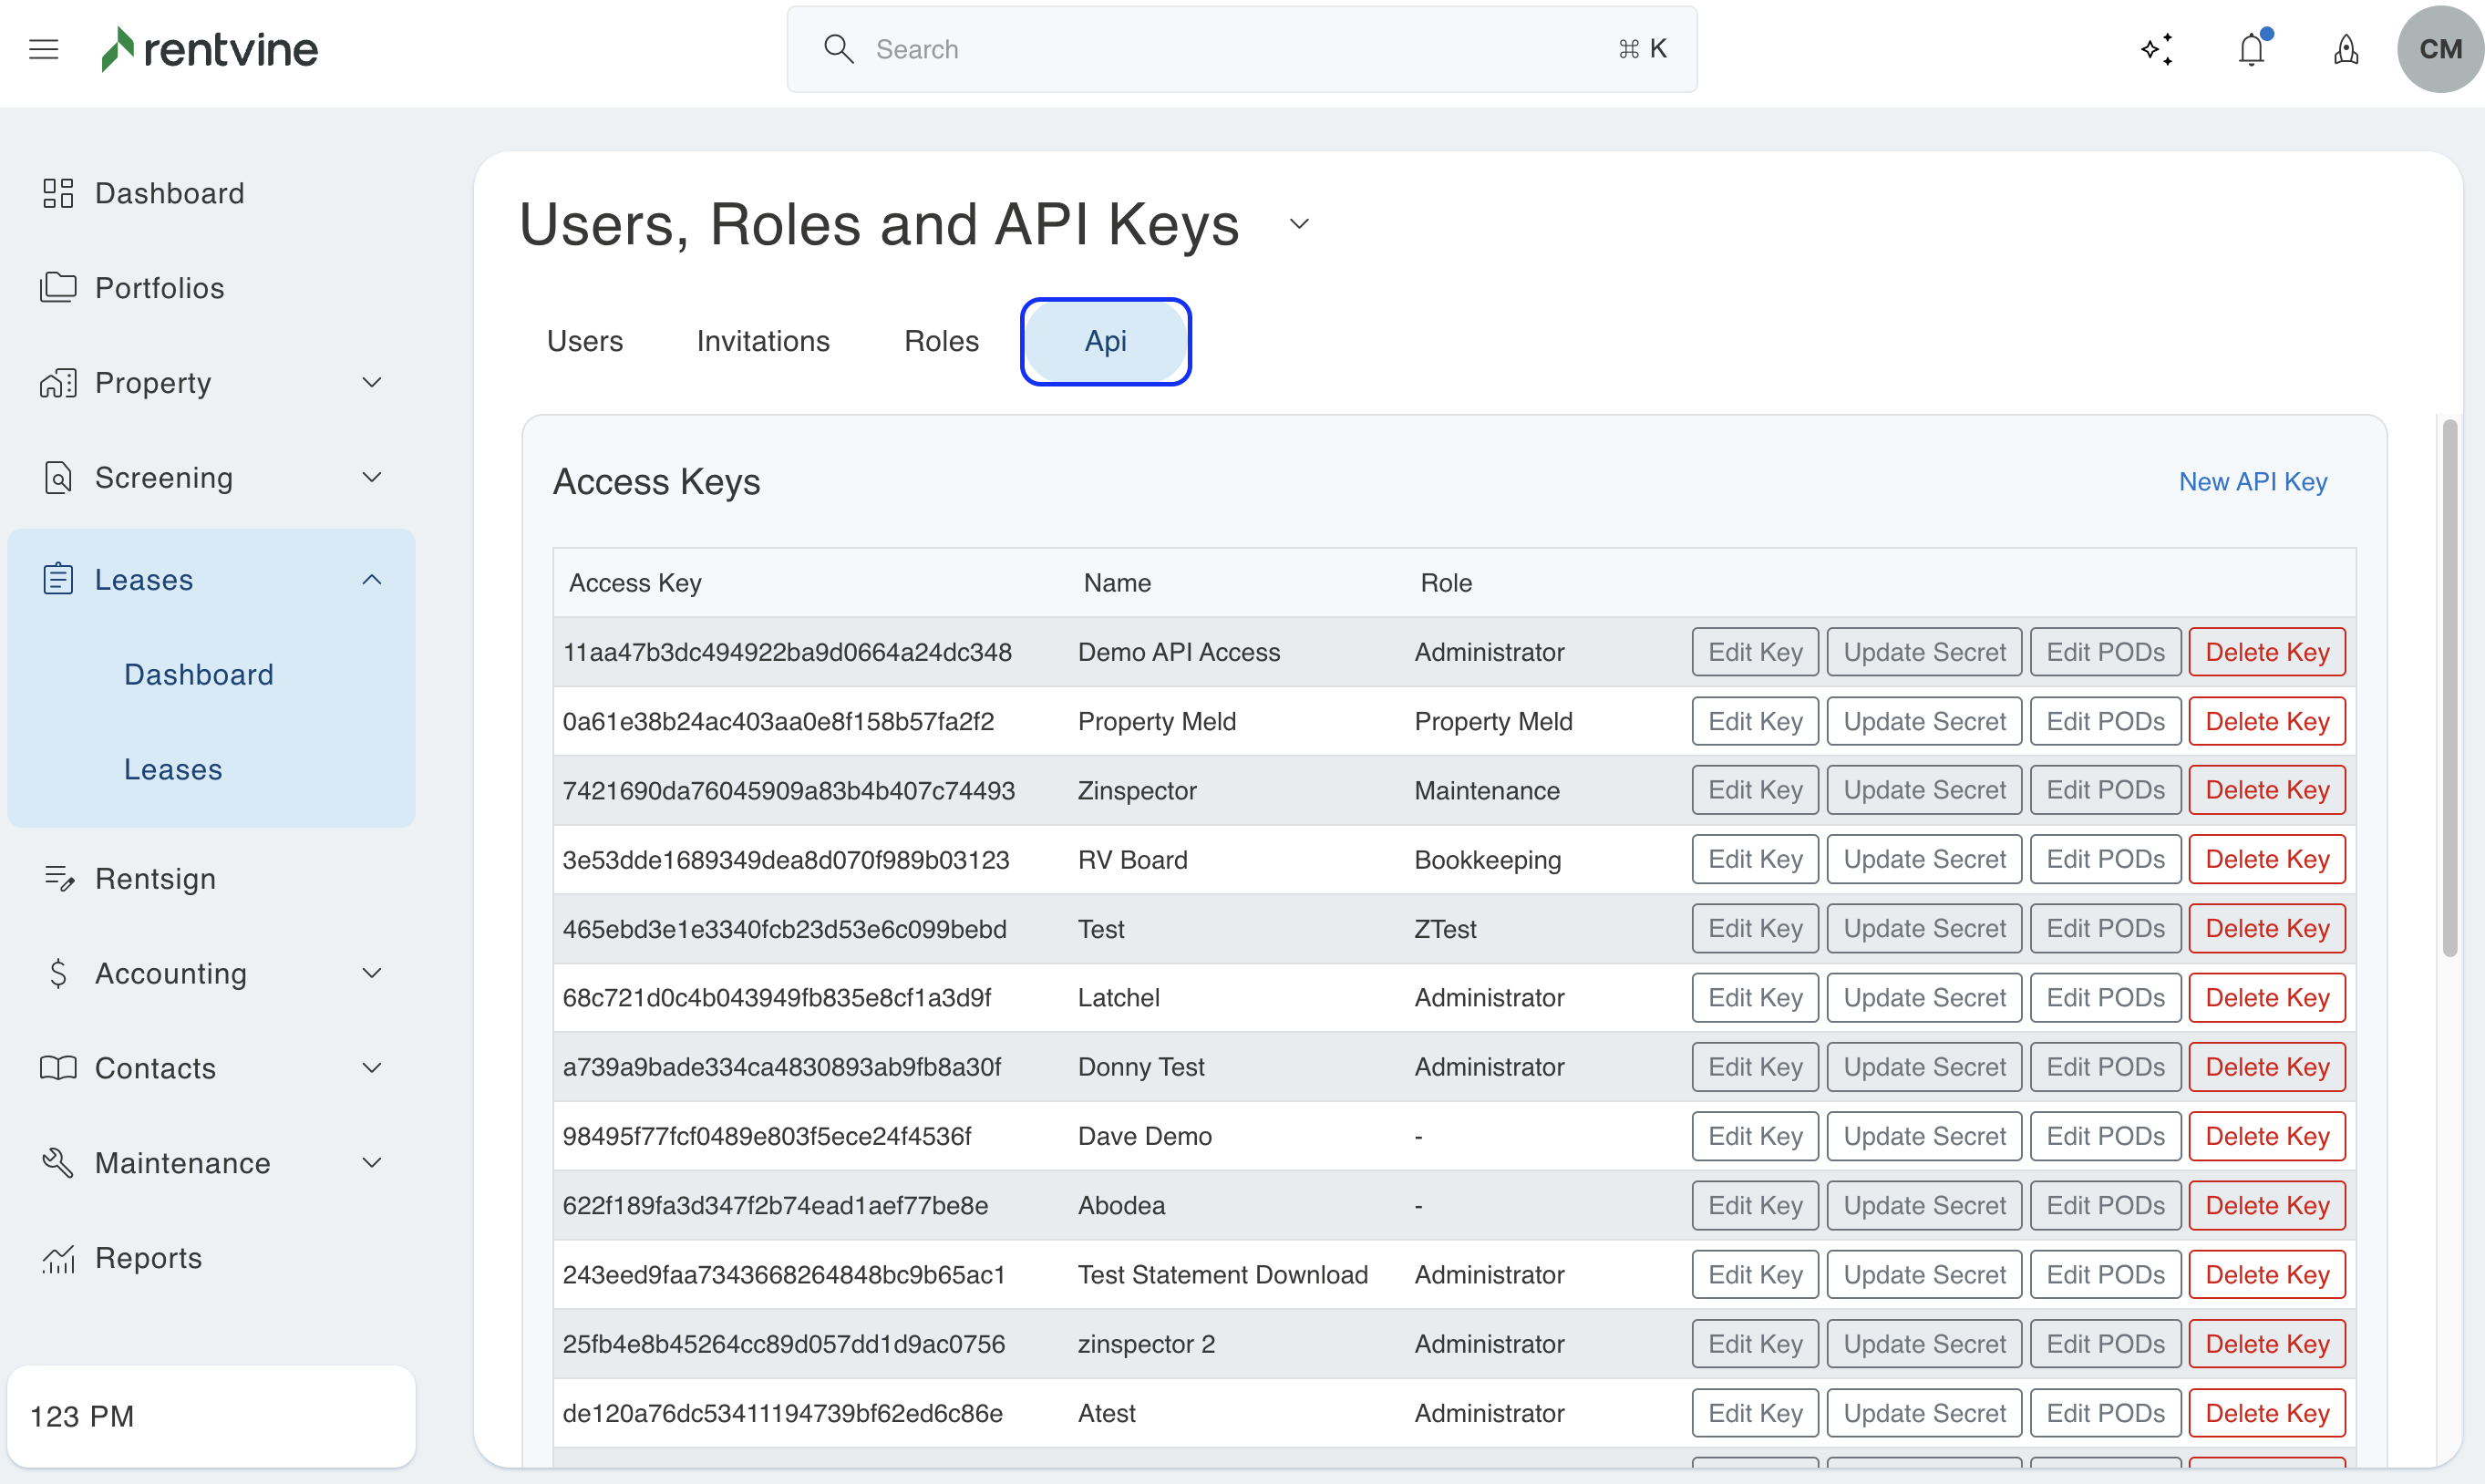
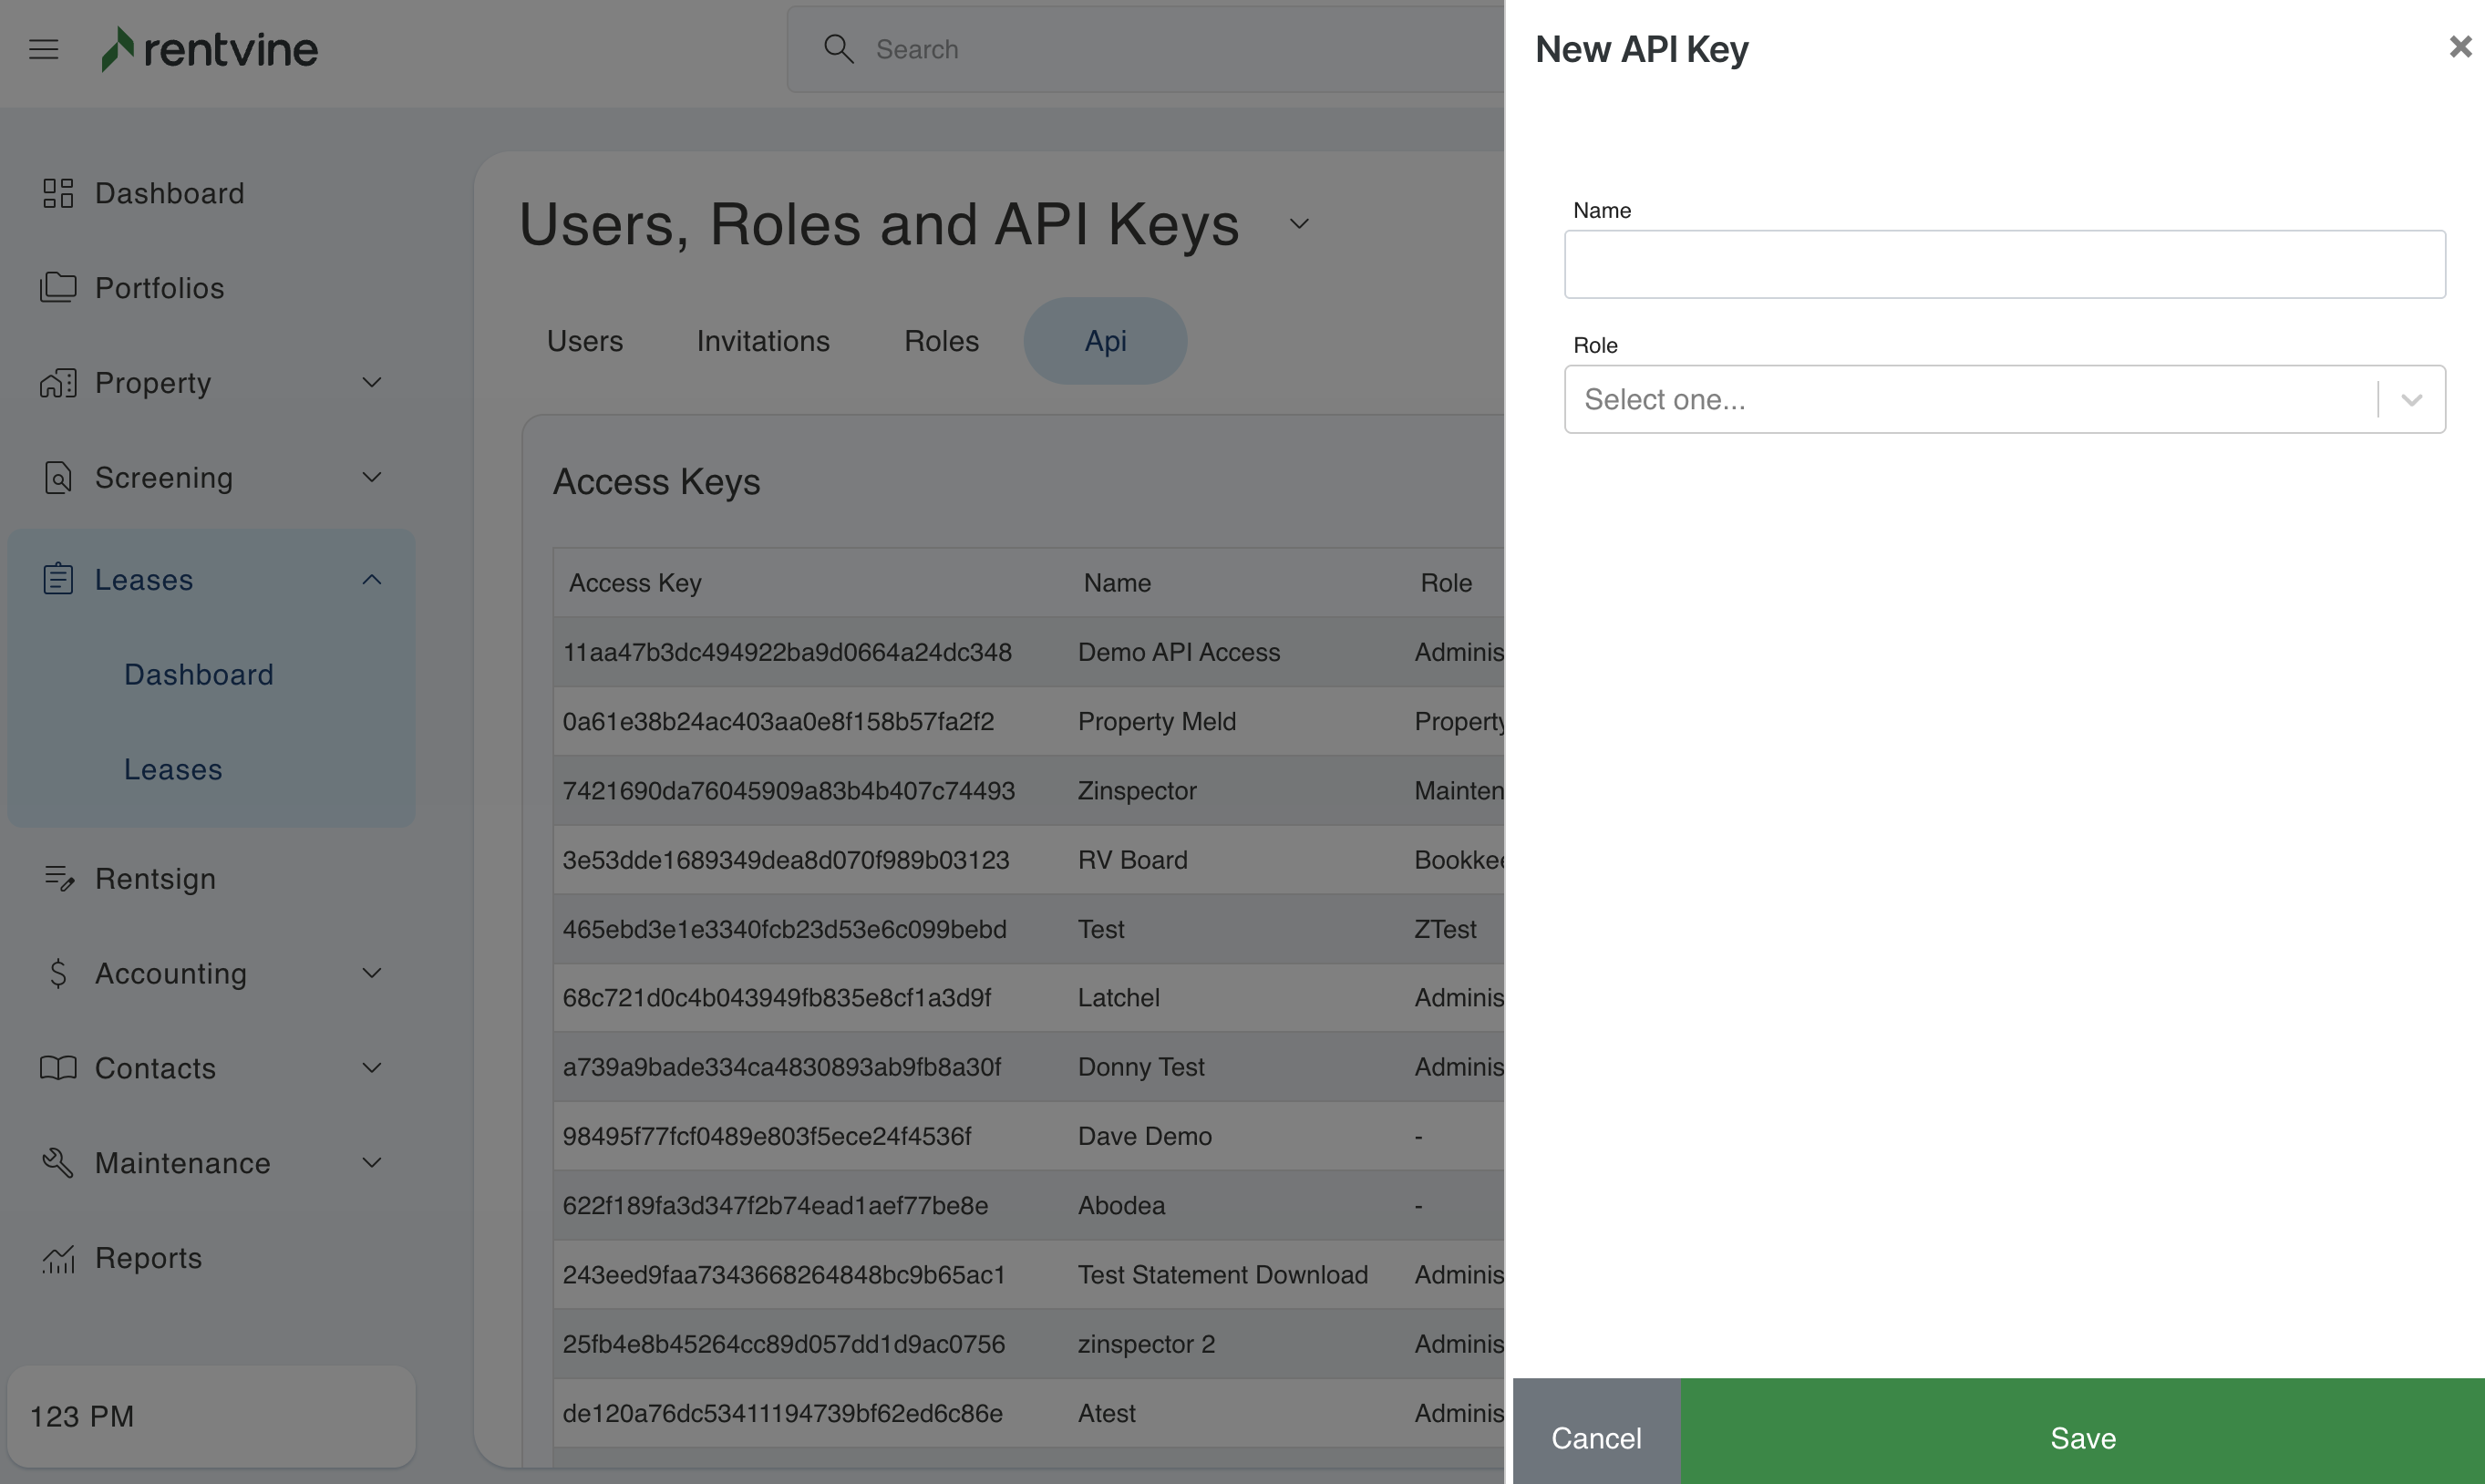
- To create an API key, you can click the "New API Key" button in the top right of this tab.

- Here you will enter the name of the API key and then select a role from your list of roles for what this key will allow them access to.
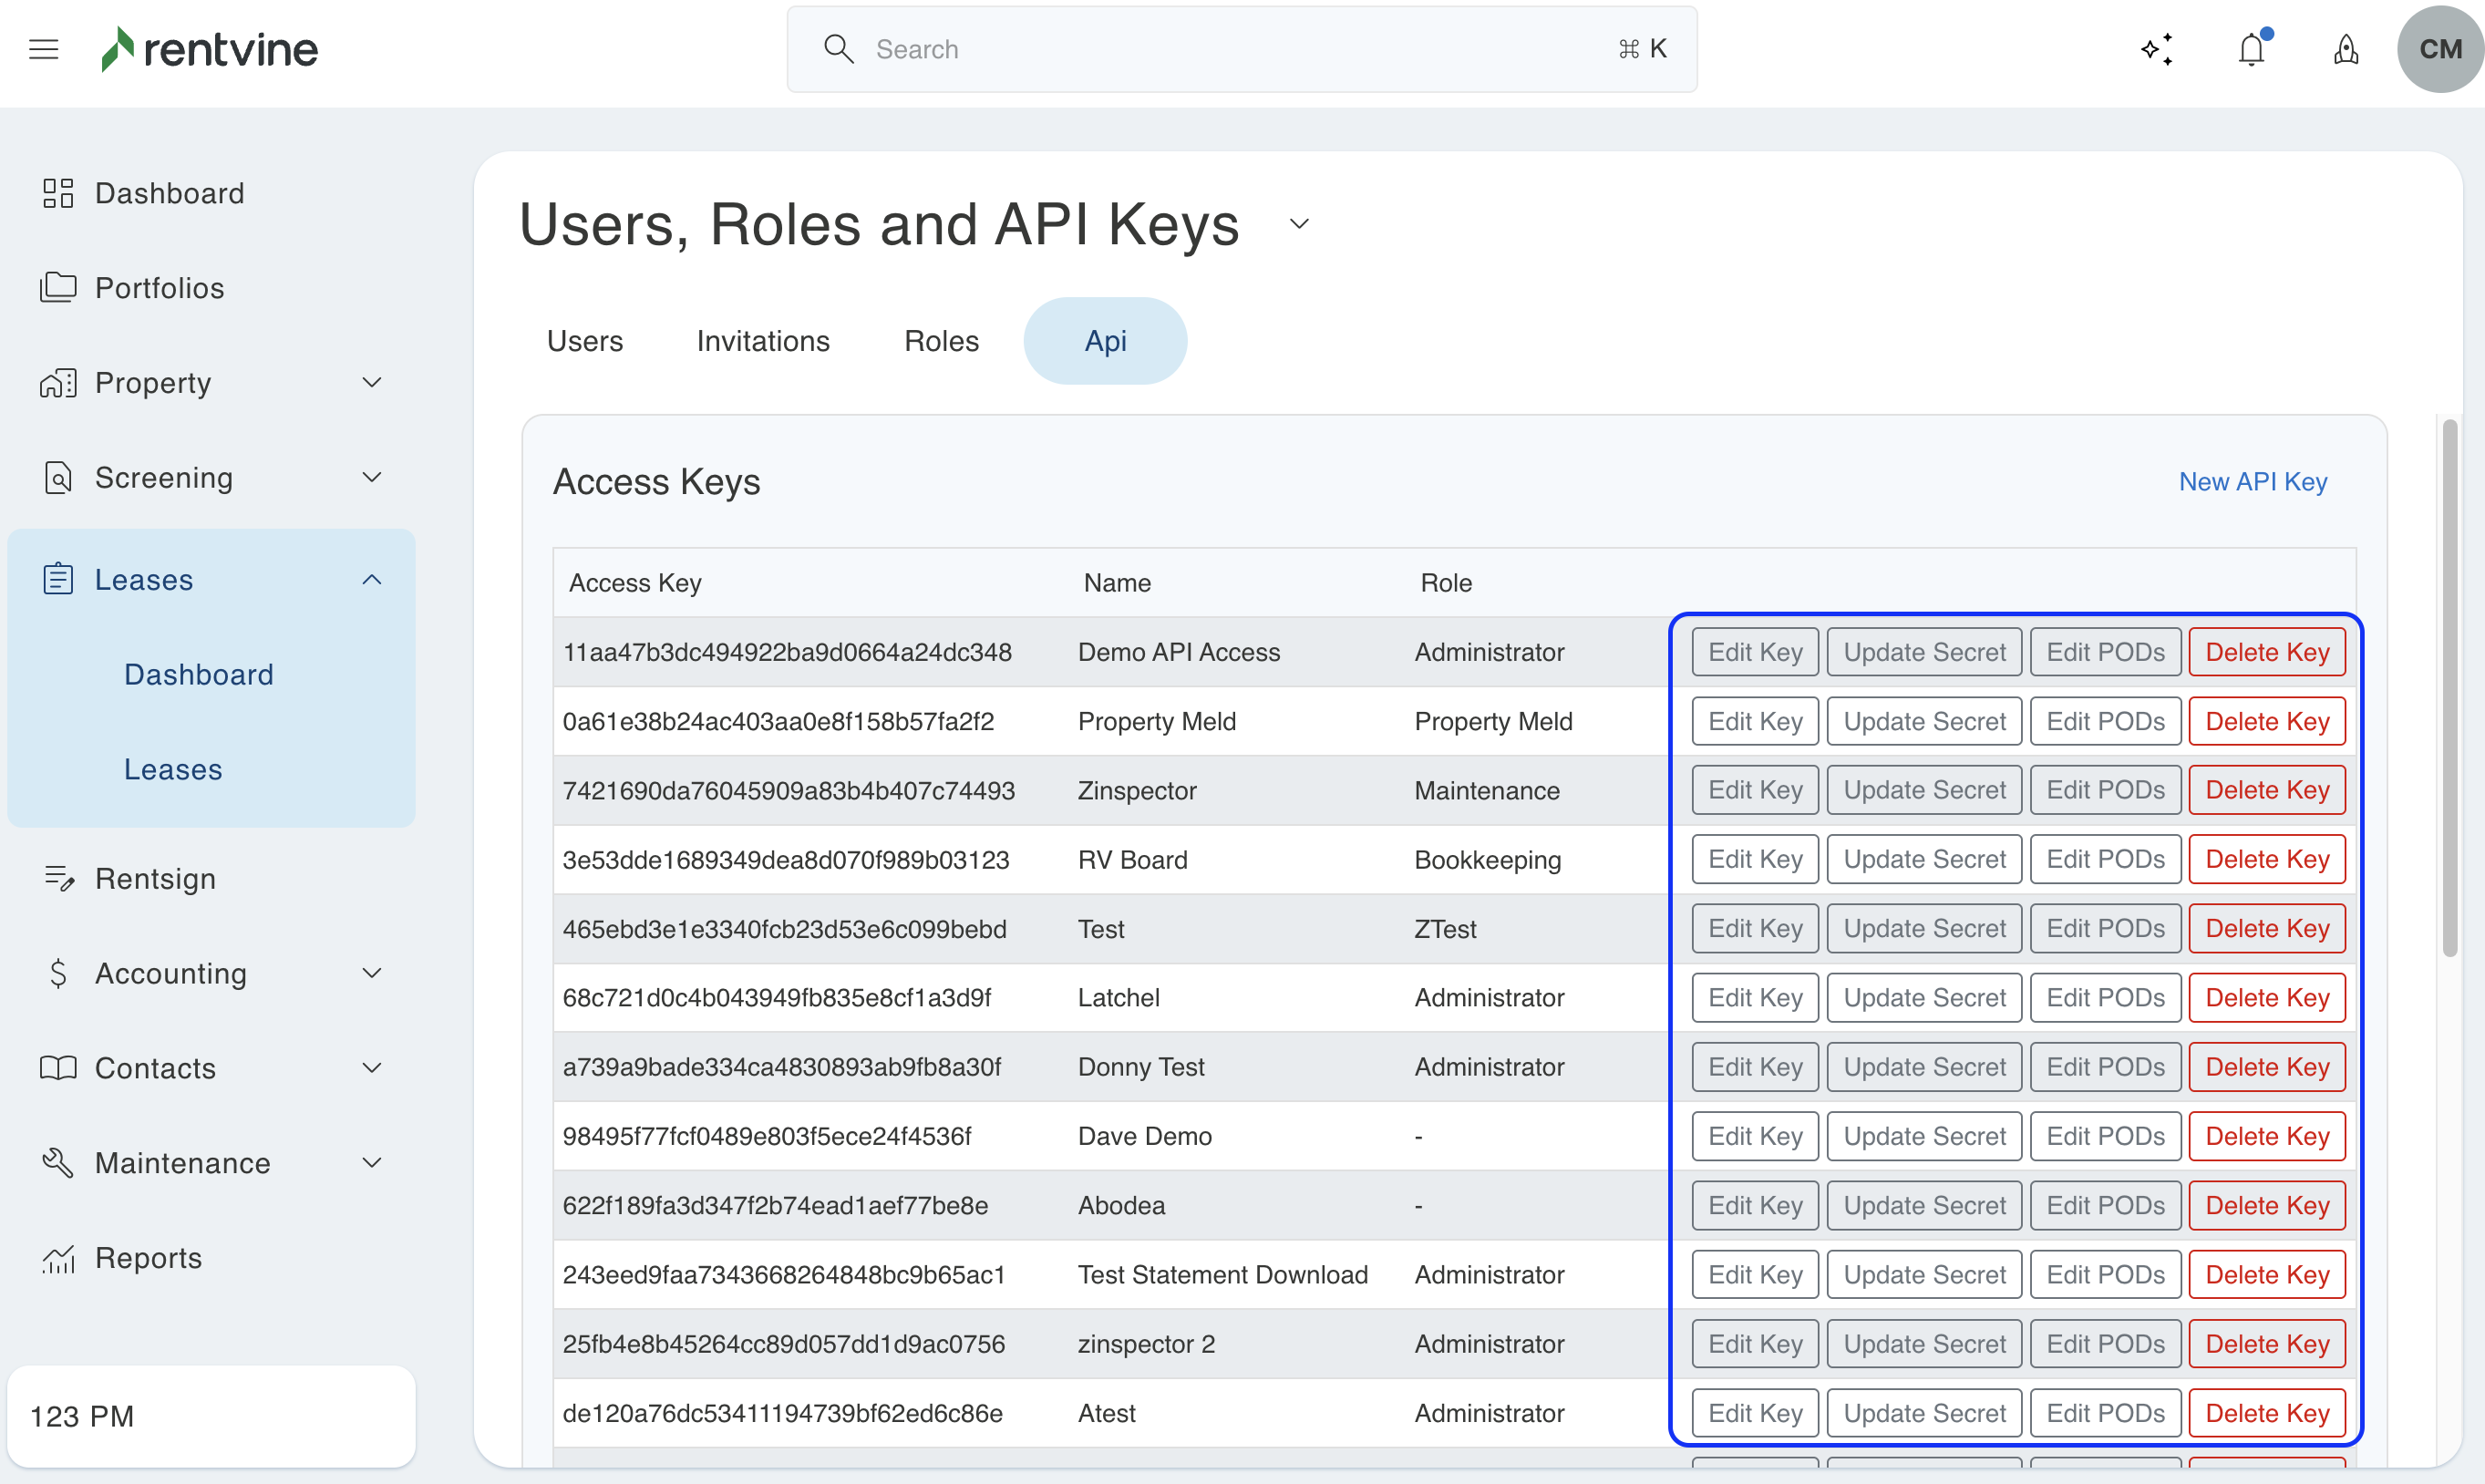
- If you ever need to edit, update, or delete an API key, you can select it on the right side of this screen. Please note that if you update the API key, you will need to update any applications using this key.
For more information regarding this API and API documentation, you can click here.
Personal Notifications
- Personal notification settings allow every user in the system to customize the notifications that they need to receive. From here, the user can also configure if they would like to receive notifications by text or Slack.
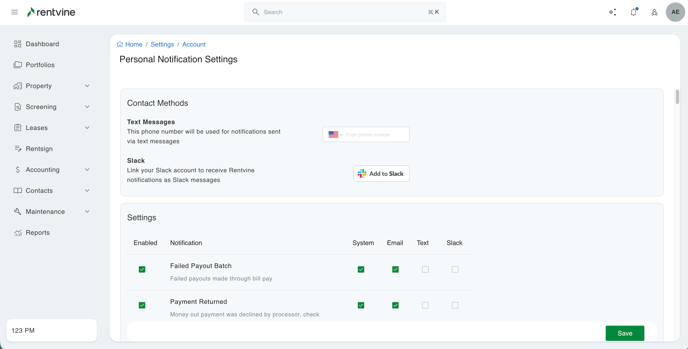
- This also allows the user to break up most of the notifications to only receive them if they are the assignee. For any in-depth look into personal notification settings, you can click here.
Account Notifications
- Account notifications are configured per user and cannot be disabled here. This page enables you to set up extra email addresses or phone numbers to receive notifications. This section is used to add a group email or the email/ phone number of someone who is not a user in your system.
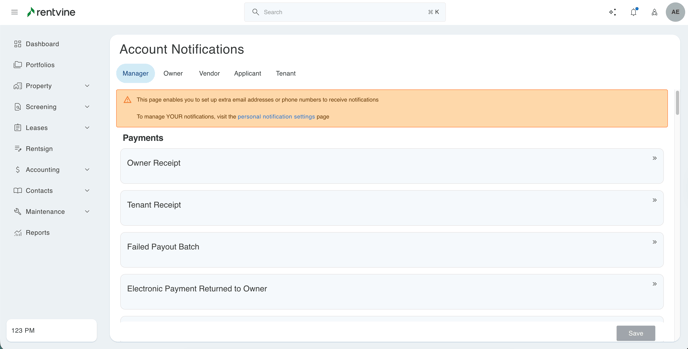
- From this page, you will also be able to configure notifications that are sent out to the owner, tenants, and vendors by clicking on the designated tab.
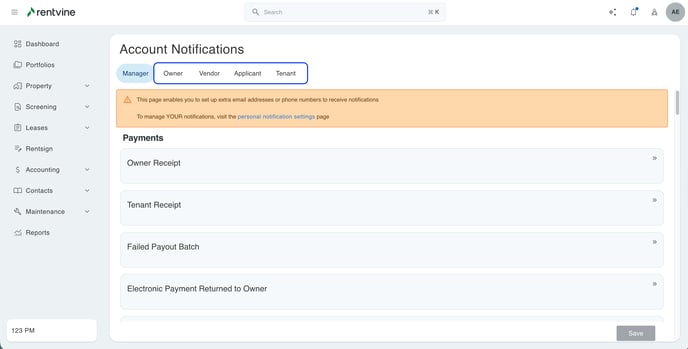
For an in-depth look into account notifications, you can click here.
Reminders
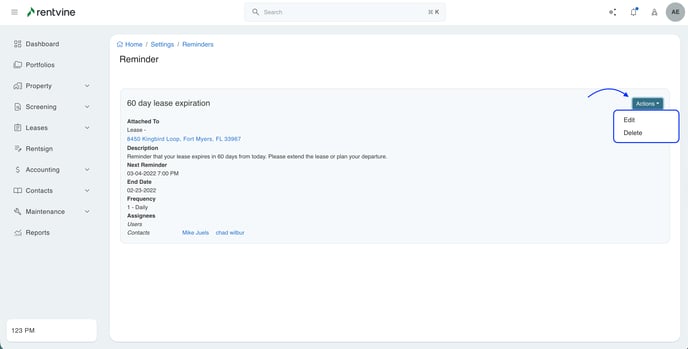
- The reminders tab is going to be a global hub for all of your reminders in the system. On the main page, you will see what the reminder is attached to, the name, description, next reminder date, the users it is attached to, and the contacts.
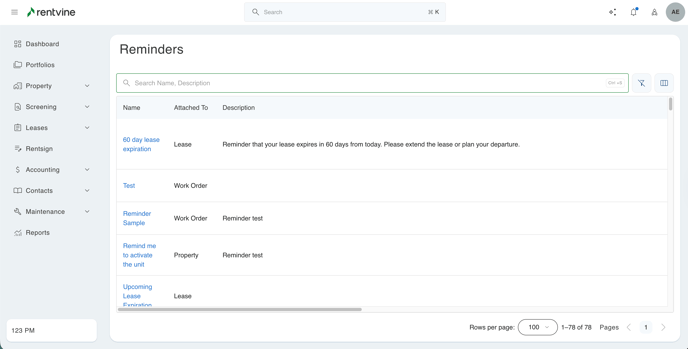
- You can click into each of these reminders. In here, you can click the actions button, and you will be able to edit any information or delete the reminder.
To learn how to set reminders on a lease, property, etc. you can click here