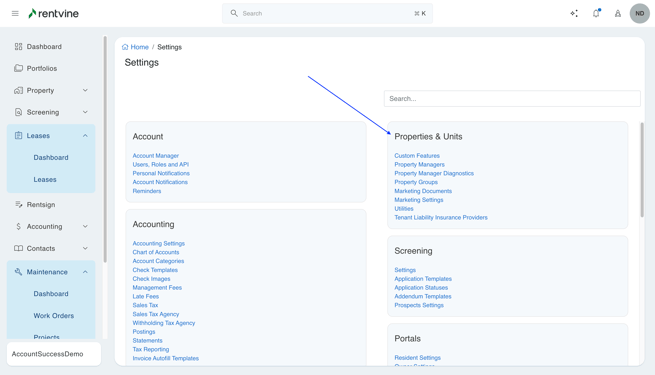
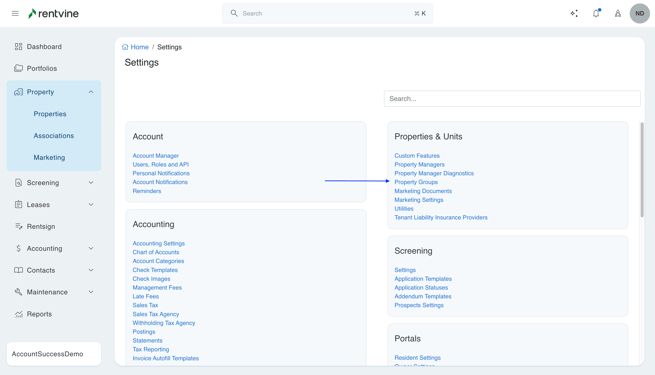
- The Properties & Units Settings give you the option to adjust the Custom Features, Property Groups, Marketing Documents and Settings, Utilities, and the Tenants Liability Insurance Providers.
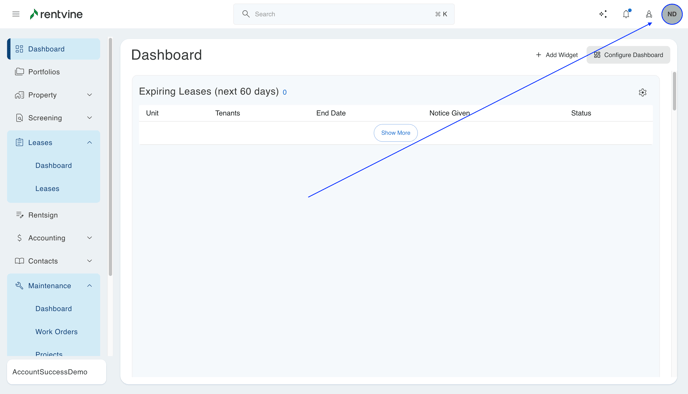
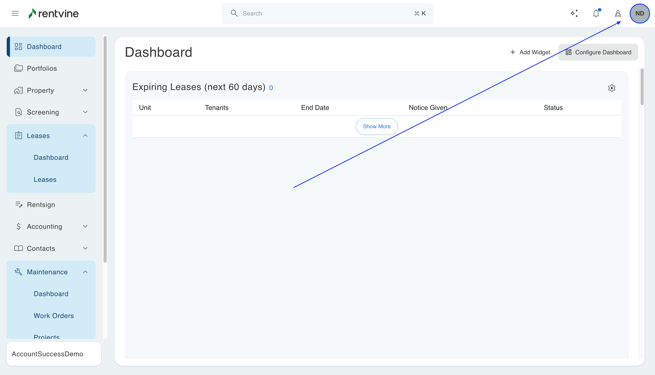
- To get started, click your initials at the top right and click 'Settings' > and here you can see the Properties & Units Settings.

Custom Property Features
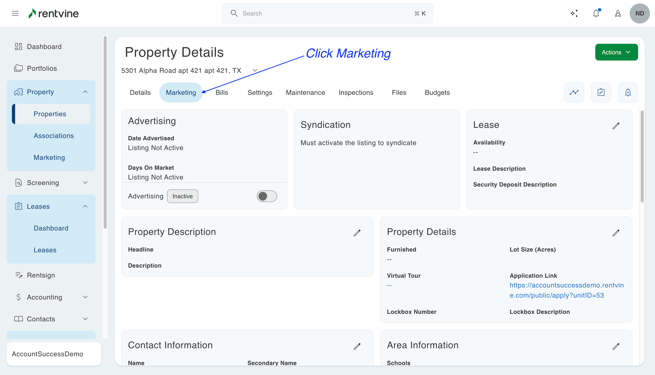
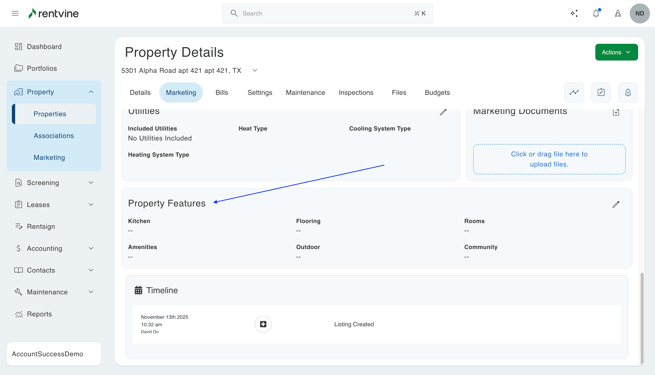
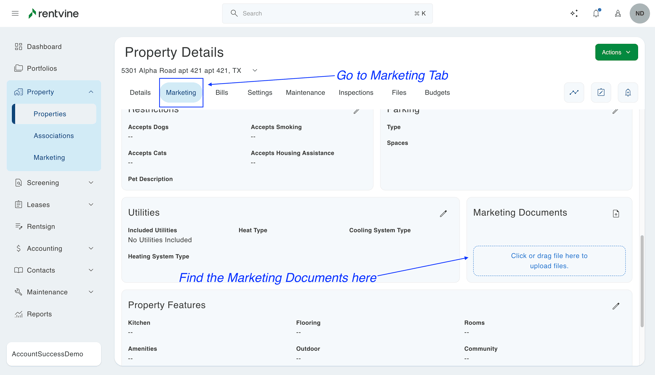
- The Custom Property Feature allows you to add new custom features under the properties features section. To find this section, you can click on the Property specifically and select the Marketing tab. You can then scroll down until you see the Property Features section.

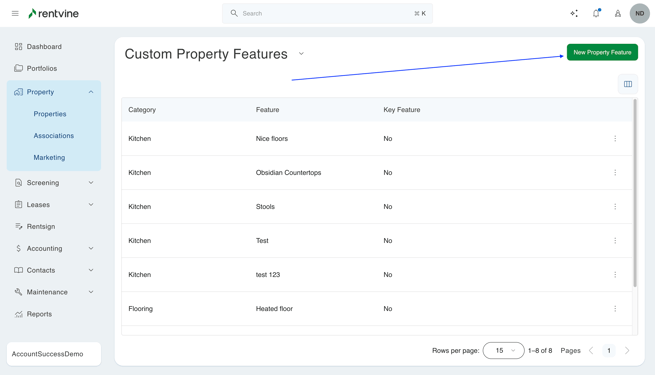
- To add a new Property Feature, you can go to the Custom Property Feature setting. From here, you can click the green button labeled '+ New Property Feature'
- Here you can enter the Category this feature would fall under and its own Custom Name.
You can also toggle whether this Custom Property feature is a Key Feature or not.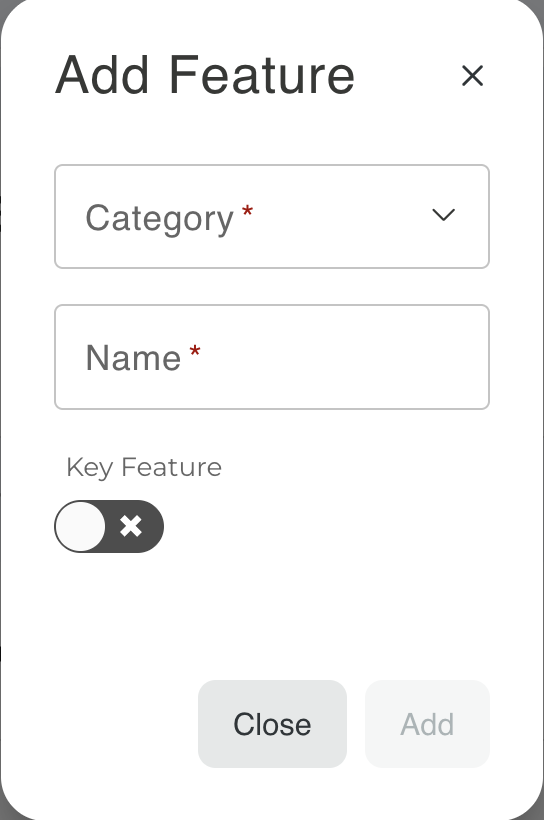
The property categories are:
KitchenFlooring
Rooms
Amenities
Outdoor
Community
- In this example, you can see we made a new Custom Property Feature for the Kitchen as Marble Counter Tops, and this is a Key Feature.
This will now show for each property that you can toggle on or off.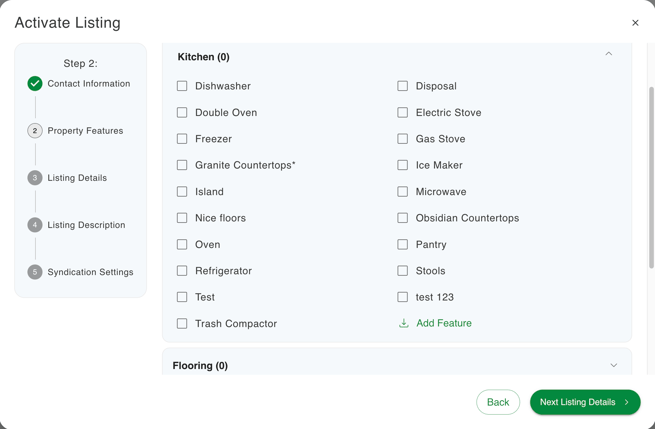
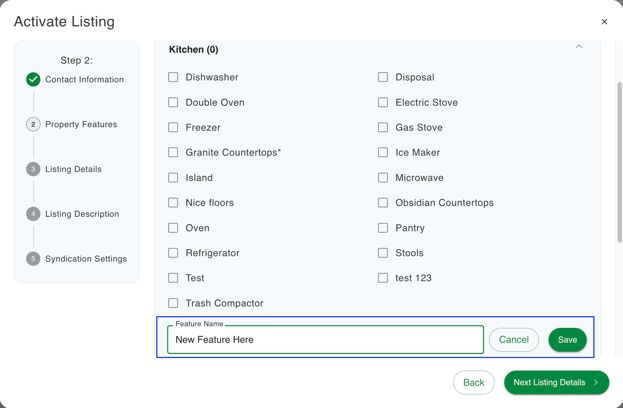
You can also create a Custom Property Feature directly from the same screen by selecting the Category and clicking 'Add Feature'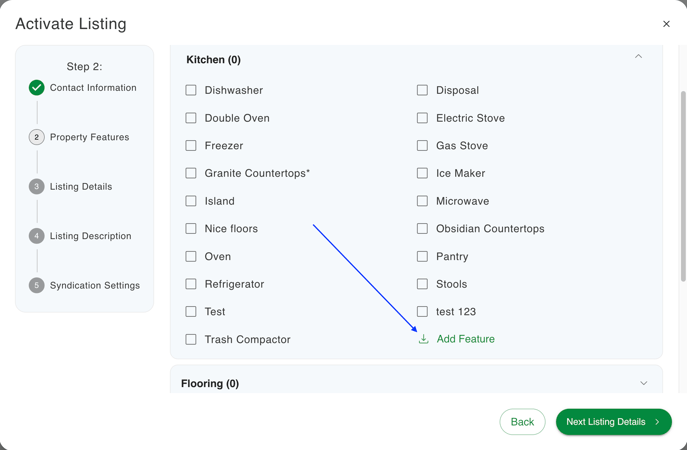
Property Groups
-
Property groups are used to categorize certain properties for filtering and reporting purposes. You will be able to click the filter icon from the main properties tab and filter by all of the properties associated with a property group. You can also add property groups as filters and columns on all property/unit reports.
- To create a Property Group and add properties to the group, go to the settings page (click on the ellipsis next to your name in the lower left corner of the page and select Settings)
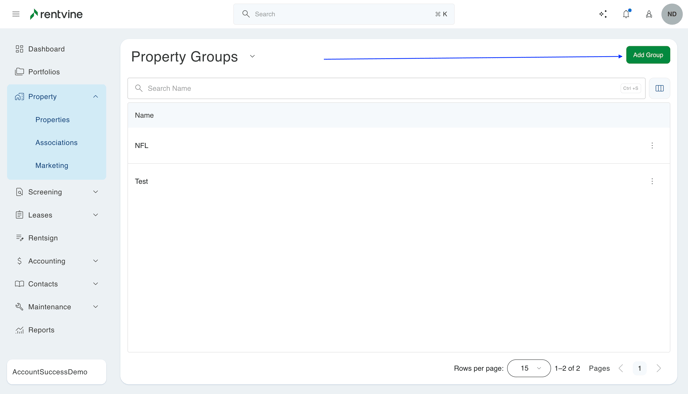
- Next, select Property Groups
- In the property groups page, click on Add Group
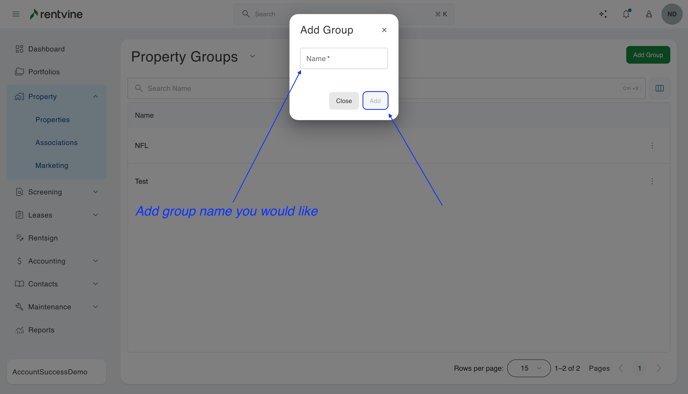
- Add the name you would like your group to be called
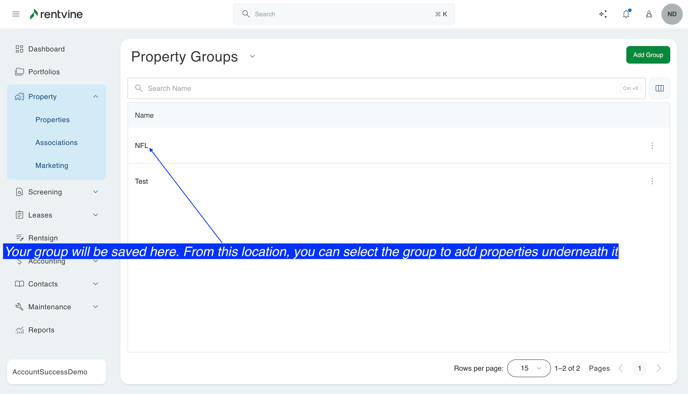
- Your group will be saved. Click on it, and you can add properties to the group
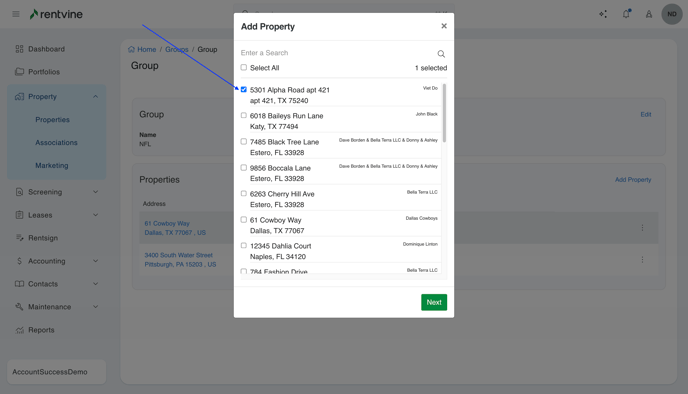
- Click Add Properties: you can add as many properties as you would like

- Check the boxes of the properties you would like to add to the group, and then click Next
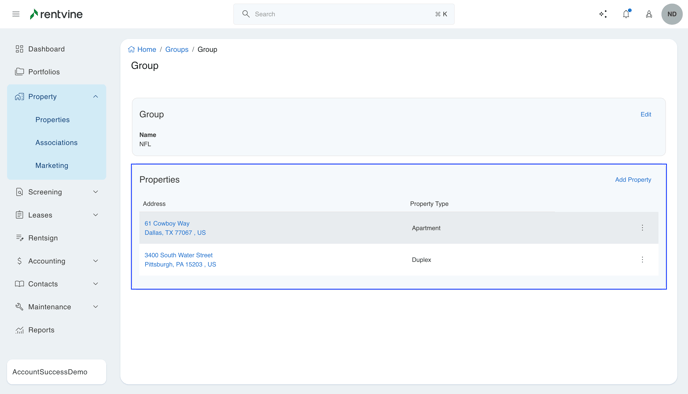
Another way to add a property to a group is...
- Your properties will be saved here
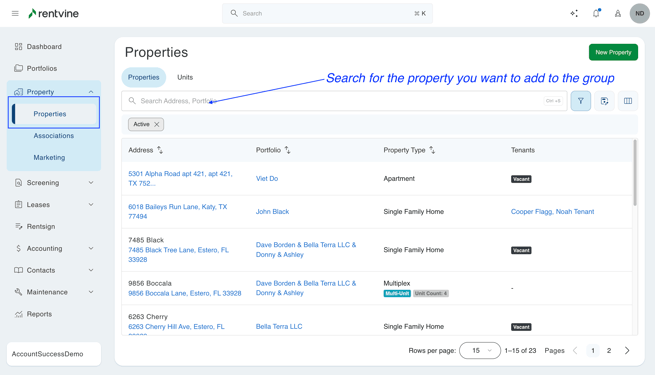
-
Search for the specific property you want to add to a group.
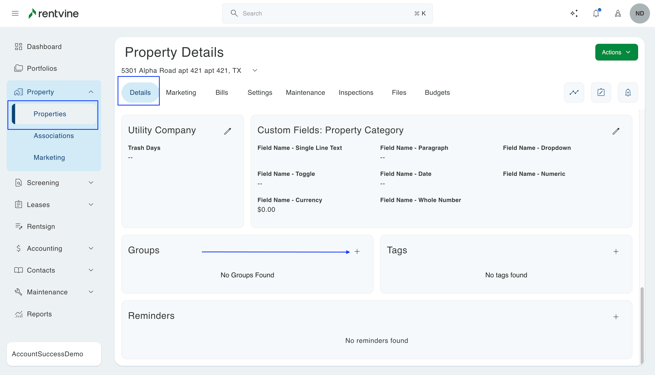
-
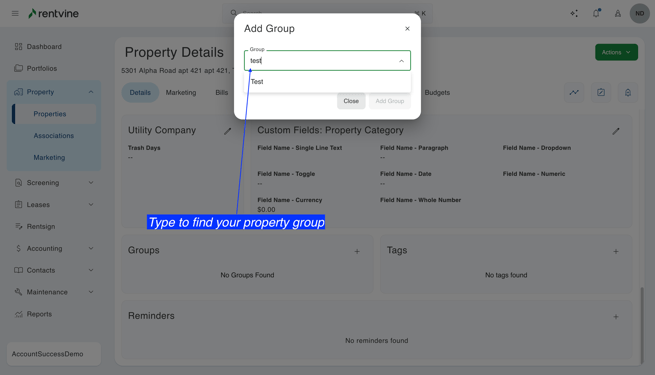
The next step is to go into the details tab inside that property. Scroll down until you see a box labeled "Groups" towards the bottom. In the top right of that box, click on "Add Group".
-
This will pull up a menu that will have a dropdown. In the drop-down down you will be able to type whatever group you have previously created. Make sure, after selecting a group, that you press the green add group button to save.
Marketing Documents
- This allows you to mass upload these documents to the properties being marketed out for syndication.
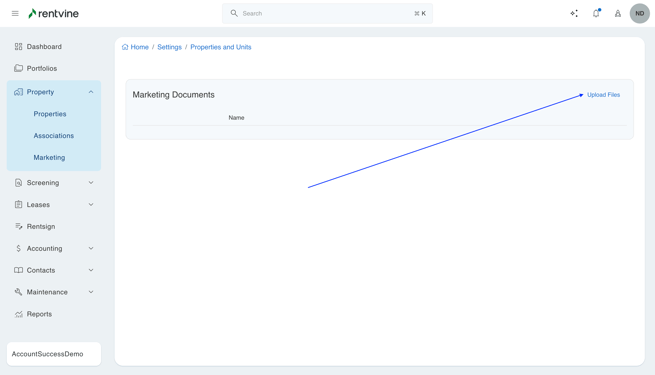
- To add a document to this area, click the Marketing Documents setting and click Upload Files
- Once this is added, they will populate under all properties under the Marketing tab under Marketing Documents
- You can decide to remove the document from the Marketing Document properties under the individual property.
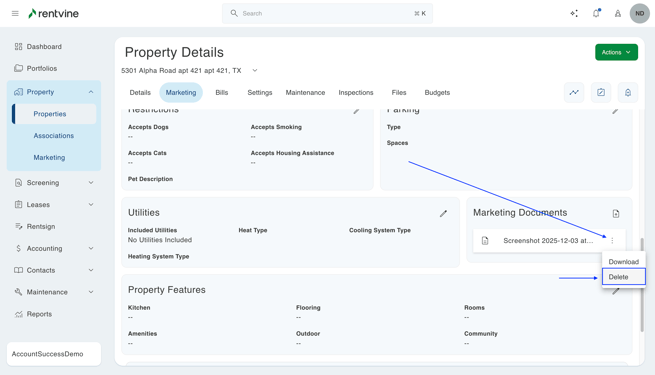
Or you can remove it globally for all properties by deleting the document from the Marketing Documents section.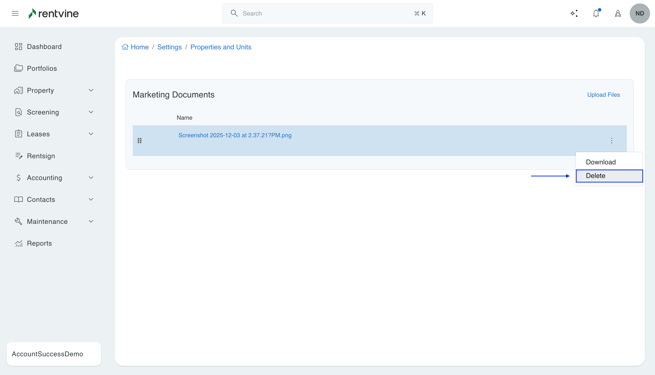
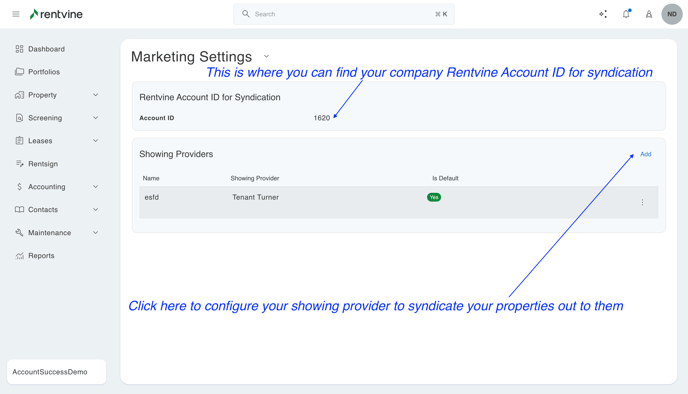
Marketing Settings
- This area provides you with your Rentvine Account ID for Syndication. This is typically needed for syndication to other websites such as Zillow.
- You can also add your other Showing Providers here as well
To learn how to syndicate out to other websites, please view this article: Marketing My Properties.
To add a new Showing Provider, please view this example: Showing Provider Example.
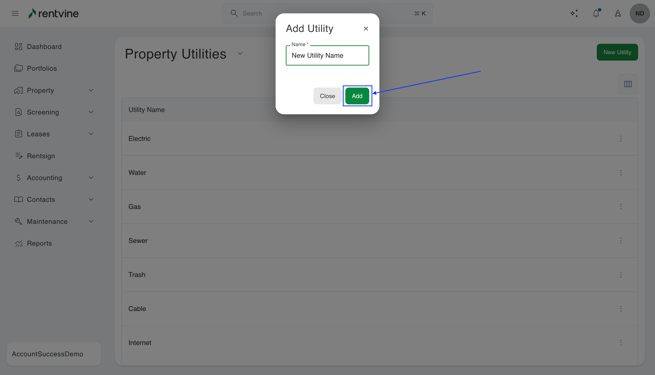
Utilities
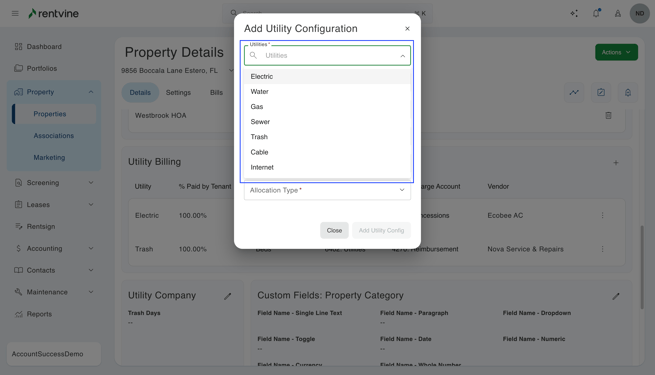
- This area allows you to create new Utilities for your multi-unit properties only. To get started, you can click the green button labeled '+ New Utility'. Once you click this, a modal will pop which which will allow you to enter the New Utilities Name.
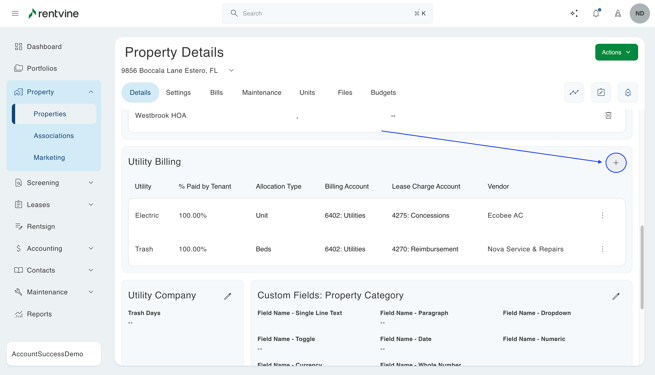
- Once created, this will show in the Utility Billing section
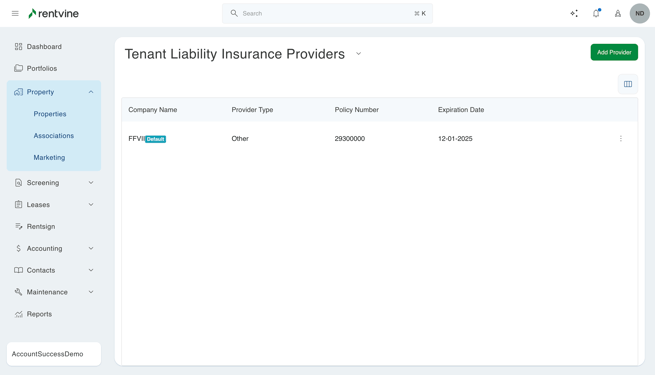
Tenant Liability Insurance Providers
- This allows you to enter a Tenant Liability Insurance Provider here. To do this, click the green button labeled '+ Add Provider'.

- You will need to enter the following information to continue
- Provider
- Company Name
- Policy Number
- Expiration Date
- You can also select if you would like to set this provider as a default provider and on Active Leases
- Once added, it will look like this,