Do you want to automatically send email notifications to tenants that have a past due balance on their lease? This article will show you how to enable or disable the past due balance notices on a lease
Enabling this feature will send an email notification to all tenants that have a past due current balance greater than $0.00 on an Active lease. For example, if the current balance is due on the 1st, it will be considered past due on the 2nd, and send out an email on the 2nd, regardless of any grace period.
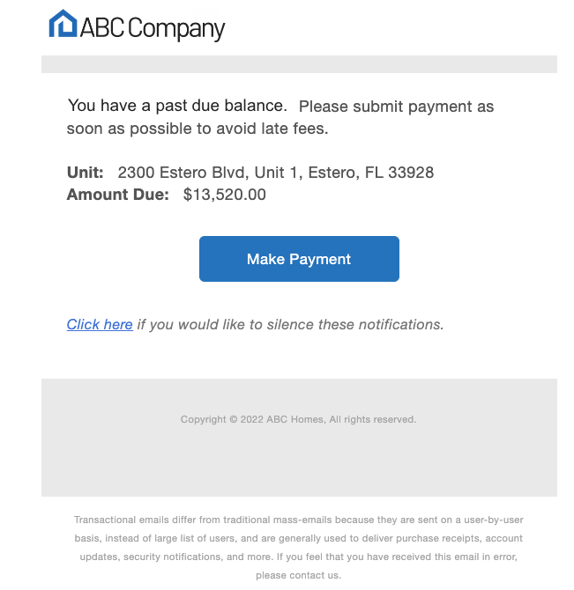
An email will be sent out once a day until the balance has been paid. The tenant will have an option to silence the notification if they choose to. If silenced, it will stop sending the emails for that month. If the tenant still has a past due current balance in the following month, the email notification will be sent out again. An example of the built-in email notification is shown at the end of this article.
- Go to the settings page (click on your profile name in the top right corner of the page and select Settings)

- Click on Lease Settings under the Lease section

- If the Enable Tenant Past Due Notices is set to No, click on the Edit button to enable it.

- Leave the Email template for Tenant Past Due Notices blank if you want to use the built-in email notification template. Otherwise, click on the box and select an existing email template that you have already created (You can create your own Lease email template). Click Save.
- The feature is now enabled.
Note: If the "Enable Tenant Past Due Notices" is toggled off, it will be disabled for all leases
Once the Past Due Notices are enabled in the global settings, by default, all active leases will send out past due notices. If you want to disable it for individual leases, follow the steps below:
- Click on the tab labeled "Leases" on the left side of the screen. This will pull up a list of all the leases you have.
- Next, you will search for the specific lease you want to change the past due notices in. You will then click on that property to pull up the lease.

- Stay in the tab labeled "Details". You will then look for a box labeled "Lease Info". In the top right of this box, click the blue actions button, then click the edit button to pull up fillable fields you can change.

- You will then look for the toggle that is labeled "Tenant Past Due Notices Enabled". Toggle this on or off depending on whether you want them enabled or disabled for this specific lease. Make sure to click the green save button at the bottom to save any changes made.

Below is an example of the built in email notifications that is sent.


