Please note that this will only create the Chart of Account for the Bank Account; this will not enable electronic payments. To enable electronic payments for a Bank Account, please follow the steps below and reach out to support@rentvine.com afterward. If you are also swapping Bank Accounts, you will need to reach out to our support team, and they can further assist you once you complete all these steps.
-
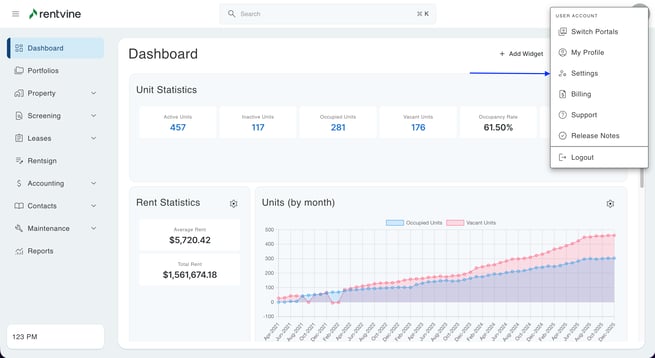
Click your initials in the top right corner to access the Settings screen.
-
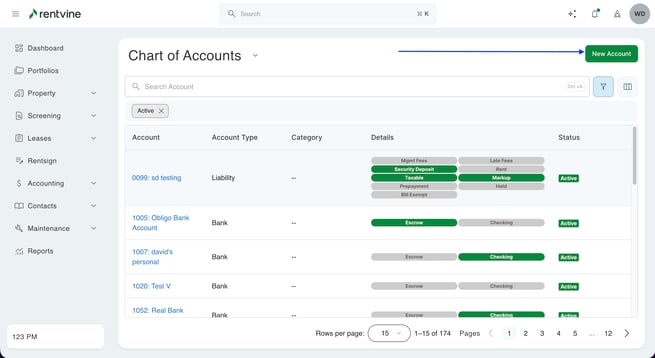
Click Chart of Accounts > and click the green + New Account button
-
Name (required) - The new Bank Account Chart of Account name
-
Number (required) - New Chart of Account number
-
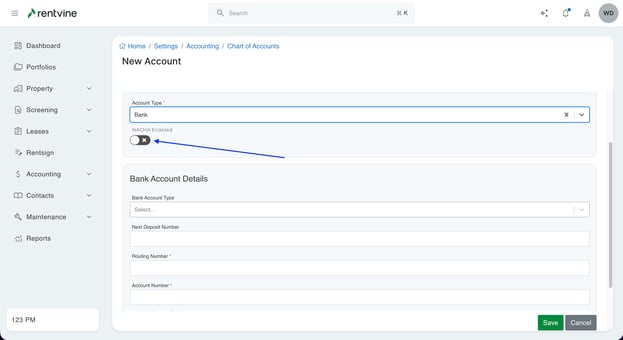
Account Type (required) - Select Bank
-
Once Bank is selected as the Account type, additional options will appear.
On the Chart of Accounts creation screen, enter details for the new Bank Account.
-
-
NACHA Enabled: You will see this option to enable NACHA
For instructions on enabling NACHA, review this article:
Setting Up NACHA
(Starting on Step 5)
-
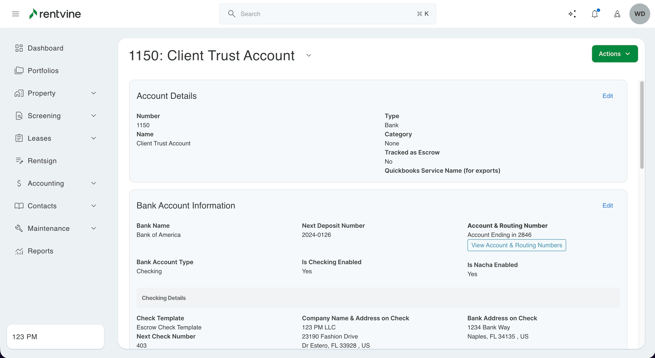
In the Bank Account Details section you will need to input:
-
Bank Account Type - You can select either a Checking or Savings Account
-
Next Deposit Number - This will be the next check deposit number for this Bank Account, normally this is set to 1
-
Routing Number (required) - This is the Routing Number of the Bank Account. Please ensure these numbers match
-
Account Number (required) - This is the Account Number of the Bank Account. Please ensure these numbers match
-
The Use for Escrow Tracking toggle is meant if this is for a Security Deposit Bank Accounts. These funds will not show on the operating balance on a portfolio
-
The Enable Checking toggle is a requirement if you are sending any type of funds from this Bank Account.
-
Once the Enable Checking toggle is turned on, additional fields will appear.
-
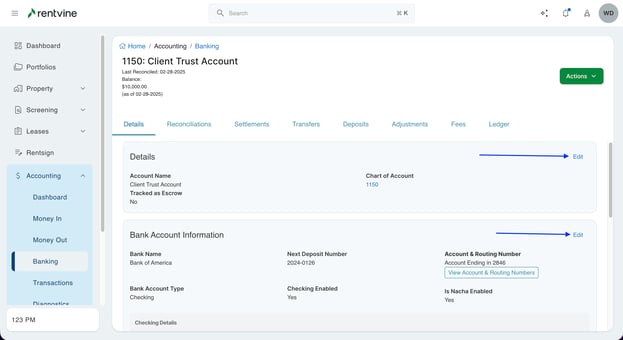
You can select the Check Template from here that will populate when you print checks from this Bank Account specifically
-
Next Check Number will be the next check number printed from Rentvine when making check payments.
-
Check Address (required): Enter your Property Management Company Information
-
Bank Address (required): Enter the Bank information for this account specifically
-
-
-
-
Once this is all submitted, this will create the Chart of Account for the Bank Account and you can view all the information inputted.
All this information can be edited at any time by selecting the Banking tab > clicking the Bank Account > and click Edit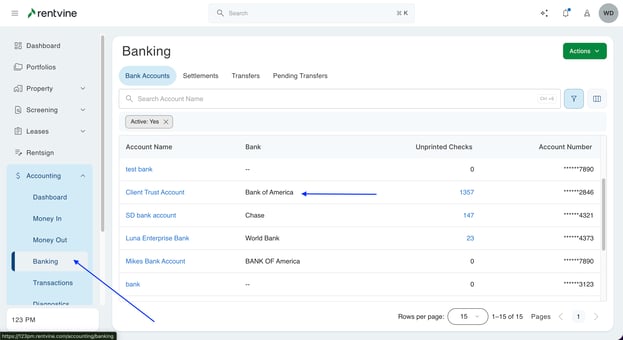
After you have completed these steps and verified all information is correct, please contact support@rentvine.com or submit a Support Ticket in order to enable electronic payments for this account.
If you are also swapping Bank Accounts, you will need to reach out to our support team and they can further assist you once you complete all these steps. This will allow our team to finalize and set up the Bank Account on our end for you to use.
Step 3
- To create a New Posting Setting, you will need to go to the Settings

- In the Settings menu, click Postings
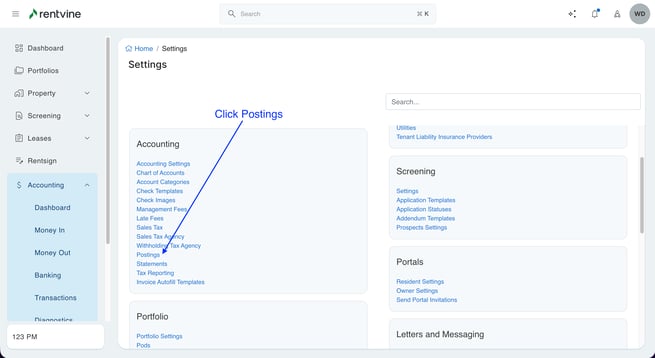
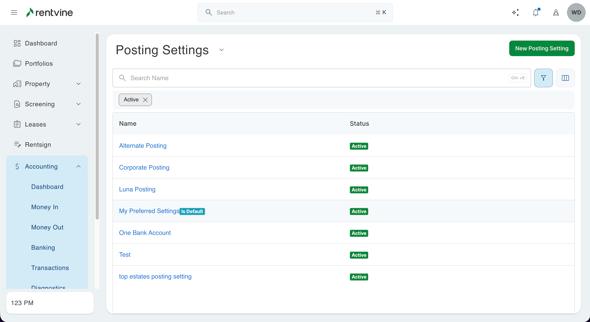
- This will bring you to the Postings screen and show all Postings Settings you have created on your account
-
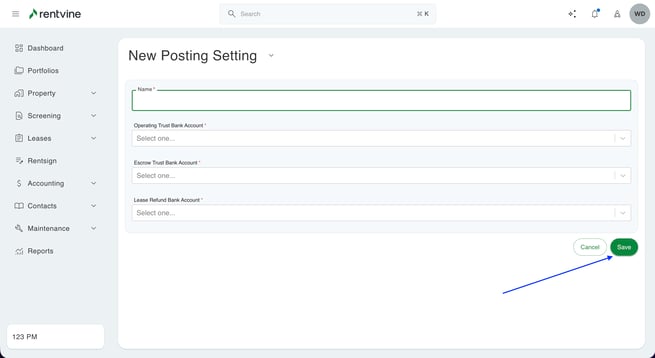
Click the green button labeled ‘ + New Posting Setting'
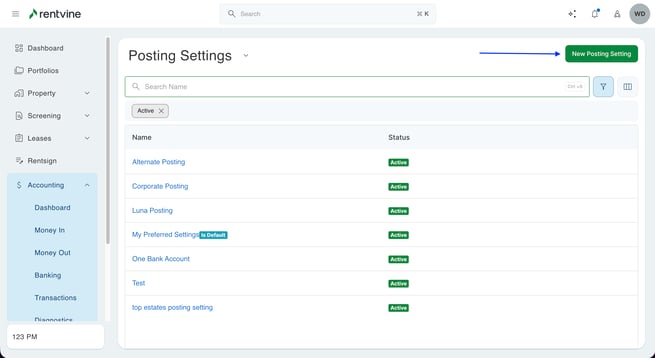
- Enter the Posting Settings information:
- Name (required) - This is the name of the Posting Setting
- Operating Trust Bank Account (required) - This will be where all charges that are not marked as Held Liability will be allocated; An example would be Rent Income
- Escrow Trust Bank Account (required) - This is where all charges marked as a Held Liability & Tracked as Security Deposit should be allocated; An example would be a Security Deposit
- Lease Refund Bank Account (required) - Which bank account a tenant is refunded during the move-out flow
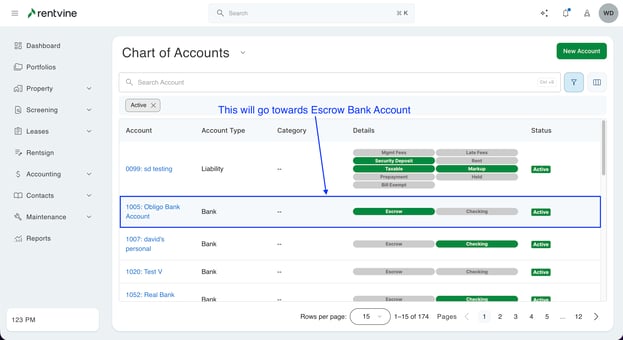
To check if a Chart of account is marked as Held Liability, go to the chart of account settings and if the Held Liability toggle is green, this means it is a Held Liability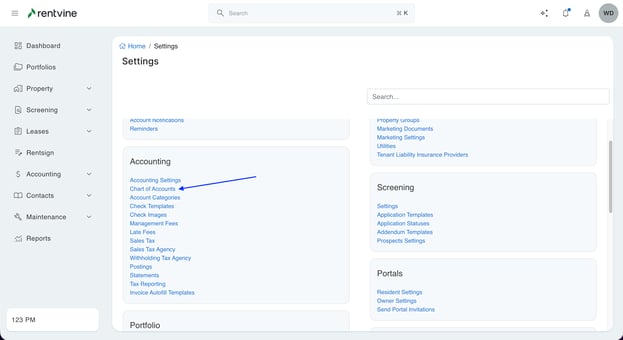
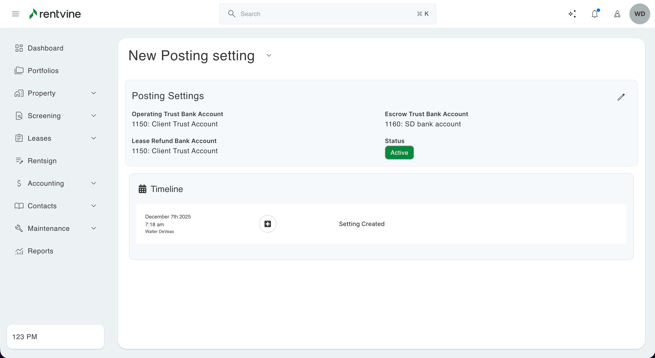
- Click Save to finish creating this Posting Setting
Changing a Posting Setting on a portfolio will not automatically transfer funds from the previously linked Bank Accounts to the new Bank Accounts associated with the updated Posting Setting. You will need to complete a bank transfer to transfer these funds, How to do a Bank Transfer
For Switching Posting Settings
- The first step is to click on the portfolio tab on the left of the screen and select the specific portfolio for which you want to edit the posting setting. The next step will be to go into the details tab of the portfolio. Then click the "Edit" button in the top right of the details box.
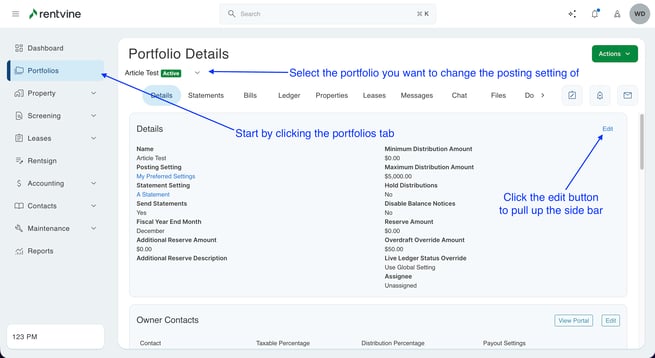
- This will open up a sidebar on the right side on the screen. In that sidebar click on the dropdown menu labeled "Posting Setting". This will give you all the options for posting settings set up and change it for the selected portfolio.
