- Add a Work Order
- Editing a Work Order
- Email Work Order to Vendor
- Add a Bill to the Work Order
- Deleting a Work Order
![]()
How to Add a Work Order
- Go to the "New Work Order" page.
-
- On the top of the page, click on the Quick Actions menu button and then click on New Work Order.

- On the top of the page, click on the Quick Actions menu button and then click on New Work Order.
OR
-
- From the dashboard view of Rentvine, click on Maintenance on the left-hand side
- Click on Work Orders from the dropdown
- On the right-hand side, click on the New Work Order button

2. On the next screen, complete the Work Order Details section
-
- In the Property/Unit field, enter the keyword or the property/unit Address
- Once the keyword/property is entered, a drop-down list of properties will appear
- Select the Property/Unit for the work order

Please note: You cannot attach multiple leases to one work order.
-
- After selecting the property, the detailed information of the property for the work order will show at the top of your Rentvine screen and above the description section.

-
- Enter the Description of the work order
- Select the Scheduled Start Date/End Date if provided (optional)
- Select the Scheduled Start Date/End Date if provided (optional)
- Select the Status of the work order (optional)
- Select Priority (optional)
- Select Assignee (optional)

-
- Enter the Estimated Cost if provided (optional)
If an Estimated Cost is entered, the value is used to help calculate the distributable amount on the Pay Owner page. It subtracts from the Operating Balance
-
- Click the Toggle Button if the Owner approved the work order (optional)
-
- Check the box if you would like to publish with the Owner (optional). If you turn this on, the work order details will show in the owner portal
- Check the box if you would like to publish with Tenant (optional). If you turn this on, the work order details will show in the resident portal

-
- Select Maintenance Category (optional)
Selecting a vendor trade will bring up a pop-up with a list of suggested vendors to choose from. If one is selected, it will be applied to to Assigned to Vendor field.
-
- Select the Assigned to Vendor assigned to the work order (optional)
- Enter the Vendor Instruction details (optional)

4. Click the green Save button to create the work order or Save and Add Another to create the work order and add another work order.
![]()
How To Edit a Work Order
- From the dashboard view of Rentvine, click on Maintenance on the left-hand side
- Click on Work Orders from the drop-down menu
- On the next screen, search for the work order that you would like to edit
Work Order Search Options:
- Enter the Search field to search
- Click on the Property button to search for a specific property
- Click on the Vendor button to search for the specific vendor
- Click on the Status to search for a work order with a status range
- Click on the Date Posted to search for the work order within the date range
- Select the More Filters dropdown to search using Portfolio

- Click on the work order that you would like to edit
- When you are on that specific work order screen, click the Edit button within the work order details page.
- Enter the new details in the Work Order Details section and click the Save button found at the bottom of the screen

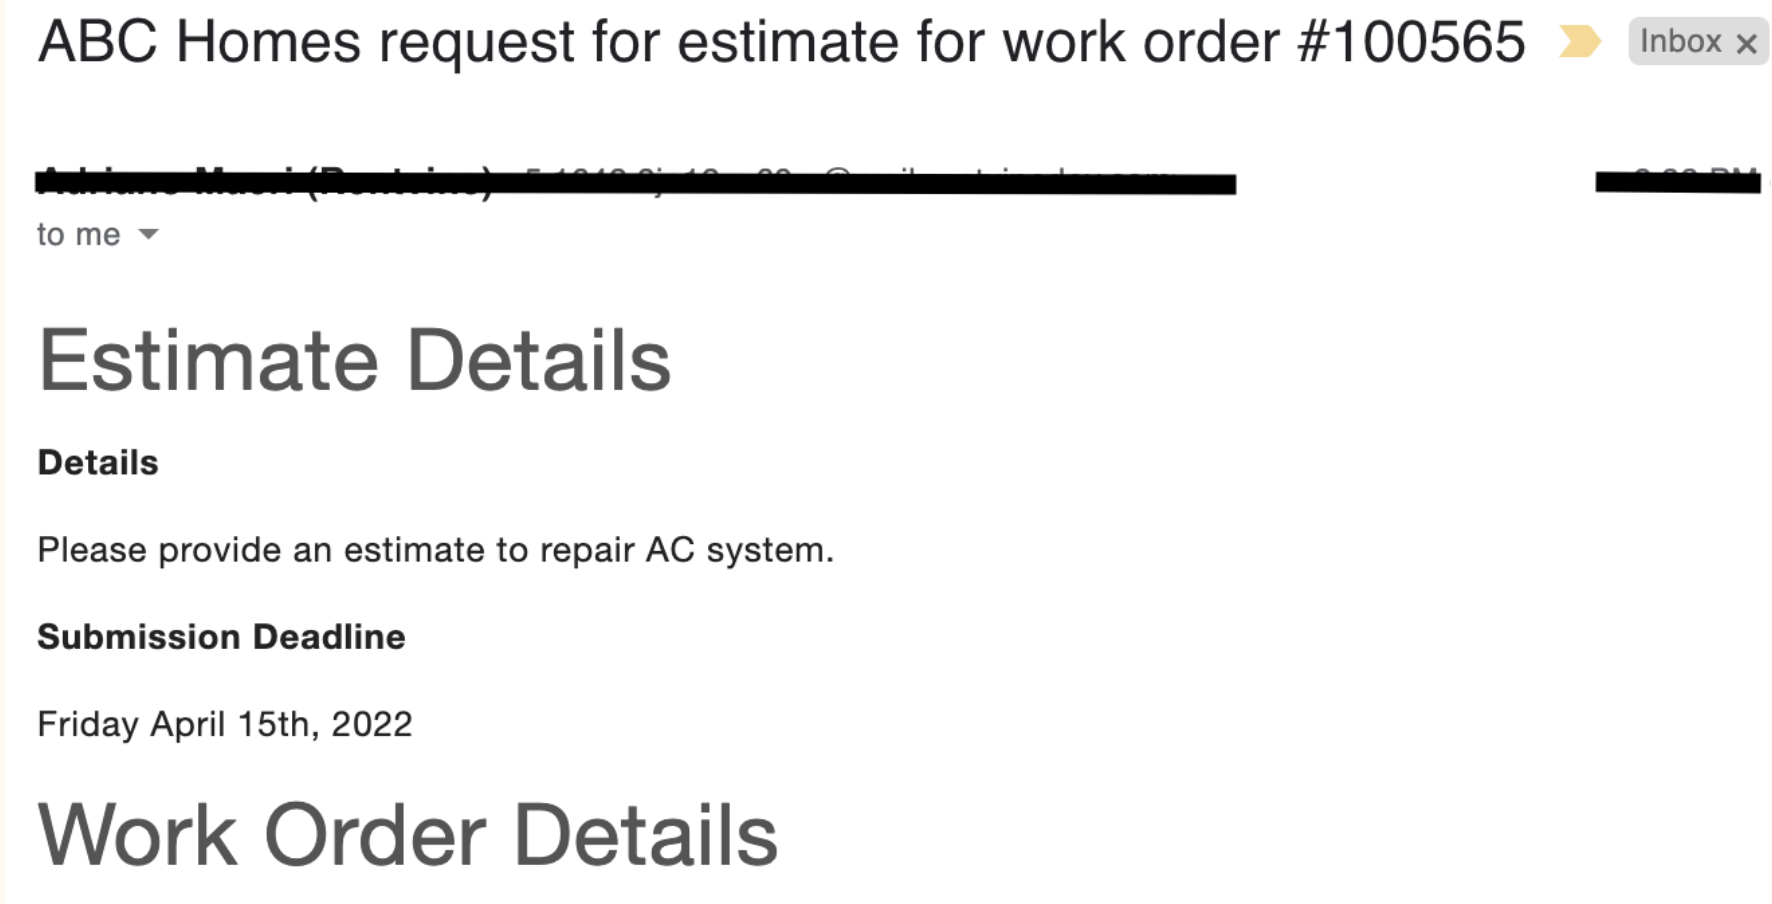
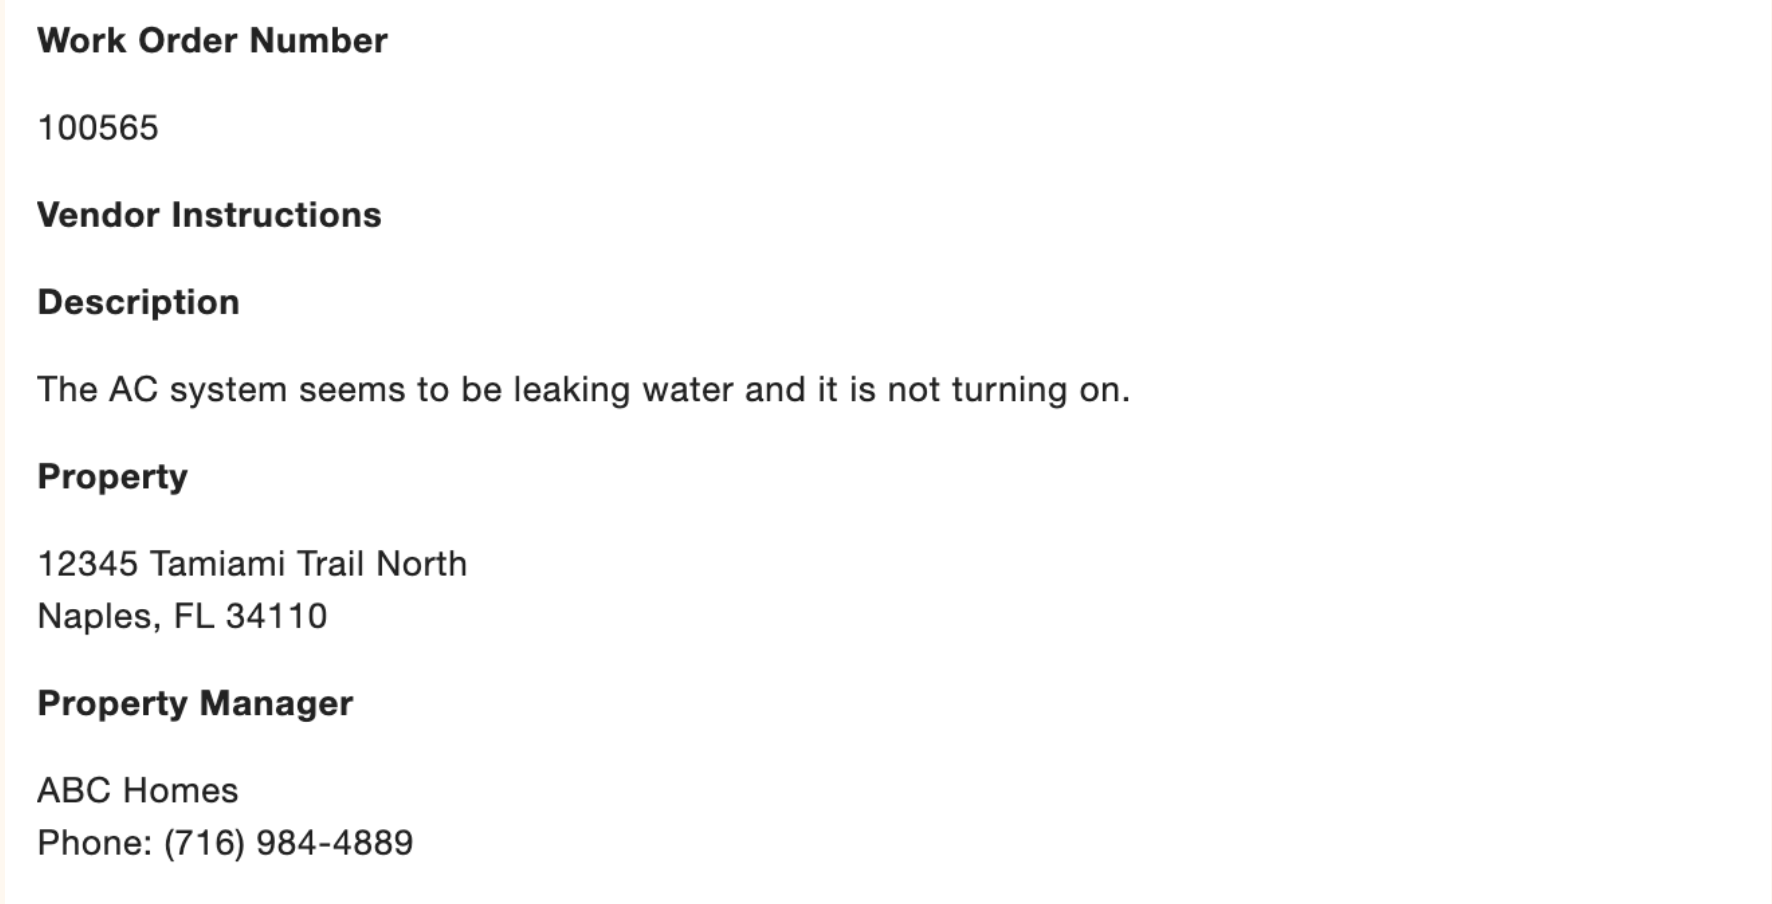
- To request a work order estimate from a vendor, go to the Work Order Estimates section and click on Request Estimate. Complete the fields in that pop-up
- On the new pop-up screen, select the Vendor
- Select the date for the Submission Deadline (optional)
- Enter the Message
- Click the Save button.
- This will save the request and email the vendor letting them know that you are requesting an estimate for this work order. The work order estimate section is designed to be used more as a system to send out estimate requests to multiple vendors before the work order is assigned to a vendor. So it is not designed to send out the attachment of the work order. The body of the email contains some basic information (description) of the work order, but not all the details (Tenant contact info) that the work order attachment contains. Its main purpose is to get estimates for the work before it is performed. Once all the estimates come in, the PM can then award the work to a vendor.


![]()
Email Work Order to Vendor
- When you are ready to email a work order to the vendor, click on the green Actions button on the top right of the page and select Email to Vendor from the dropdown menu. This will take you to a Compose Email pop-up page where you can fill out the details of who you want to send it to.
The work order details are already attached as a PDF file. It will be included when the email is sent.
![]()
Add a Bill to a Work Order
- When you are ready to add a bill to a work order, click on the green Actions button on the top right of the page and select Record Bill from the dropdown menu. This will take you to the Add Bill page, where you can then enter the details of the invoice from the vendor.
Recording the bill from the work order links the bill to the respective work order.
![]()
How to Delete a Work Order
- If you need to delete a work order, click on the green Actions button on the top right of the page and select Delete from the dropdown menu. A confirmation pop-up will appear to confirm that you want to delete the work order. Click Delete.
You can not delete a work order that has a bill associated with it.