Index
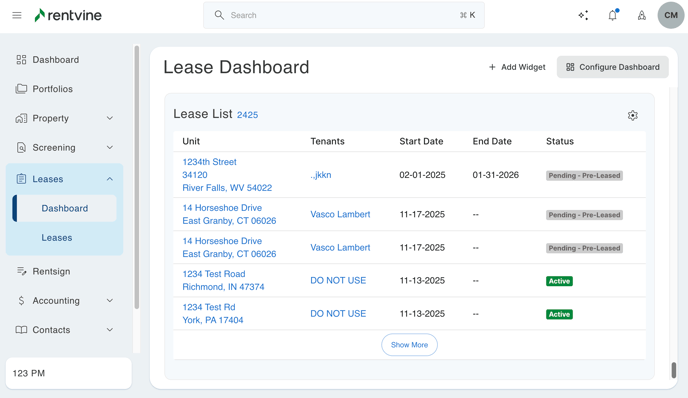
Main Dashboard
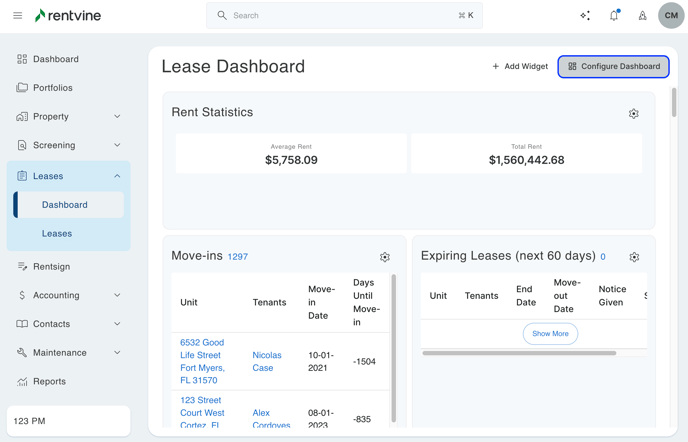
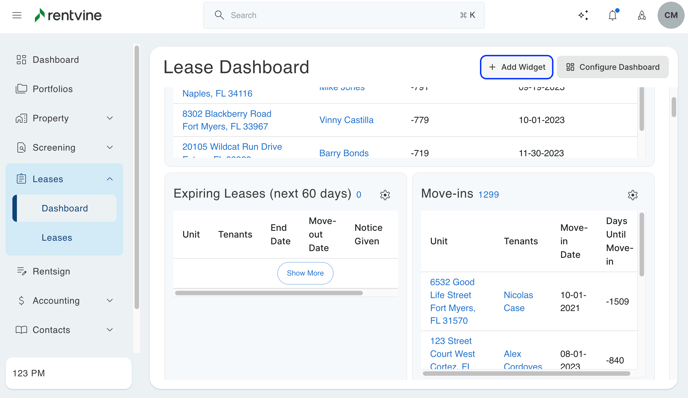
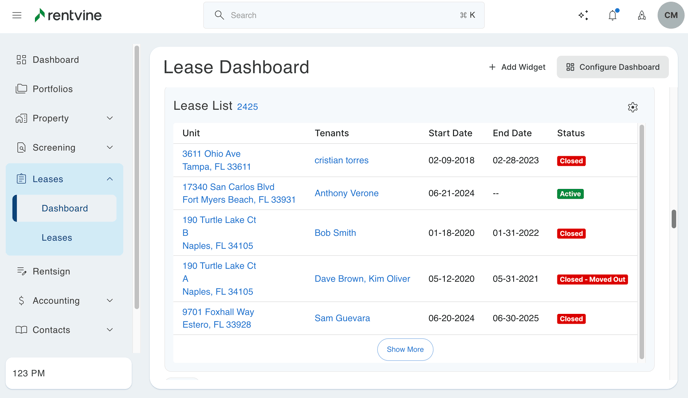
- To view your leases dashboard, you can click the leases tab and then click "Dashboard". This will show you the default leasing dashboard that you have configured. This dashboard is on a per-user basis, so all users can customize this dashboard to their needs.

Configuring your Dashboard
- To start configuring your dashboard, you can click on the "Configure Dashboard" button in the top right of the page.
- This will allow you to edit the current widgets you have selected on the dashboard. The first thing you will notice is an "X" in the top right of every widget. You can click this to remove any widgets from your dashboard. Make sure to click save to confirm any changes made.
- You also have the option to click and drag the arrow in the bottom right corner of every widget. This will allow you to edit the scale of the widget if you would like to make it smaller or larger. Make sure to click save to confirm any changes made.
- If you click anywhere on the widget, you will also be able to drag and drop it to different areas. This will allow you to move the widgets around to any position you prefer. Make sure to click save to confirm any changes made.
- If you ever need to edit any of your current widgets, you can click the gear icon in the top right of the widget. This will allow you to edit the current settings and filters that are being displayed.

Adding Widgets
- You can add an assortment of different maintenance widgets by clicking the "Add Widget" button.
- From this page, you will be able to pick from the main list of widgets. These are the following groups:
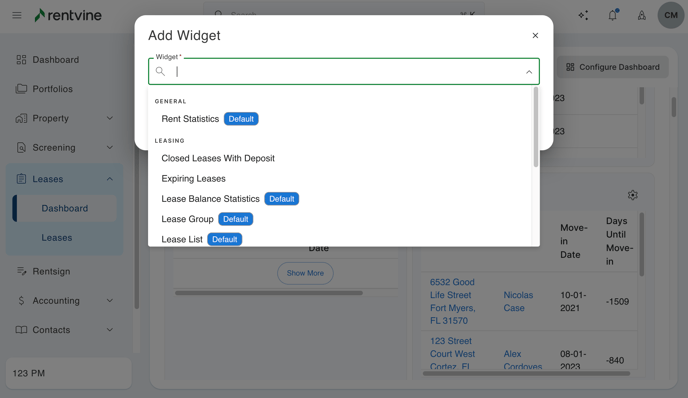
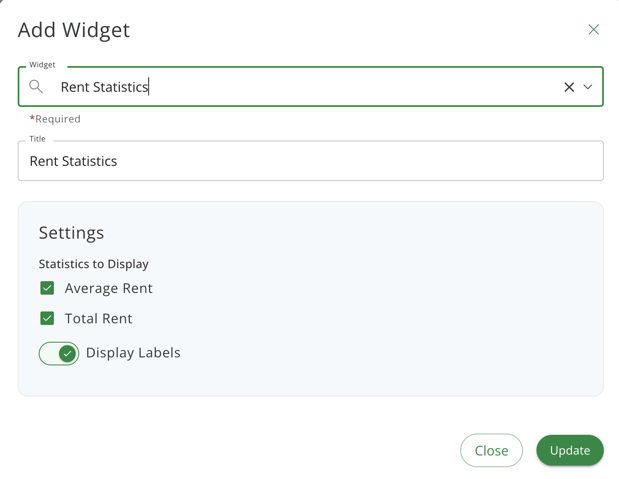
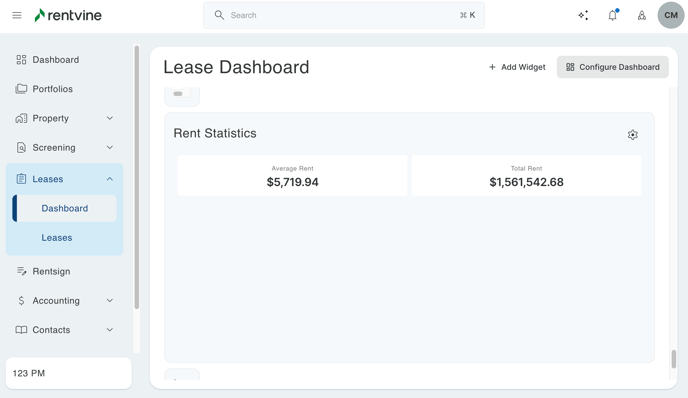
- Rent Statistics- This will allow you to display the average rent and the total rent of all of the leases in the system.
- Lease List- This will allow you to choose from columns like start date, end date, tenants, status, etc. It will also let you select from a list of filters to customize this widget to your preference. A good use case for this is for grouping pending move-outs or move-ins.
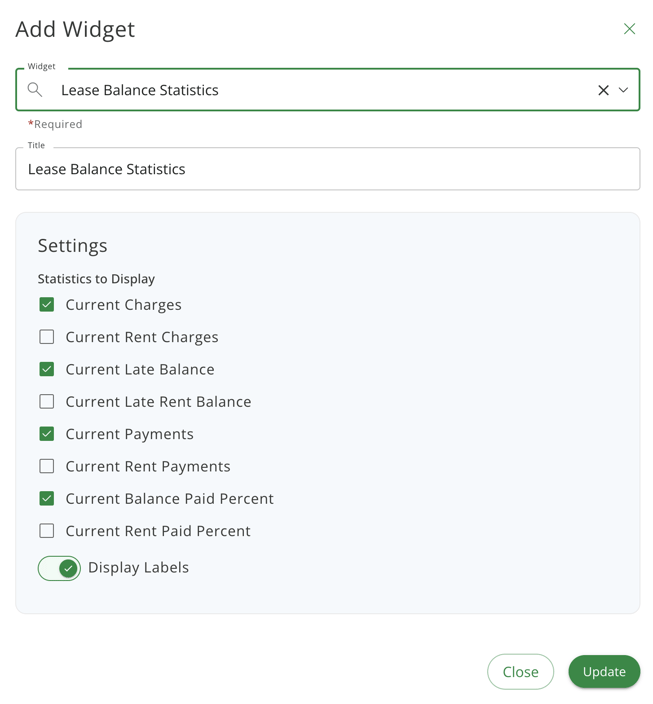
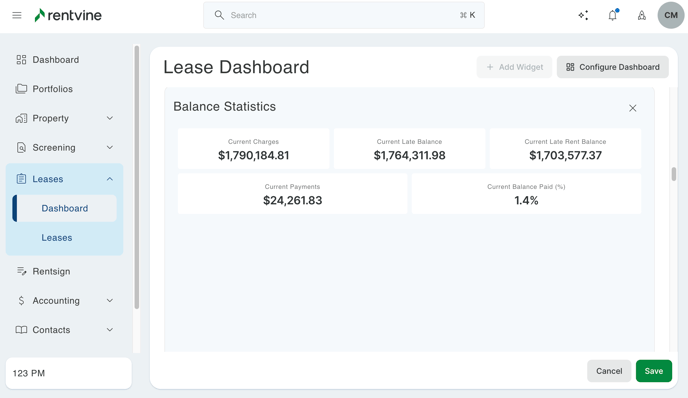
- Lease Balance Statistics- This will allow you to display a number of statistics, like current charges, current rent charges, and current balance paid.
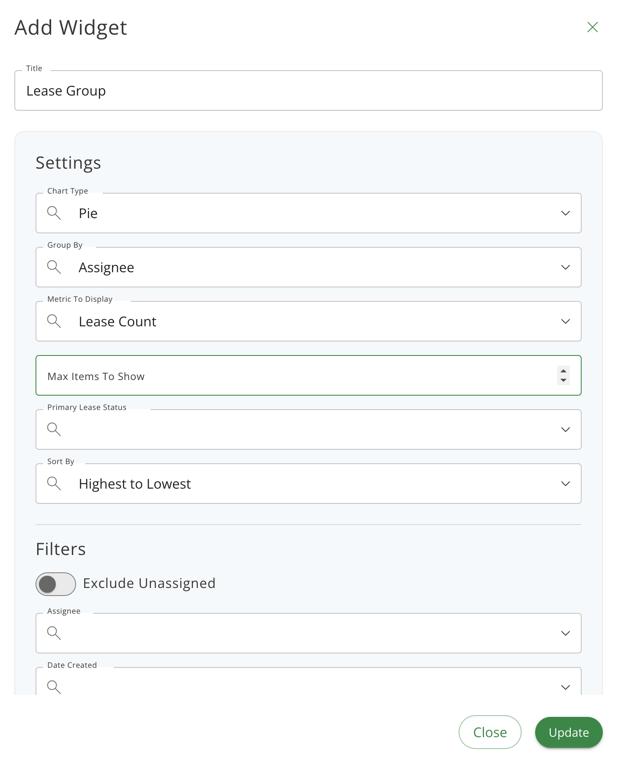
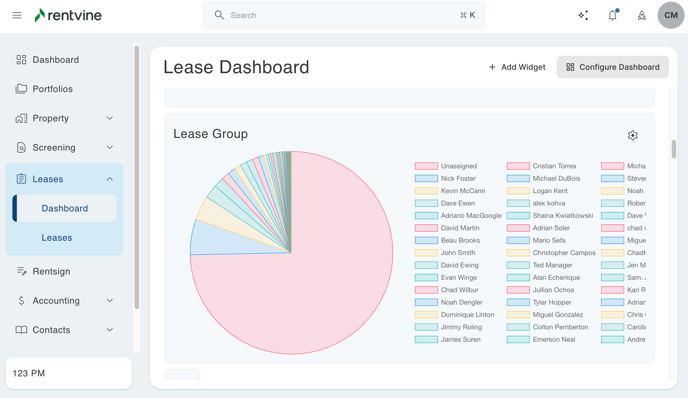
- Lease Group- This allows you to display a graph based on your lease count. This can be filtered by an assignee, creation date, and move-in date.
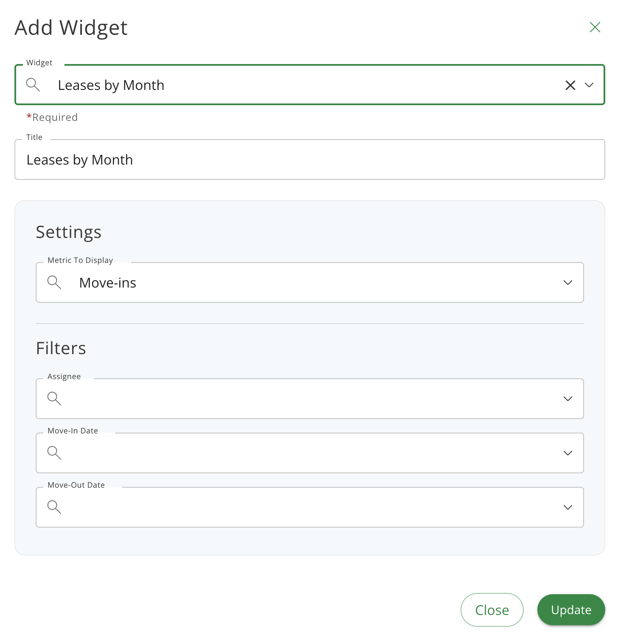
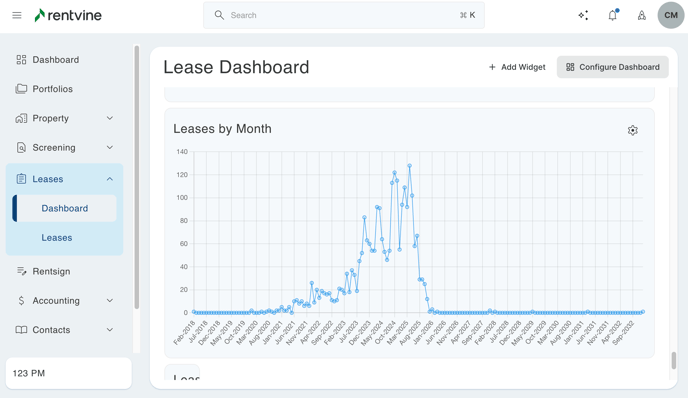
- Lease By Month- This will allow you to display a graph based on move-ins and move-outs over a span of time. This can also be filtered down to an assignee, move-in date, or move-out date.
- Rent Statistics- This will allow you to display the average rent and the total rent of all of the leases in the system.
Please note that you will have widgets labeled as "Custom". These custom labels are the default widgets that can be customized from scratch. You will also have other widgets that are not labeled that already have custom filters and statuses set. These are suggested widgets for useful information.
Example Widget Setup
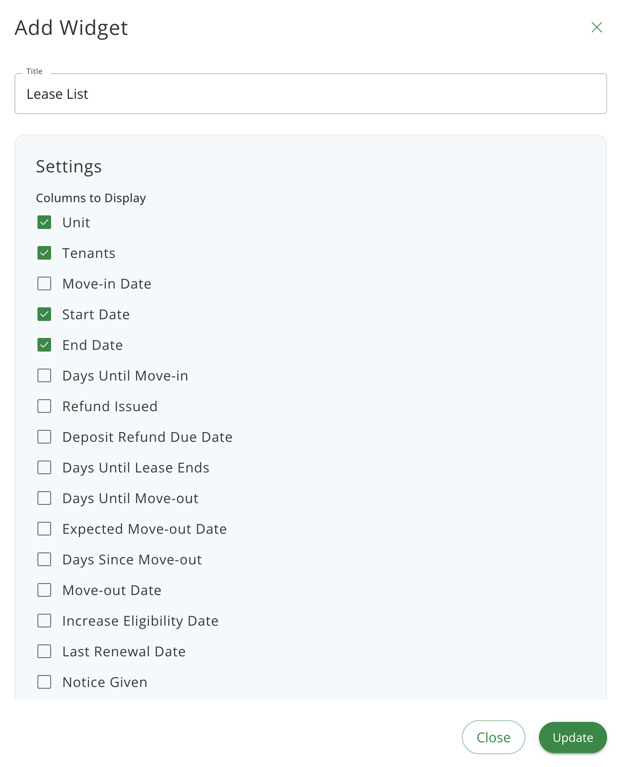
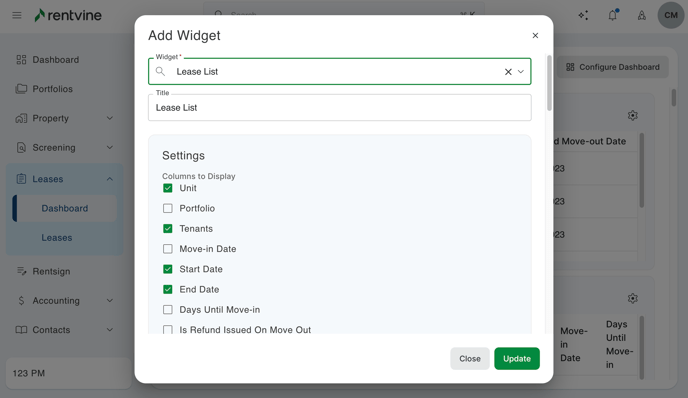
- For this example, we will use the "Lease List" custom widget. Once selected, you will see the following settings and filters:
- Title- This is where you can put a custom name that will display on the widget.
- Columns to Display- This will show all the columns that can be added to the widget. This includes things like unit, tenants, start date, days until lease ends, etc.
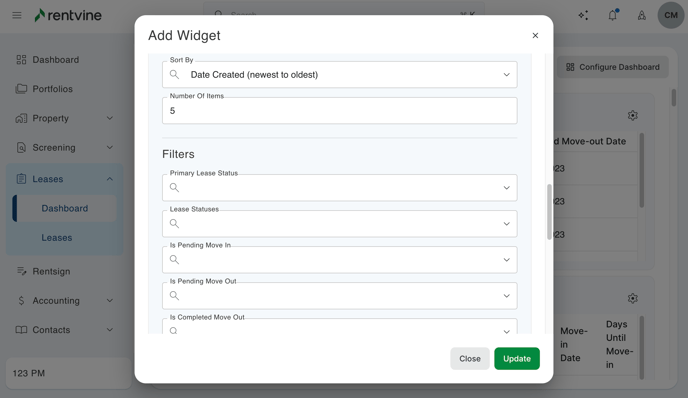
- Sort By- Allows you to sort the order by date created (newest to oldest), move-in date (oldest to newest), etc.
- Number of Items- This will be the number of rows that display on the actual widget before you have to click "Show More".
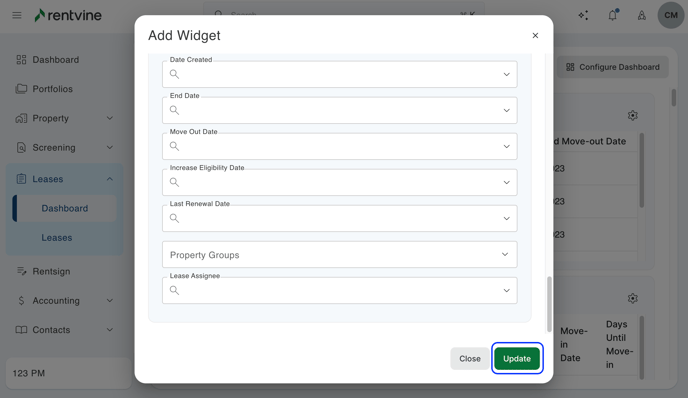
- Filters- This allows you to filter down even more using filters like move-out date, pending move-in, lease status, etc.
- When you are complete with your settings and filters, make sure to click "Update" to add the widget to your dashboard. This will add the widget to the bottom of your dashboard. If you would like to edit the size or position of this widget, you can follow the "Configure Dashboard" section of this article.
Please note that every category will have its unique filters and settings. You can also create multiple widgets using the same category with different settings/filters.
All of these dashboard widgets are available on your global dashboard. For more information regarding your global dashboard, please view this article.
- If you need any further assistance with creating custom application widgets, please don't hesitate to contact our support team at support@rentvine.com. We are here to help you with any customizations you may require.