This article will help you navigate through the reports section in Rentvine.
- This will explain the reports in Rentvine and how to filter/customize the reports to your exact preference. This will go over the options presented to you when running a report and break down all options.
- To navigate to the Reports, click the Reports Tab on the left-hand side.

- This will show the default reports retained within the software that can all be customized.

This page will show all reports, and you can now collapse sections of reports you do not need to see
If you ever need clarification on what a report might be about, you can hover over the 'i icon next to the associated report, and this will explain a summary of the report.

Filters
- When you select a report, it will navigate you to a new tab for running this report. You will be presented with default filters to run the selected report. You can also add filters by selecting the Add Filter option.

Here is a quick reference on what these filters mean.
- Equals - This allows you to select only one option in the filter
- In - This allows you to select multiple options to include in the filter
- Not In - This allows you to select multiple options to Not Include in the filter
- Is Empty - Results will appear if the field Is Empty
- Is Not Empty- Results will appear if the field Is Not Empty
- You can view all filters selected in the top section of the report. You can also edit the existing filters and add more filters by selecting the green Edit Report button.

Report Options
- These will be options that you can do for all reports.

- Refresh - This will refresh the report for new data inputted
- Email - This will allow the user to email this report to another user's email

- Export - This allows the user to print the report out as either a JSON, PDF, CSV, or Excel form

- Save - This allows the user to save the report, including the Filters and column changes to the Current Report being used.
Columns
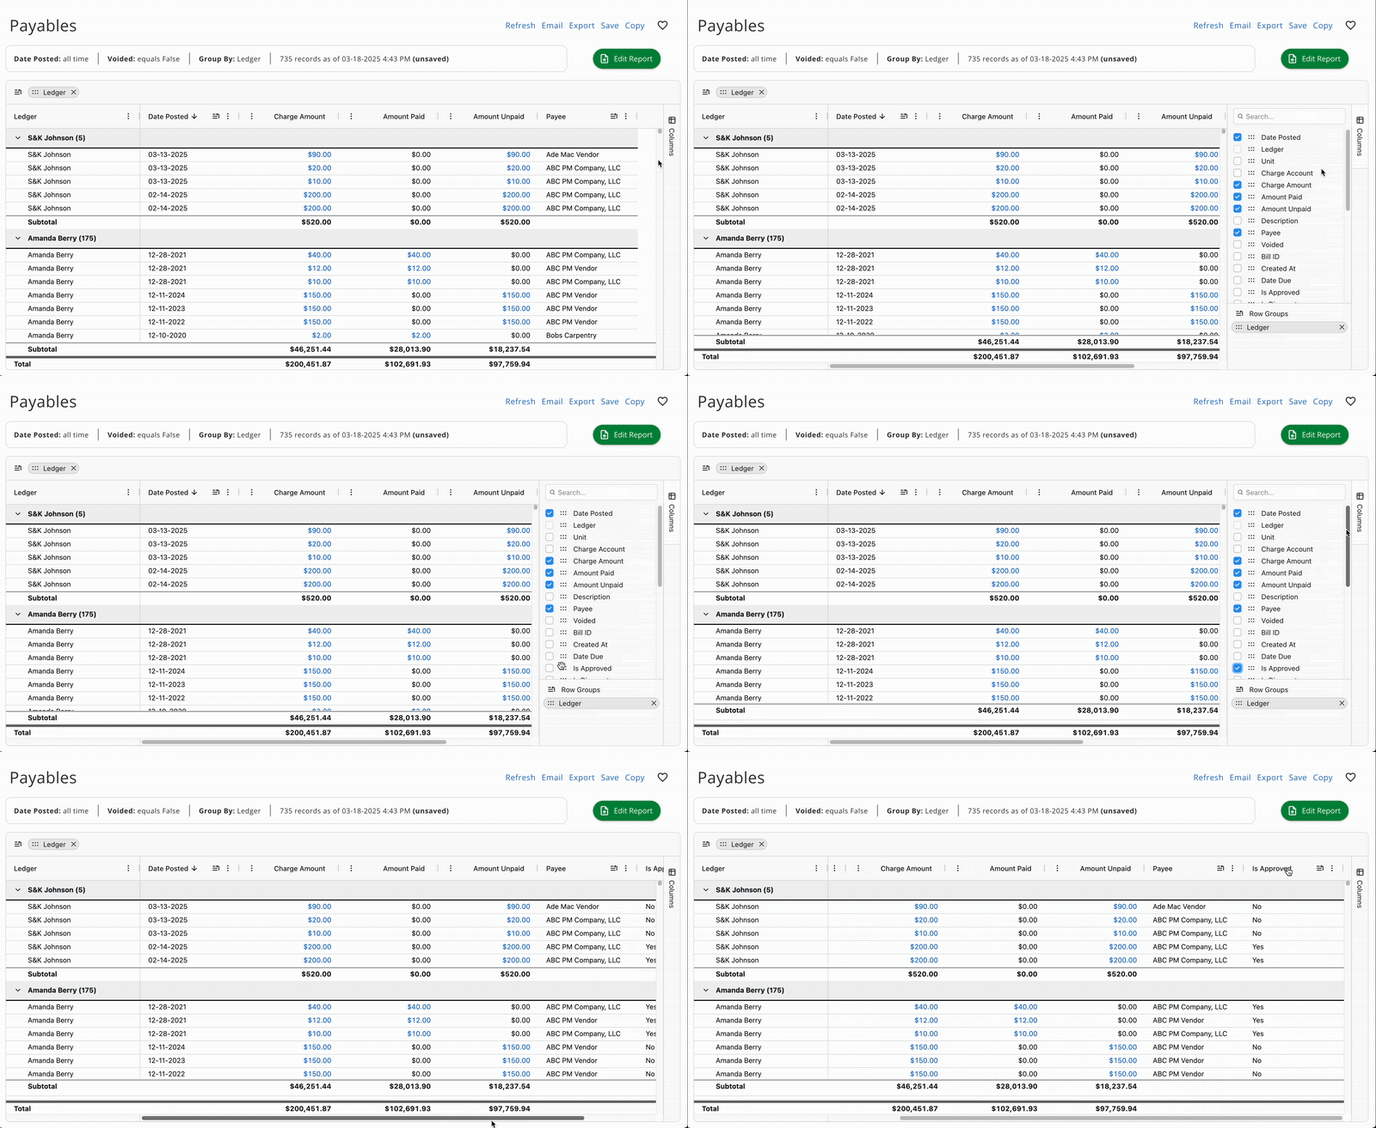
- If you would like to add Columns to the report, you can do this by clicking the Columns tab on the right side of the screen and toggling which column you would like to activate. This will automatically update the report results.


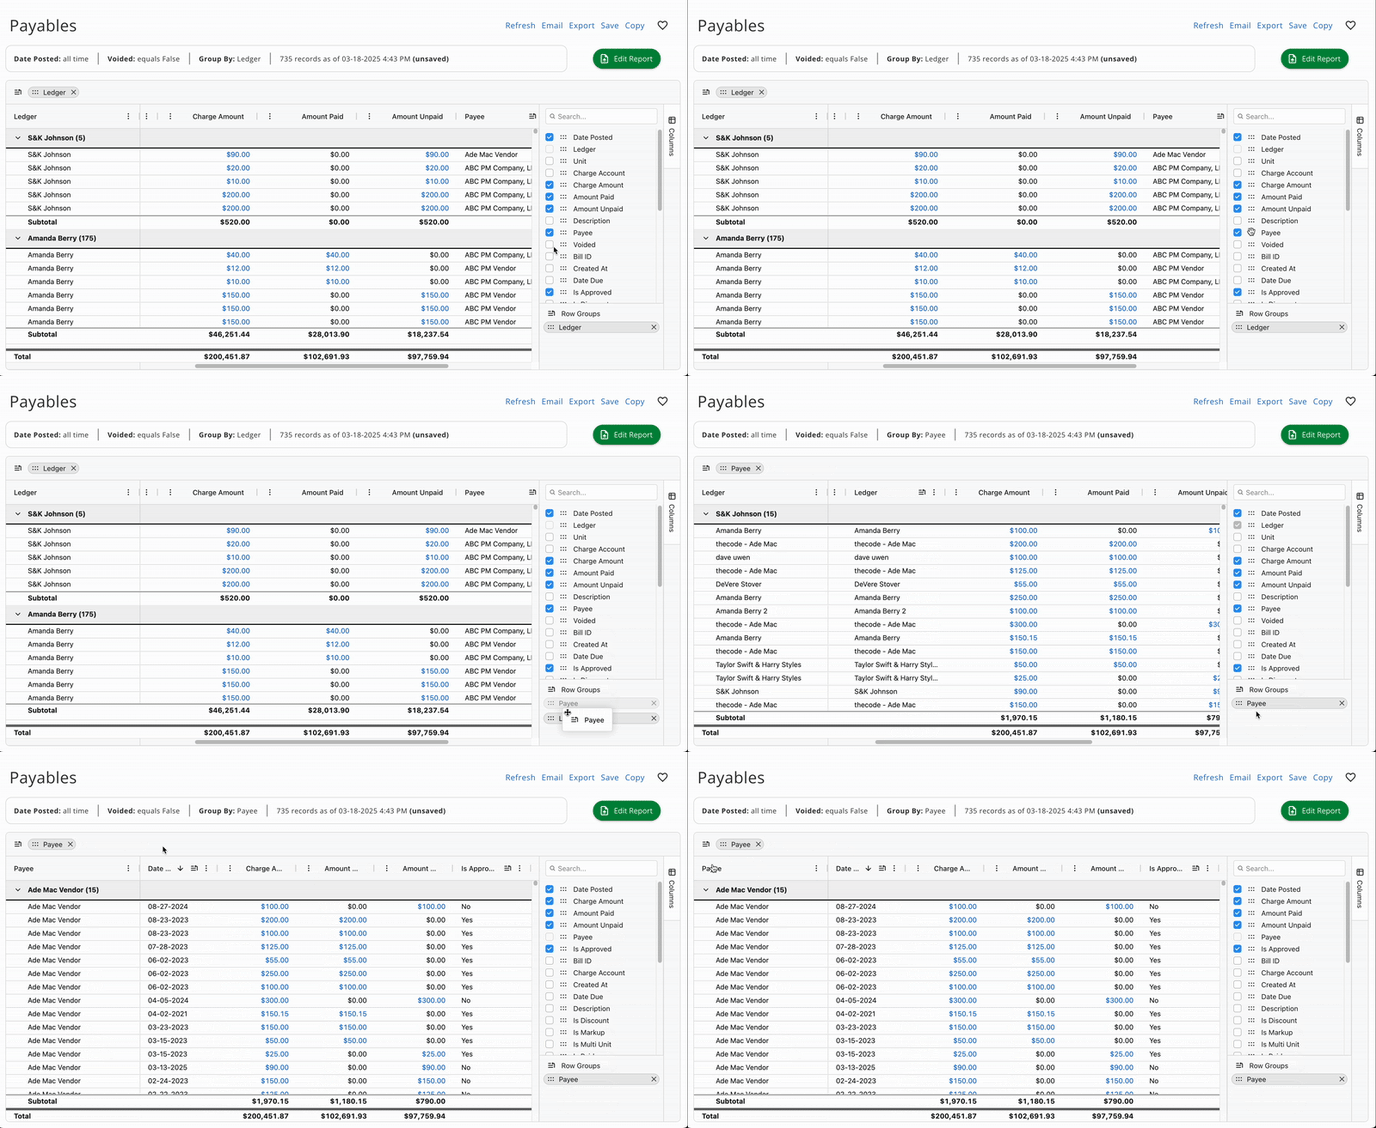
- For grouping (Row Groups), this can be found either in the Column tab or the report itself. When you drag & drop the specific grouping you would like to use for the report under the Row Group, it will automatically apply to the report.


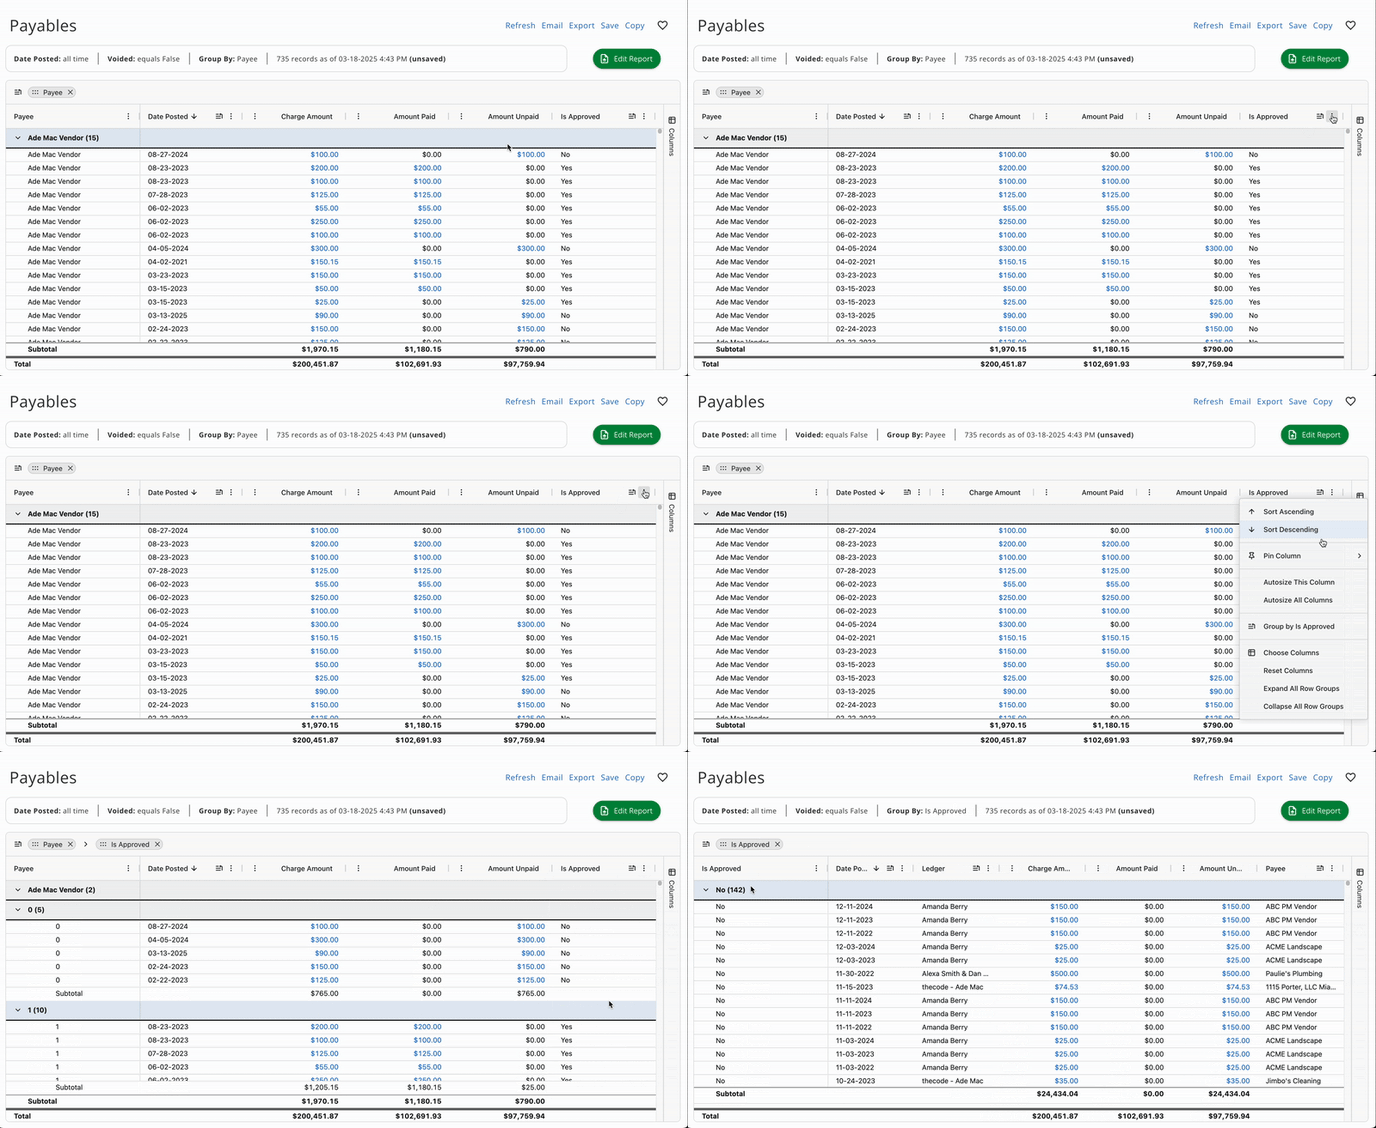
- You can also do this directly on the columns displayed on the report by clicking the ellipses next to the name and selecting the 'Group By' option.


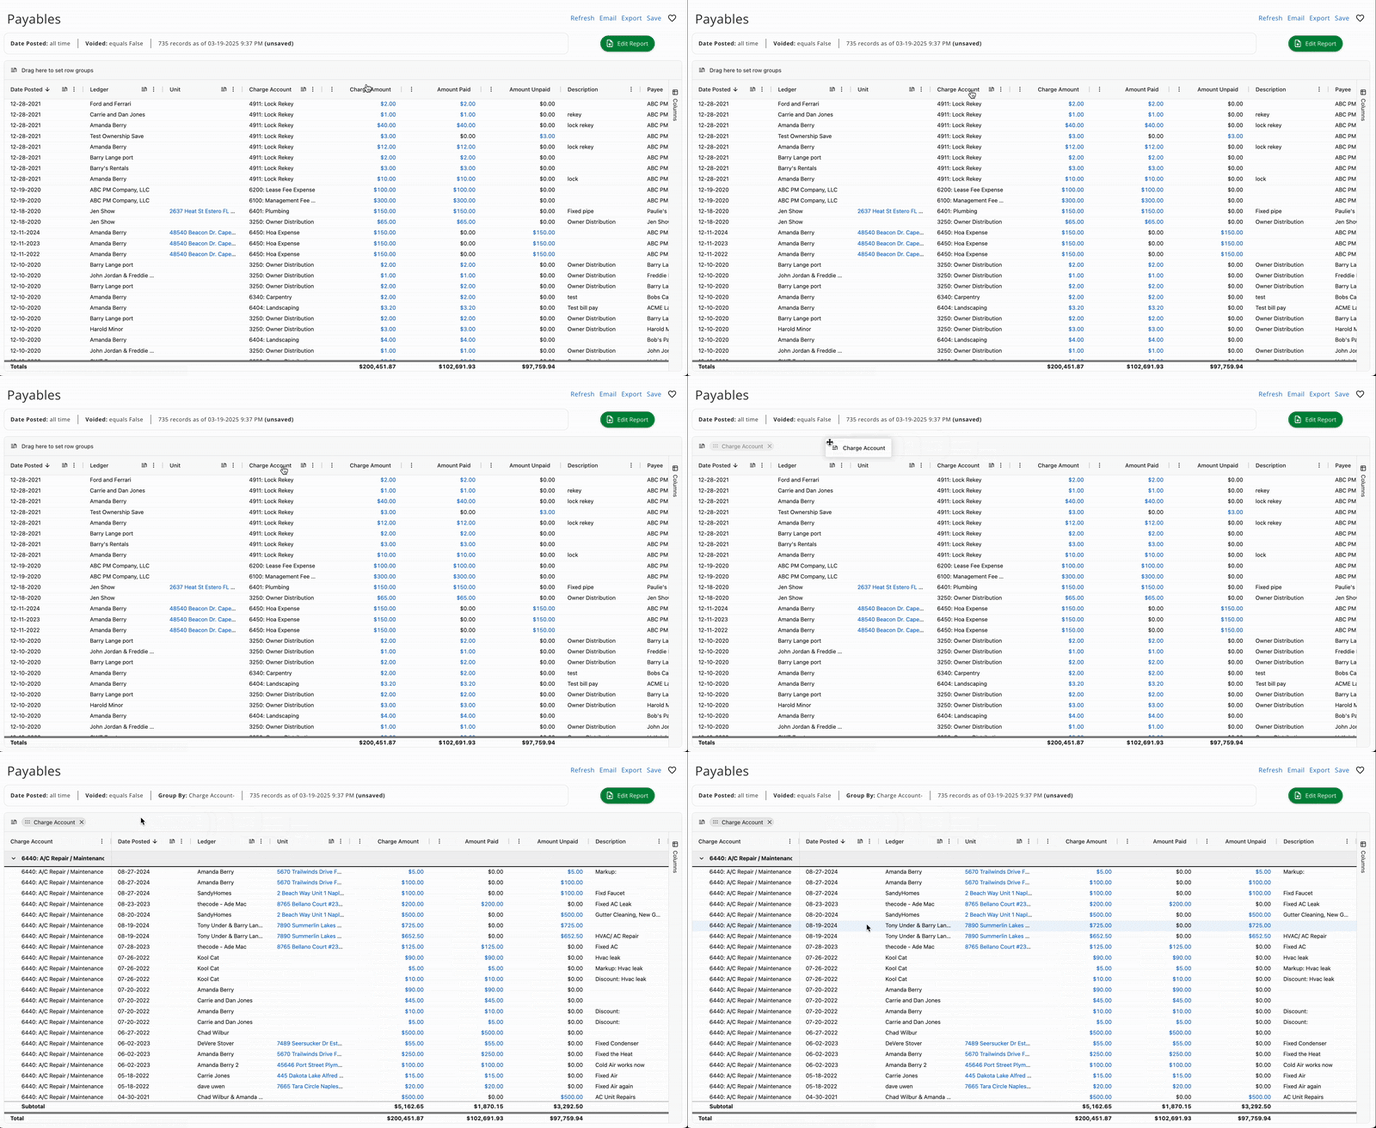
- Another option to use the Grouping feature is by dragging and dropping the Column to the grouping icon at the top left of the report.


Only columns with this icon can be used to group the results in the report.

Report Types
- Accounting Reports: Under the accounting section, you will be able to pull reports like Balance sheets, Cash Flow reports, Check Register, Bank ledgers, Unit management fees, Sales tax, chart of accounts, income statements, along many other categories. You will also be able to customize these reports, for example, by changing the date field or putting in a dollar amount to search for.
-gif-Dec-03-2025-08-26-58-9629-PM.gif?width=800&height=387&name=ezgif-com-video-to-gif-converter%20(2)-gif-Dec-03-2025-08-26-58-9629-PM.gif)
- Lease Reports: In this section, you can pull reports from the existing leases in the Rentvine Software. You can customize things completely based on the lease and information shown on the lease level, including tenant names, balances, payments, and credits, and more.

- Maintenance Reports: In this section, you can pull reports from your work orders. You can customize by property, portfolios, leases, or vendors. Also, are you able to customize by date as well? You can pull reports for Recurring work orders, inspections, and much more with this report setting.

- Property Reports: Property reports will allow you to pull from different properties or property groups to easily find what you're looking for. You can search by units under this section and customize the report fields as well. Categories under this section include: Properties, units, listings, appliances, vacancy, property groups, and associations.

- Portfolio Reports: Portfolio reports allow you to search by owner or portfolio. You can also find each portfolio balance here in this section. There are customizable search fields you can set to narrow your search down. Categories under this section include: Owners, portfolios, portfolio balances, and owner units.

- Tenant Reports: In this section, you will find a Tenant ledger report along with the Tenant report. You will be able to see each tenant's ledger and customize what you need for this report. Quickly get reports for tenants using the Tenant tab. Pull reports like delinquency reports, tenant ledger reports, and tenant unpaid charges, for example.

- Vendor Reports: In the Vendor Report section, you will see the Vendor Ledger report. This will help keep you organized on which vendors you use and also how much you are spending with each vendor. Pull a list of all your vendors with the Vendor report.

- Screening Reports: The screening report section allows you to see all of your screening payments that have gone through or are pending, and the payouts. You will also see a section for Refunds.

- RentSign Reports: This will present reports pulling information based on RentSign documents, such as the status, the type of RentSign document, filtering by the portfolio, owner, etc.

- General Reports: Under General Reports, there is a section to pull reports from your notes in the system. This will give you details on when the note was posted and if it is shared with the owner, for example. If you select the Email tab, you can search for emails you have sent out in the past to make it easier to find what you're looking for.

