Do you want to display your logo and branding to your vendors, applicants, owners, and tenants? This article will walk you through setting this up and how this will be displayed to your customers.
Quick View Guide
Set-Up
- To enter your branding you will need to navigate to your global settings. You can access this by clicking your initials in the top right-hand corner of your account and clicking "Settings".


- From this global settings page, you will navigate to the "Account Manager" setting under the "Account" section.

- This will display information regarding your property management company. In this setting, you will focus on the "Branding Section". Here you will have a "Branding Logo" and a "Branding Icon".

- To upload a branding logo click on the pencil icon in the top right-hand corner of this box. This will pull up an uploader for you to drag and drop an image, or upload an image straight from the files on your computer. You will also see an option to delete the current image and the recommended resolution for the image (133 x 20px). When you have uploaded your logo click "Save" in the bottom right. This will insert your logo on all portals and notifications.


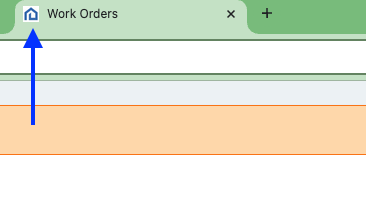
- To upload a branding icon you can click the pencil icon in the "Branding Icon" section. This will bring up an uploader for you to drag and drop an image, or upload an image straight from the files on your computer. You will also see an option to delete the current image and the recommended resolution for the image (100 x 100px). When you have uploaded your icon click "Save" in the bottom right. This will update the logo that is displayed on your customers' tab within their web browser.


Please note that if either of these sections are left blank then it will default to the Rentvine logo or icon.
Display Examples
- The below screen grabs show how your logo will display within the tenant portals, vendor portals, applicant portals, and owner portals.


- The sign-in page and register portal page will also reflect your updated image.


- All print options within the customer portal and on your manager portal. Below is an example of the print option from the green actions button navigation on a lease.


- If you upload an image in the icon section you will see that the tab of the web browser will display that image for all tenants, vendors, owners, and applicants when they enter their portal.

- All customer-facing notifications that are sent to owners, tenants, applicants, and vendors will have your branding at the top of the notification. Below is an example of a notification sent to an owner when a work order is published to their portal.

- When a Rentsign document is sent your branding will display in the Accept Terms and Setup Signature section.


- When the QR code is scanned within the Rapid Invoice section your branding will display.


- If you have public owner statements enabled for owners then when these are sent out to your owners, they will see your branding.


Please note that there will be a Powered-by-Rentvine banner so your customers know they can reach out to Rentvine if they need support for the software.
