This article will show you how to configure a default set of recurring charges. These recurring charges will then be pre-filled for you as you are creating a financial lease during the move in process for all leases you create.
- Navigate to the Global Settings section of your Rentvine account
- Go to the settings page (click on the ellipsis next to your name in the lower left corner of the page and select Settings)
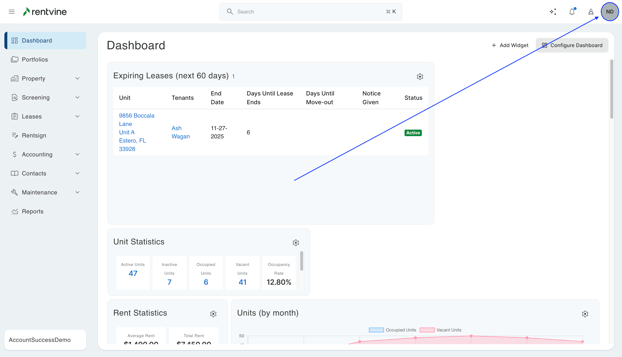
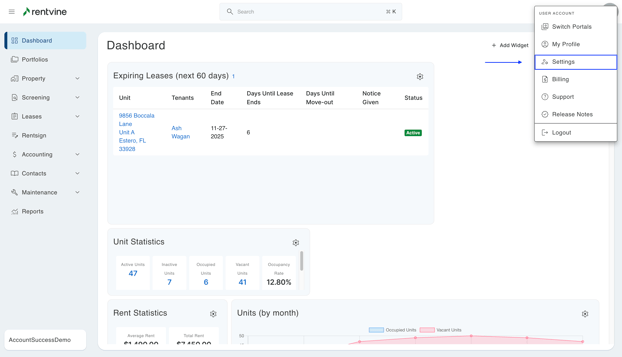
- Go to the settings page (click on the ellipsis next to your name in the lower left corner of the page and select Settings)
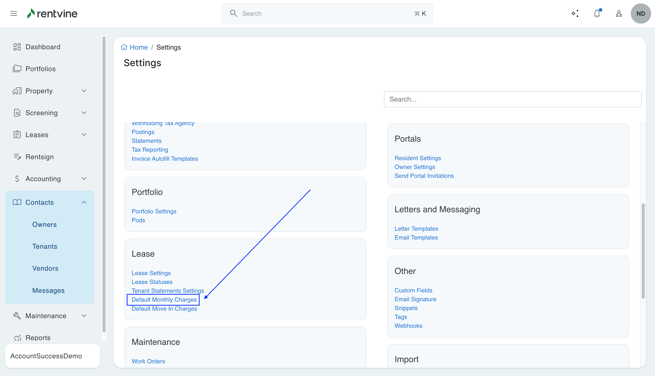
- Under the Lease section, click on Default Monthly Charges
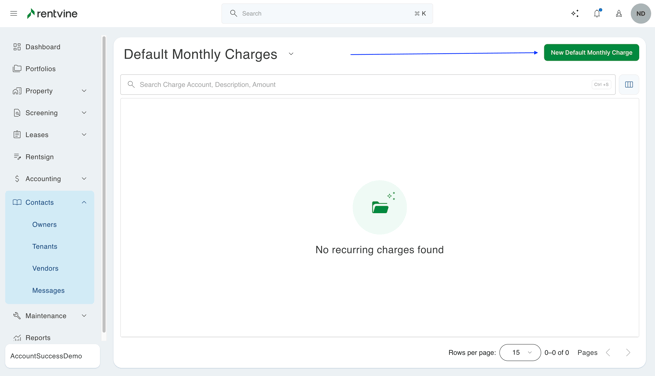
- On the right side, click on the green New Default Monthly Charge button
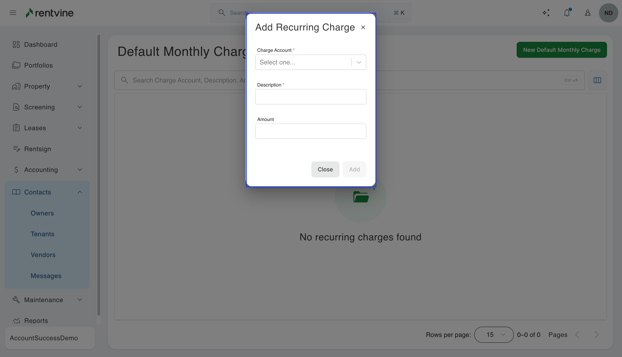
- In the Add Recurring Charge screen, fill out the fields below
- Select the Charge Account from the drop down menu
- The Description will pre-fill based on the name of the charge account, but you can adjust this if needed
- Enter in an Amount if the amount for the charge is typically consistent among all or most of your leases. This is not a required field, so you can leave this field blank, and enter in the amount at the time of the lease creation. You will also be able to adjust this amount if you do enter in an amount at this time
-
Click the green Save button
- The next time you create a financial lease (Move In process), the recurring charge(s) you just created will appear on the Recurring Charges screen automatically, along with a recurring charge for your rent account
You do not need to create a default monthly charge for Rent. The move-in process already includes that recurring charge.
