In Rentvine, you can switch your custom fields around if you like to have them set in a group or singular on the details page. This article will guide you on how to properly switch your custom fields around.
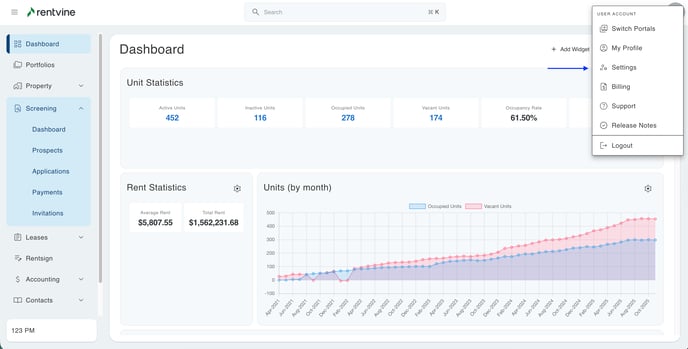
- Go to your Global Settings by clicking the ellipsis next to your name and click on settings
- Scroll down to the bottom of the page and click on "Custom Field" in the "Other" Category

- Now you can select from the different types of fields where you would like to add your custom text. Keep in mind, you can only move existing fields under the same SUBJECT. Ex: if you create one in "Lease", you cannot move it to "Property"

- For this Example, we are going to select lease, and you will notice all the different groups associated with the Lease details tab in Rentvine.

- To move them in this field, hover over the blocks by each name, and you are going to left-click them and drag to your desired location. Once each category is in the correct group, you will need to hit save changes, and you will be all set!
If you still need more help after reading this article, please feel free to reach out to Support@rentvine.com for more help!