STEP ONE:
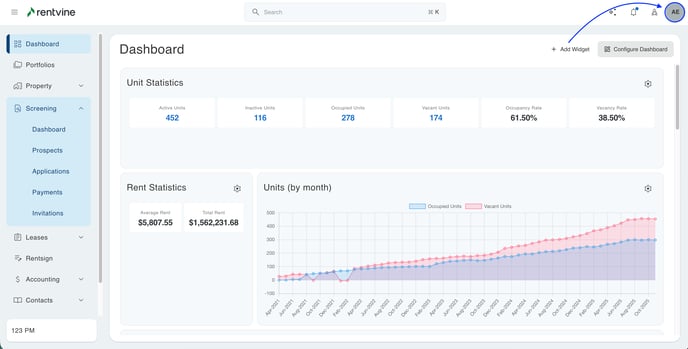
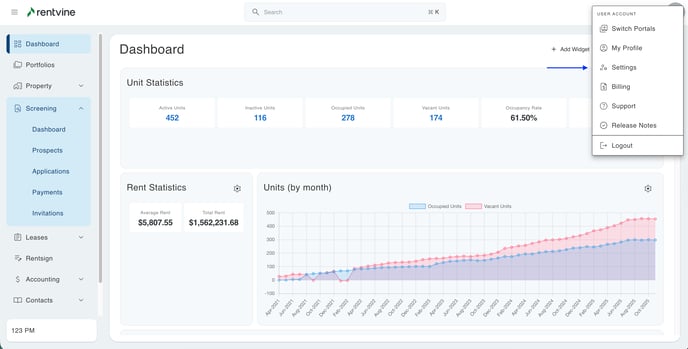
Go to your Global Settings
STEP TWO:
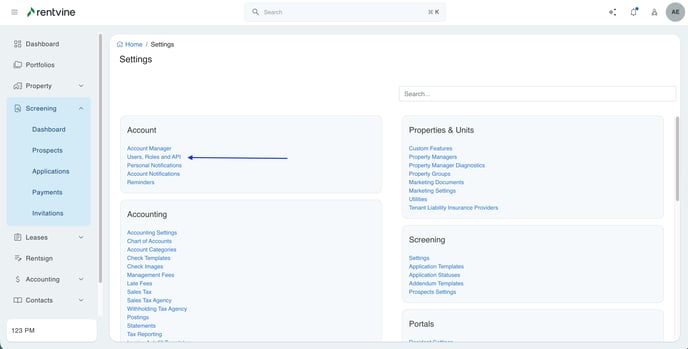
Click on USERS, ROLES, AND API
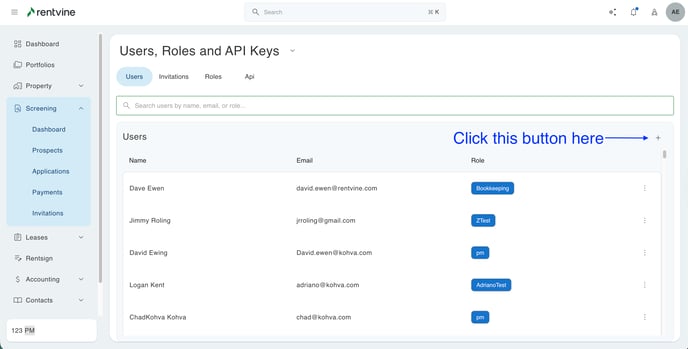
STEP THREE:
Next, you will click on the " + " button on the top right of the screen.
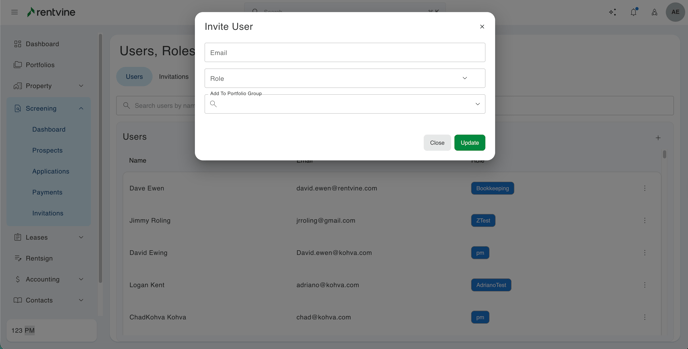
STEP FOUR:
Type in their EMAIL, select a ROLE , and add the user to a PORTFOLIO GROUP, also known as a POD. A PORTFOLIO GROUP is optional.
Click SAVE when completed.
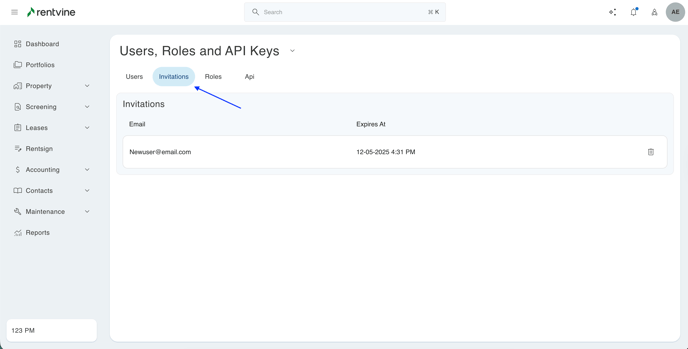
STEP FIVE:
Your invite has been sent, and you should see a confirmation on the Invitations tab.
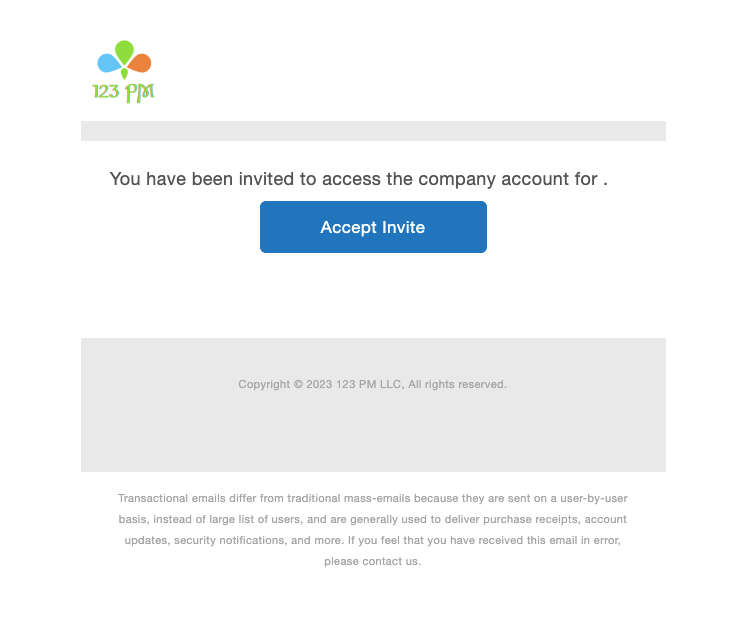
STEP SIX:
The recipient will receive an email asking them to accept the invite. They can click on the Accept Invite button.
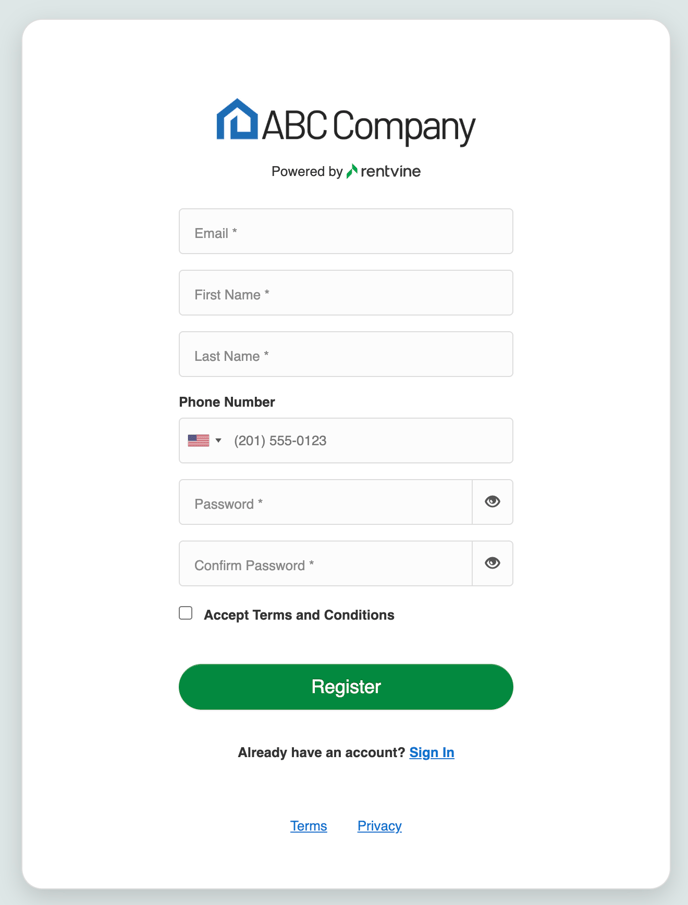
They will be asked to register and fill out the details below. Once they fill out the details below, they will hit the REGISTER button at the bottom of the page. They are now a registered user in Rentvine.
*NOTE: If the user already has an account established with Rentvine, they will NOT need to register again. They will simply hit the blue SIGN IN button at the bottom of the page and use their same username and password they registered with before.*