How to Create a Vendor Contact
How to Create a Vendor Contact
Navigate to the Contacts section of Rentvine and select Vendors. 
Under Actions, select New Vendor. Create a contact for your Vendor.
Fill in Vendor Details.
- Name
- Override Name to Owner - if you would like to display a different name than the vendor name on the owner-displayed content, fill in the alternative name here.
- Code - a code is a unique naming convention that can be used to ease searching and sorting reports. This could be the vendor's name vs company or a number association.
- Website URL
- Default Charge Account - enter if a vendor is handling a specific type of work that should always be applied to a certain Chart of Account. For example, if a plumbing vendor's invoices are always for the Plumbing Chart of Account, enter to have that Chart of Account populate for all bills.
- Vendor Type - if the vendor has a specific category of work they perform, enter the Vendor Type, which will help populate the vendor as an option when assigning a work order.
For more information on Vendor Types, see the article How to Add/Create Vendor Type.
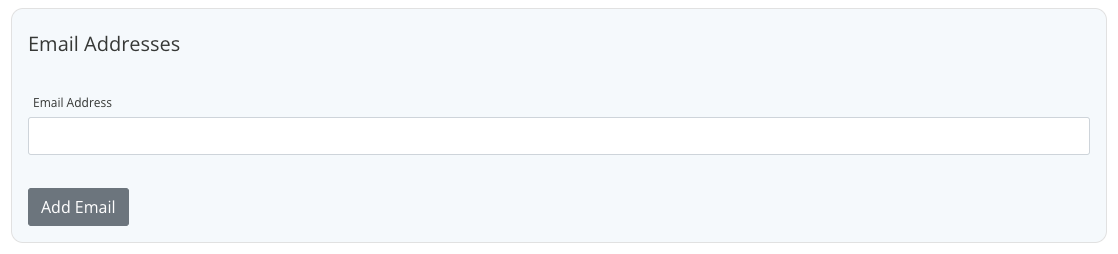
Enter Email Addresses and select Add Email to enter any additional email addresses for the vendor.
Enter Phone Numbers, Phone Type, and Description if applicable. Add Phone to enter any additional phone numbers for the vendor. 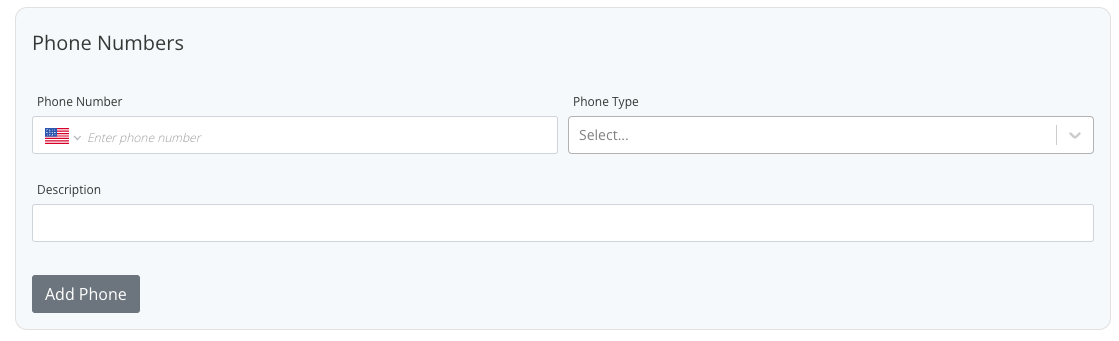
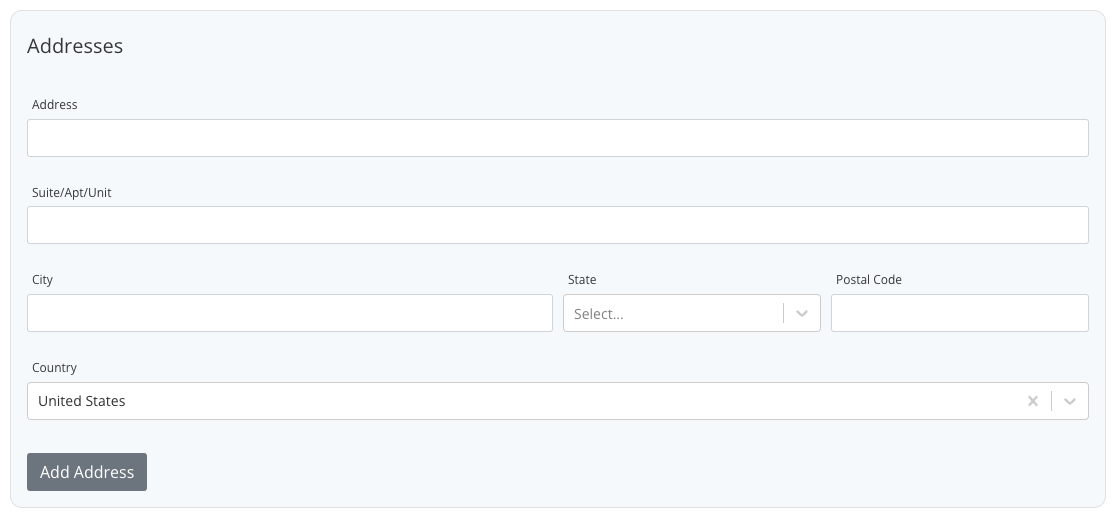
Fill in Addresses and Add Address for additional addresses for the vendor.
Enter Payment Information.
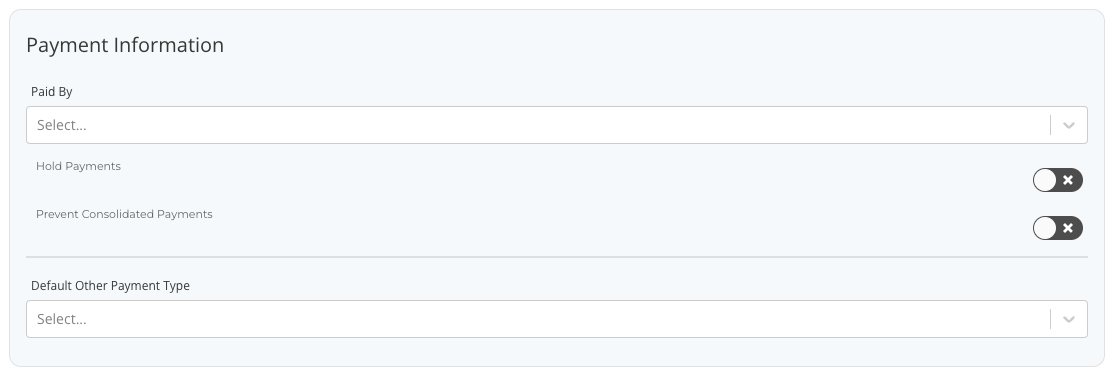
- Paid By - enter the payment method by which the vendor will be paid (i.e., e-check, check, etc.)
- Hold Payments - toggle on to prevent payments.
- Prevent Consolidated Payments - toggle on to separate the payments made to the vendor instead of consolidating the payments if paying multiple invoices into one large payment.
- Default Other Payment Type - If 'Paid By' is entered as 'Other' and the vendor is always paid by another payment type, fill in the default payment type.
Enter Tax Information.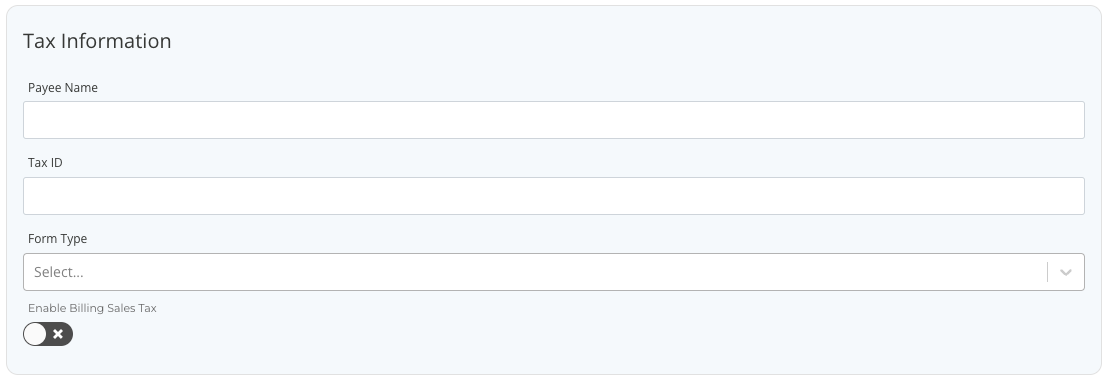
- Payee Name
- Tax ID
- Form Type - leave blank if the vendor does not apply to a 1099
- Enable Billing Sales Tax - toggle on to enable billing sales tax
If applicable, enter Discount Information.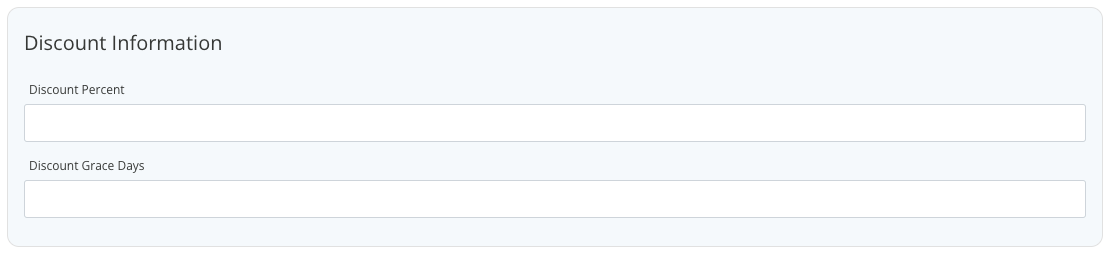
Drag and drop or select to upload any applicable attachments for the vendor. Select Save, or Save and Add Another to create another vendor.

How to Send a Portal Invite
After the vendor contact has been created, navigate to the vendor page. Under Invitations, select Send Invitation.

The invitation to activate the portal will expire after 30 days. They will continue to receive reminder emails every 3 days if not accepted.