Watch the Video
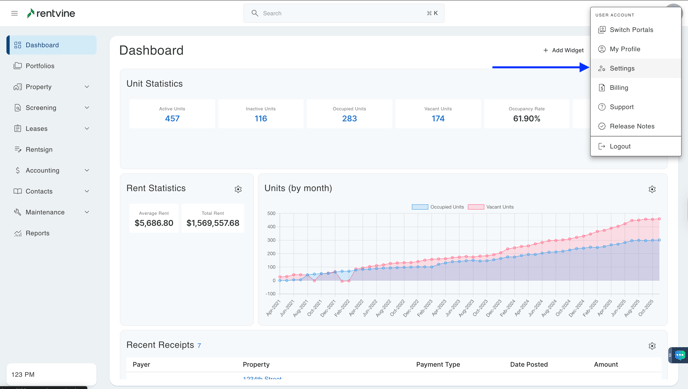
- Go to the settings page (click on the ellipsis next to your name in the lower left corner of the page and select Settings)
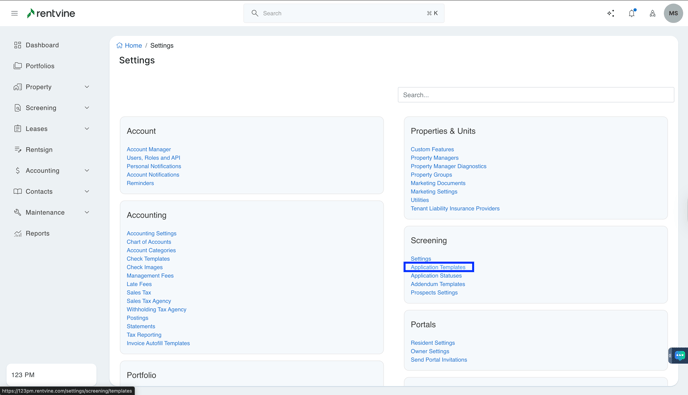
- Once you are within the Settings of your Rentvine account, you will locate the Screening section.
- You will want to click Application Templates.
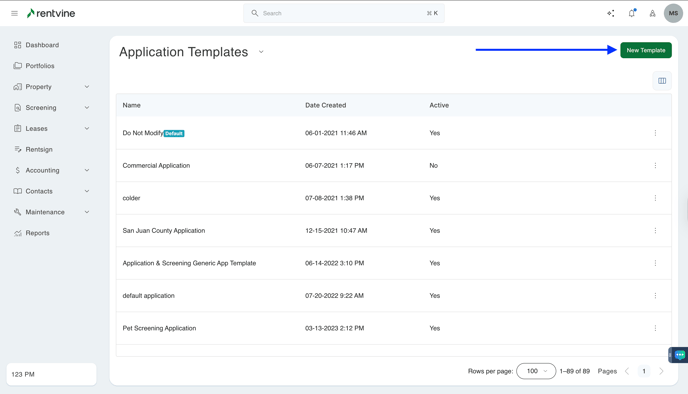
- On the Application Templates page, you are going to click New Template to begin to build your new application.
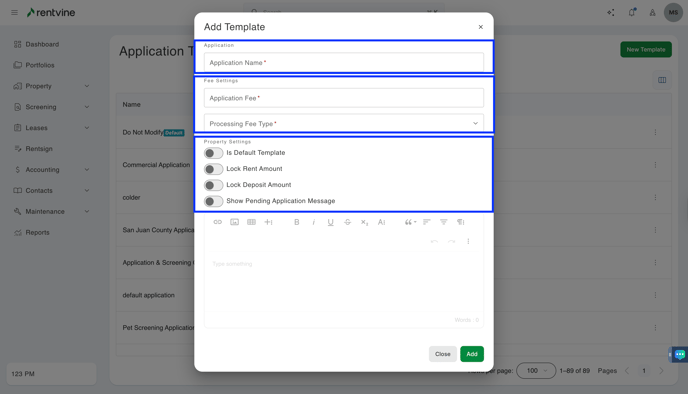
- You will be taken to the Application Settings, this will allow you to customize your Application Name, Application Fee, and how you would like to pay the Rentvine Processing Fee (I will Pay the Fee or Tenants Pays The Fee - *as an additional line item upon payment and submission of application).
- You can further customize the "Application Settings" by utilizing the Property Settings - make this new application template the Default Template
- Turn ON the Available Properties Only feature to ensure applicants are selecting an available property.
- You are also able to Lock Rent Amount, Lock Deposit Amount, and Show Pending Application Message. Click Save to be taken to the Application Builder to begin to customize your application.
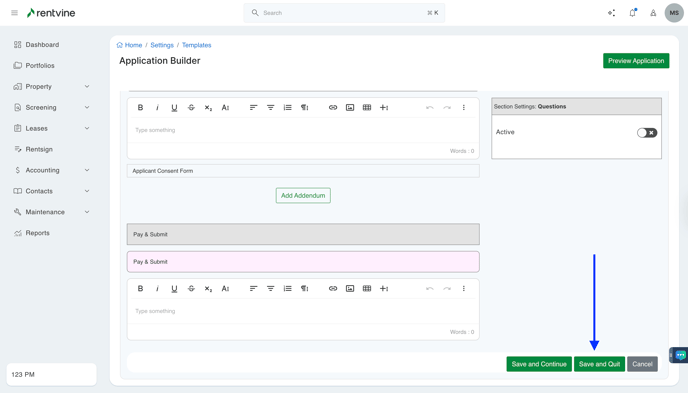
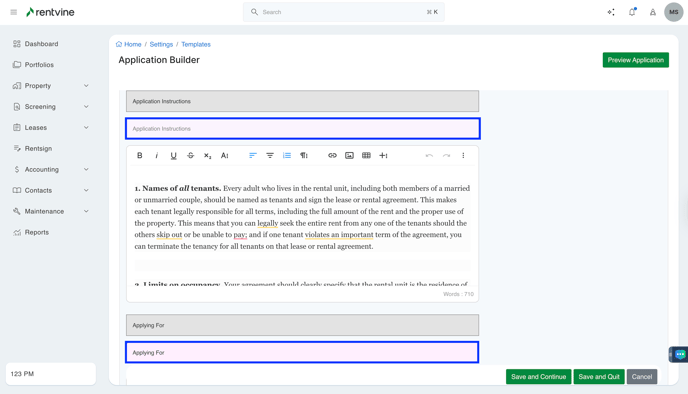
- On the Application Builder page, you will be able to scroll down to customize your application template. The different Sections within the application are highlighted in Pink. By clicking on the Pink Sections, a Section Settings area will appear on the right-hand side of your screen. The Section Settings will allow you to make the section Active or Not Active.
*Please note that some of the Sections within the Application Builder cannot be deactivated due to the screening integration with TransUnion.
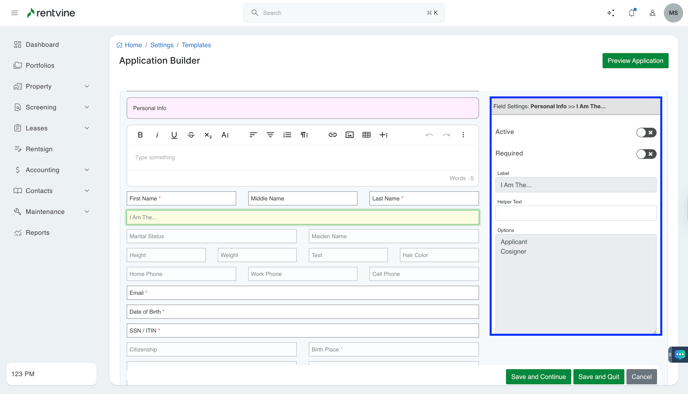
- Within the Sections of your Application Builder, you have different fields you are able to customize as well.
- By clicking on the Fields, it will populate Field Settings, which will give you the ability to turn this field Active/Not Active, Required/Optional, customize the Label name, add Helper Text, and also customize the Options within the Fields.
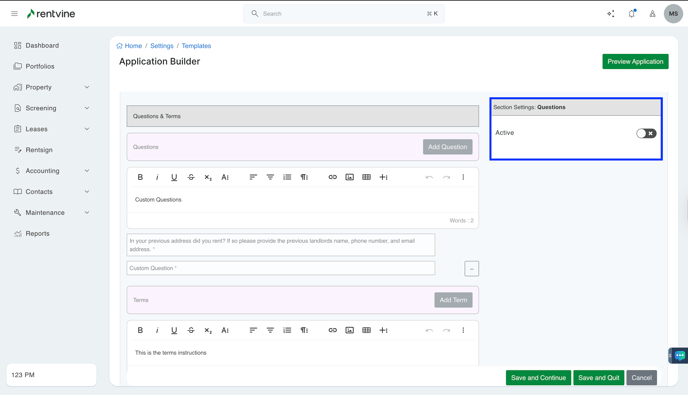
- Click Add Question to be able to add questions for the applicant to answer Yes or No.
- Underneath the Questions section, you have the Terms section where you can add terms for applicants to initial. Simply click Add Term to be able to begin adding your terms to your application template.
- Once you are complete with making changes to your Application Builder, you will click Save and Quit. This will take you back to the Application Templates page.
- If you would like to save your work and continue making edits to your application, you will select Save and Continue.