
Step 1: From your dashboard, click on the Reports Tab on the left navigation menu.

Step 2: Select the report you would like to run and customize.

Step 3: You can choose additional filters to add more details to your report. Depending on the report you choose, the additional filters will reflect that report. Fill out the filters that apply to you.

Here is a quick reference on what these filters mean.
- Equals - This allows you to select only one option in the filter
- In - This allows you to select multiple options to include in the filter
- Not In - This allows you to select multiple options to Not Include in the filter
- Is Empty - Results will appear if the field Is Empty
- Is Not Empty- Results will appear if the field Is Not Empty
Step 4: If you would like to add Columns to the report, you can do this by clicking the Columns tab on the right side of the screen and toggling which column you would like to activate. This will automatically update the report results.

Step 5: For grouping (Row Groups), this can be found either in the Column tab or the report itself. When you drag & drop the specific grouping you would like to use for the report under the Row Group, it will automatically apply to the report.


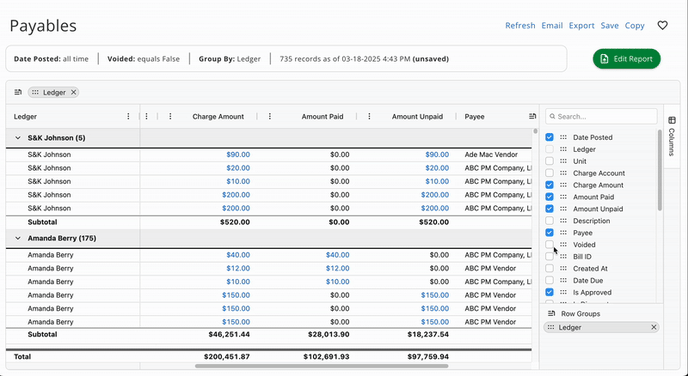
You can also do this directly on the columns displayed on the report by clicking the ellipses next to the name and selecting the 'Group By' option.

Another option to use the Grouping feature is by dragging and dropping the Column to the grouping icon at the top left of the report.

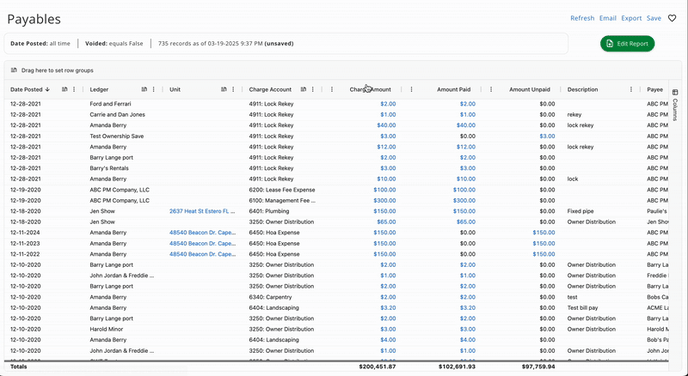
Only columns with this icon can be used to group the results in the report.
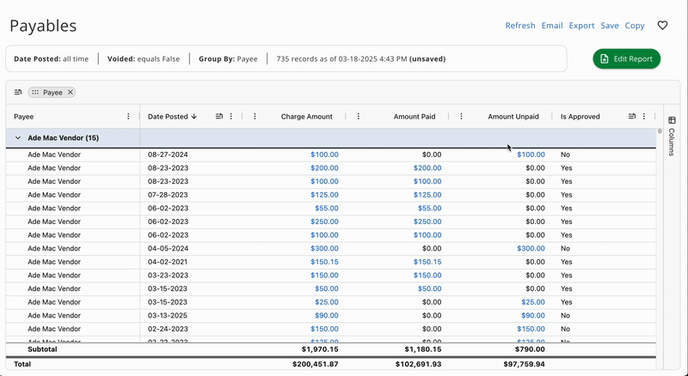
Step 6: Your report is complete and ready to view.
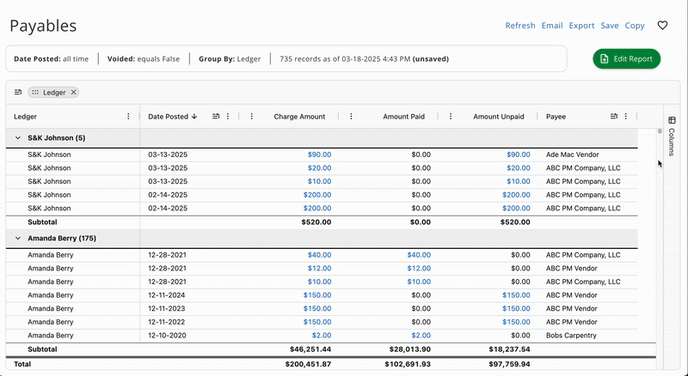
Step 7: You can click Save, and this will save all the customization you added, and the report will be the same when you pull it up next from the saved report list.


Step 8: View the new report under the Saved Reports section.