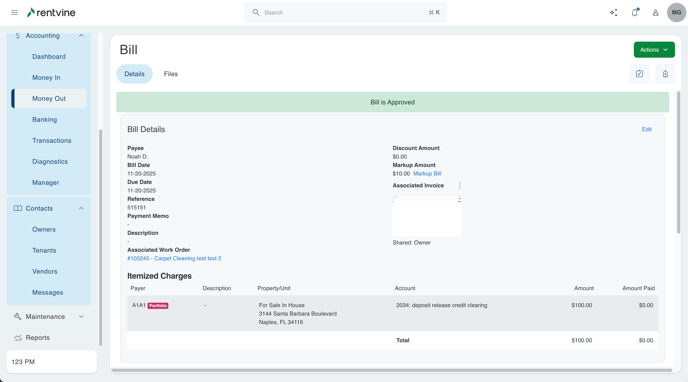
Do you have vendors who submit invoices and need specific information on all the invoices that they submit? This article will walk you through creating an autofill template assigning that to a vendor, and give an example of how this will reflect.
Quick View Guide
Template Creation
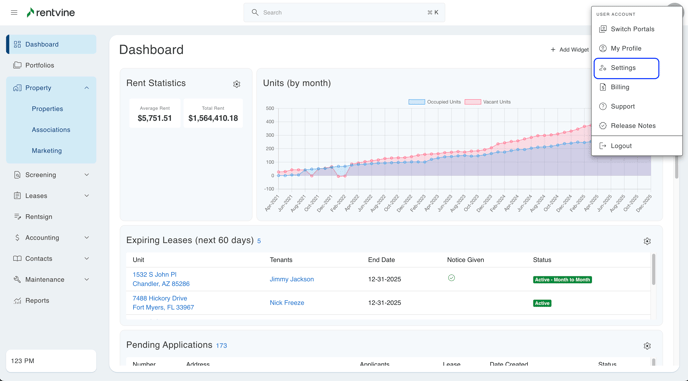
- To create a template, navigate to your global settings by clicking your initials in the top right-hand corner of your account. Next, click on "Settings".
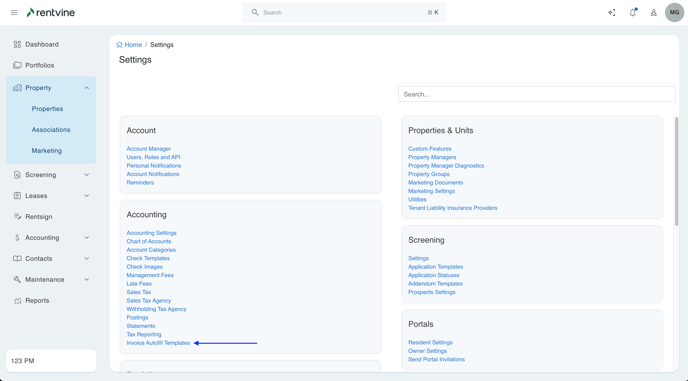
- From the global settings navigation, you can click on "Invoice Autofill Templates" under the Accounting settings.
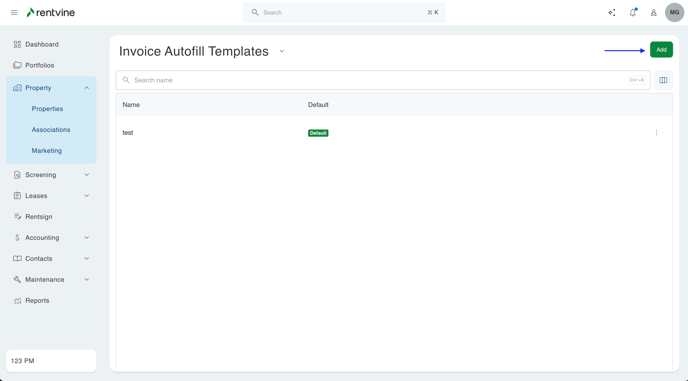
- To create a new invoice autofill template, you can click the green "Add" button in the top right corner of this page.
- From this page, you will see multiple fields that you can fill out. For more information on these fields, see below:
- Name- This will be the name used when assigning this template to vendors.
- Default Toggle- If this toggle is toggled on, it will make this template the default on all vendors that do not have a template attached at the vendor contact level. If a vendor already has a different template attached, then this default toggle will NOT override that option.
- Bill Description- Whatever is input here will be automatically put into the bill description field on any invoice whenever a vendor with this template attached is selected.
- Payment Memo- Whatever is input here will be automatically put into the memo field on any invoice whenever a vendor with this template attached is selected.
- Charge Description- Whatever is input here will be automatically put into the charge description field on any invoice whenever a vendor with this template attached is selected.
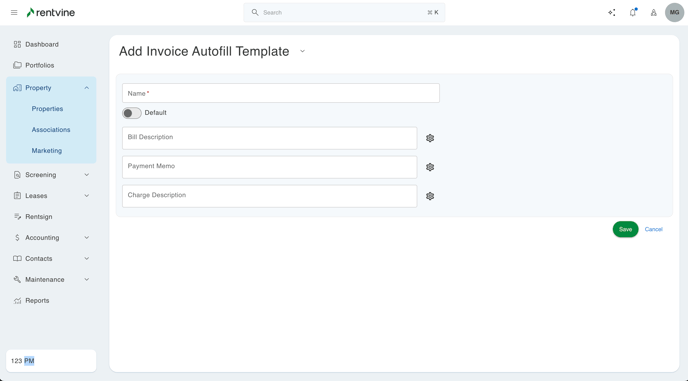
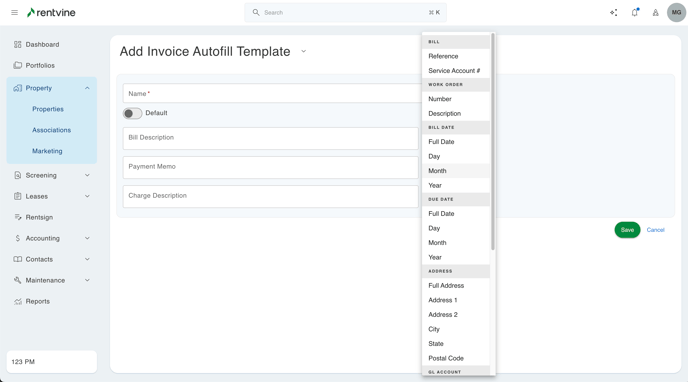
- You will also notice a cog icon next to these options. Clicking on this icon will allow you to pull hot fields from information already filled out on the invoice. You will have the following options:
- Bill
- Reference- will automatically pull the filled reference number of the invoice if this field is filled out
- Service Account #- will automatically pull the filled service account number of the invoice if this field is filled out.
- Work Order
- Number- will automatically pull the work order number of the associated work order on the invoice.
- Work Order Description- will automatically pull the work order description of the associated work order on the invoice.
- Bill Date
- Full Date- this will automatically pull the day, month, and year of the bill date if it is filled out.
- Day- this will automatically pull the day of the bill date if it is filled out.
- Month- this will automatically pull the month of the bill date if it is filled out.
- Year- this will automatically pull the year of the bill date if it is filled out.
- Due Date
- Full Date- this will automatically pull the day, month, and year of the due date if it is filled out.
- Day- this will automatically pull the day of the due date if it is filled out.
- Month- this will automatically pull the month of the due date if it is filled out.
- Year- this will automatically pull the year of the due date if it is filled out.
- Address
- Full Address- this will pull the full address of the property this invoice is associated with, including the address, city, state, and postal code.
- Address 1- This will pull the address 1 line from the property address of the property associated with this invoice.
- Address 2- this will pull the address 2 line from the property address of the property associated with this invoice.
- City- this will pull the city line from the property address of the property associated with this invoice.
- State- this will pull the state line from the property address of the property associated with this invoice.
- Postal Code- this will pull the postal code line from the property address of the property associated with this invoice.
- GL Account
- Account- this will pull the general ledger account name and number that is used when creating the invoice.
- Account Number- this will pull the general ledger account number that is used when creating the invoice.
- Account Name- this will pull the general ledger account name that is used when creating the invoice.
- Service Start Date
- Full Date- this will be the day, month, and year of the service start date field if this information is filled out on the invoice.
- Day- this will be the day of the service start date field if this information is filled out on the invoice.
- Month- this will be the month of the service start date field if this information is filled out on the invoice.
- Year- this will be the year of the service start date field if this information is filled out on the invoice.
- Service End Date
- Full Date- this will be the day, month, and year of the service end date field if this information is filled out on the invoice.
- Day- this will be the day of the service end date field if this information is filled out on the invoice.
- Month- this will be the month of the service end date field if this information is filled out on the invoice.
- Year- this will be the year of the service end date field if this information is filled out on the invoice.
- Bill

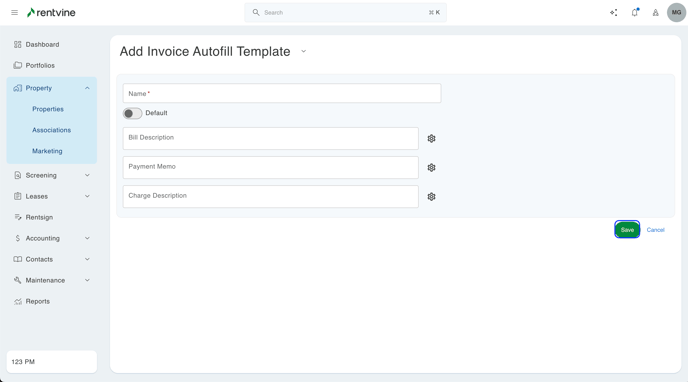
- When you have completed these steps, you can click save to create your invoice autofill template.
Associating a Template
- How the system will know to pull these fields into an invoice automatically will be based on the vendor that is selected as the payee on the invoice. To associate a specific template to be used per vendor, you will need to navigate to the contacts tab from the left navigation and click "Vendors".
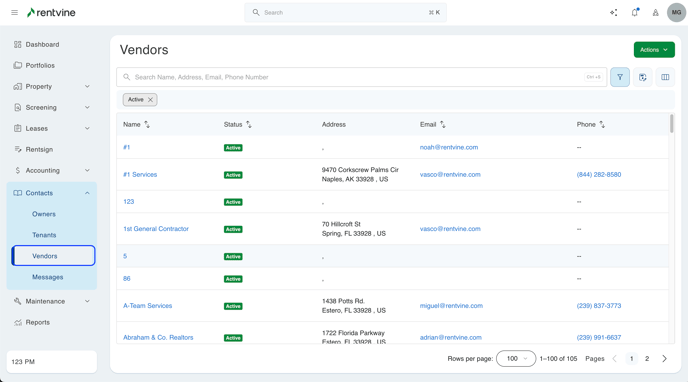
- From here, you will select the vendor contact you would like to associate an invoice autofill template with.
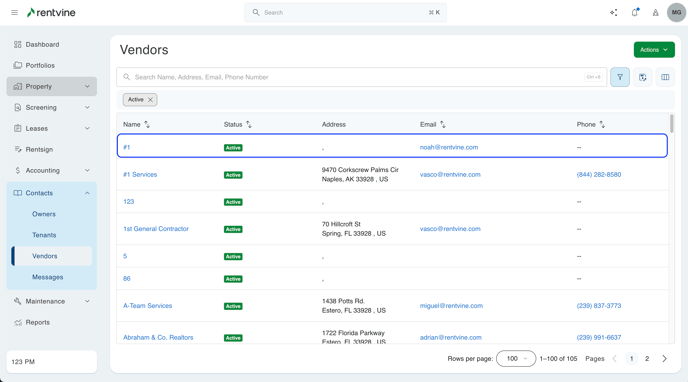
- In the vendor details portion of their contact, you can click the pencil icon to edit information. You can then select the invoice autofill template you would like to use whenever this vendor contact is selected as the payee on an invoice.
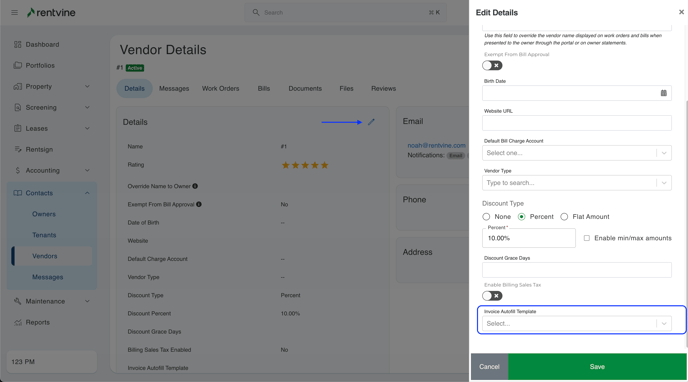
Please note that if this field is left blank and you selected "Is Default" in the template creation screen, then this vendor will use that default template whenever they are selected as the payee on an invoice.
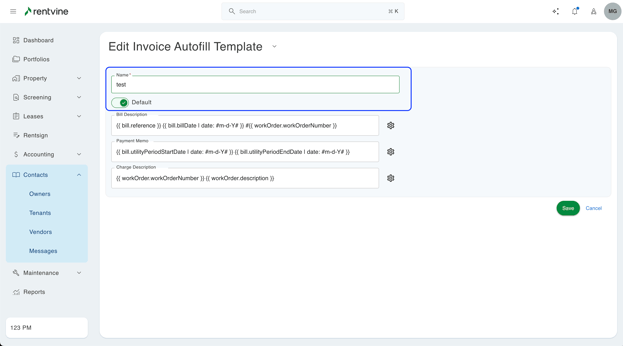
Invoice Autofill Template Example
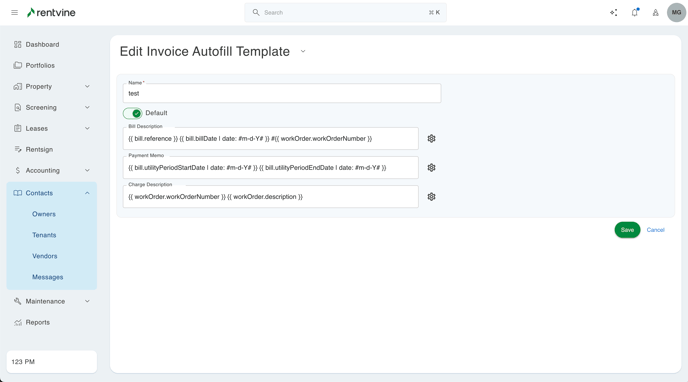
- For this example, we are going to use the following template that has the service account number hot field as the bill description, the bill due date hot field as the payment memo, and the service start and service end date hot fields as the charge description.
- Navigating to the accounting tab from the left navigation, you can click on money out. You can then click on invoices to view all pending invoices in the system.
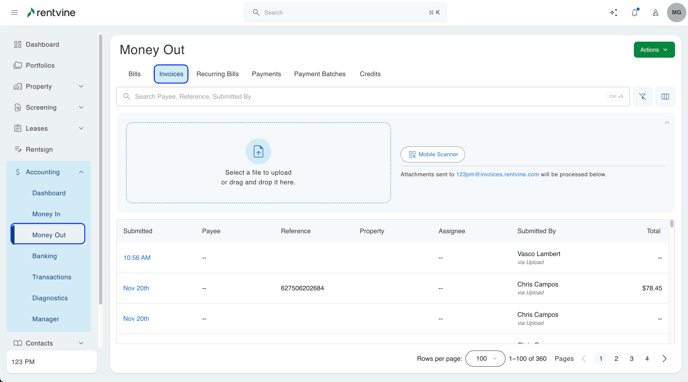
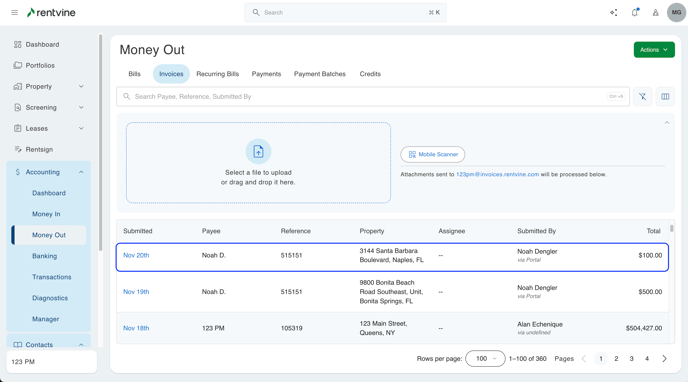
- The top invoice here will be an invoice from a vendor where our example template is attached at the vendor contact level, so all of this information will automatically be pulled.
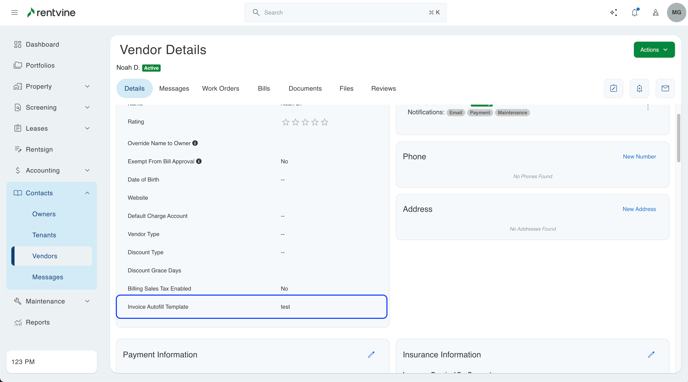
- Clicking into the invoice, you will notice that the memo, bill description, and charge description are already prefilled with the information from the template. This will also include the hot field script and will populate the data once the invoice is converted into a bill.
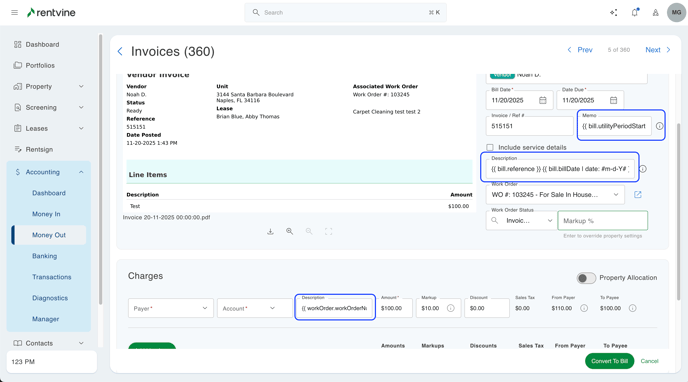
- To view what the hot field will pull when you convert the invoice to a bill, you can hover over the 'i' icon next to the field. This will show you what will populate when the designated fields are filled out. For this example, the memo is pulled from the predictive value date due field that was pulled upon invoice creation.

- If you would like these to be pulled, you can manually enter this information into the respective field, and you will see the information automatically update. For this example, we have the service start date and service end date hot fields under the charge description.
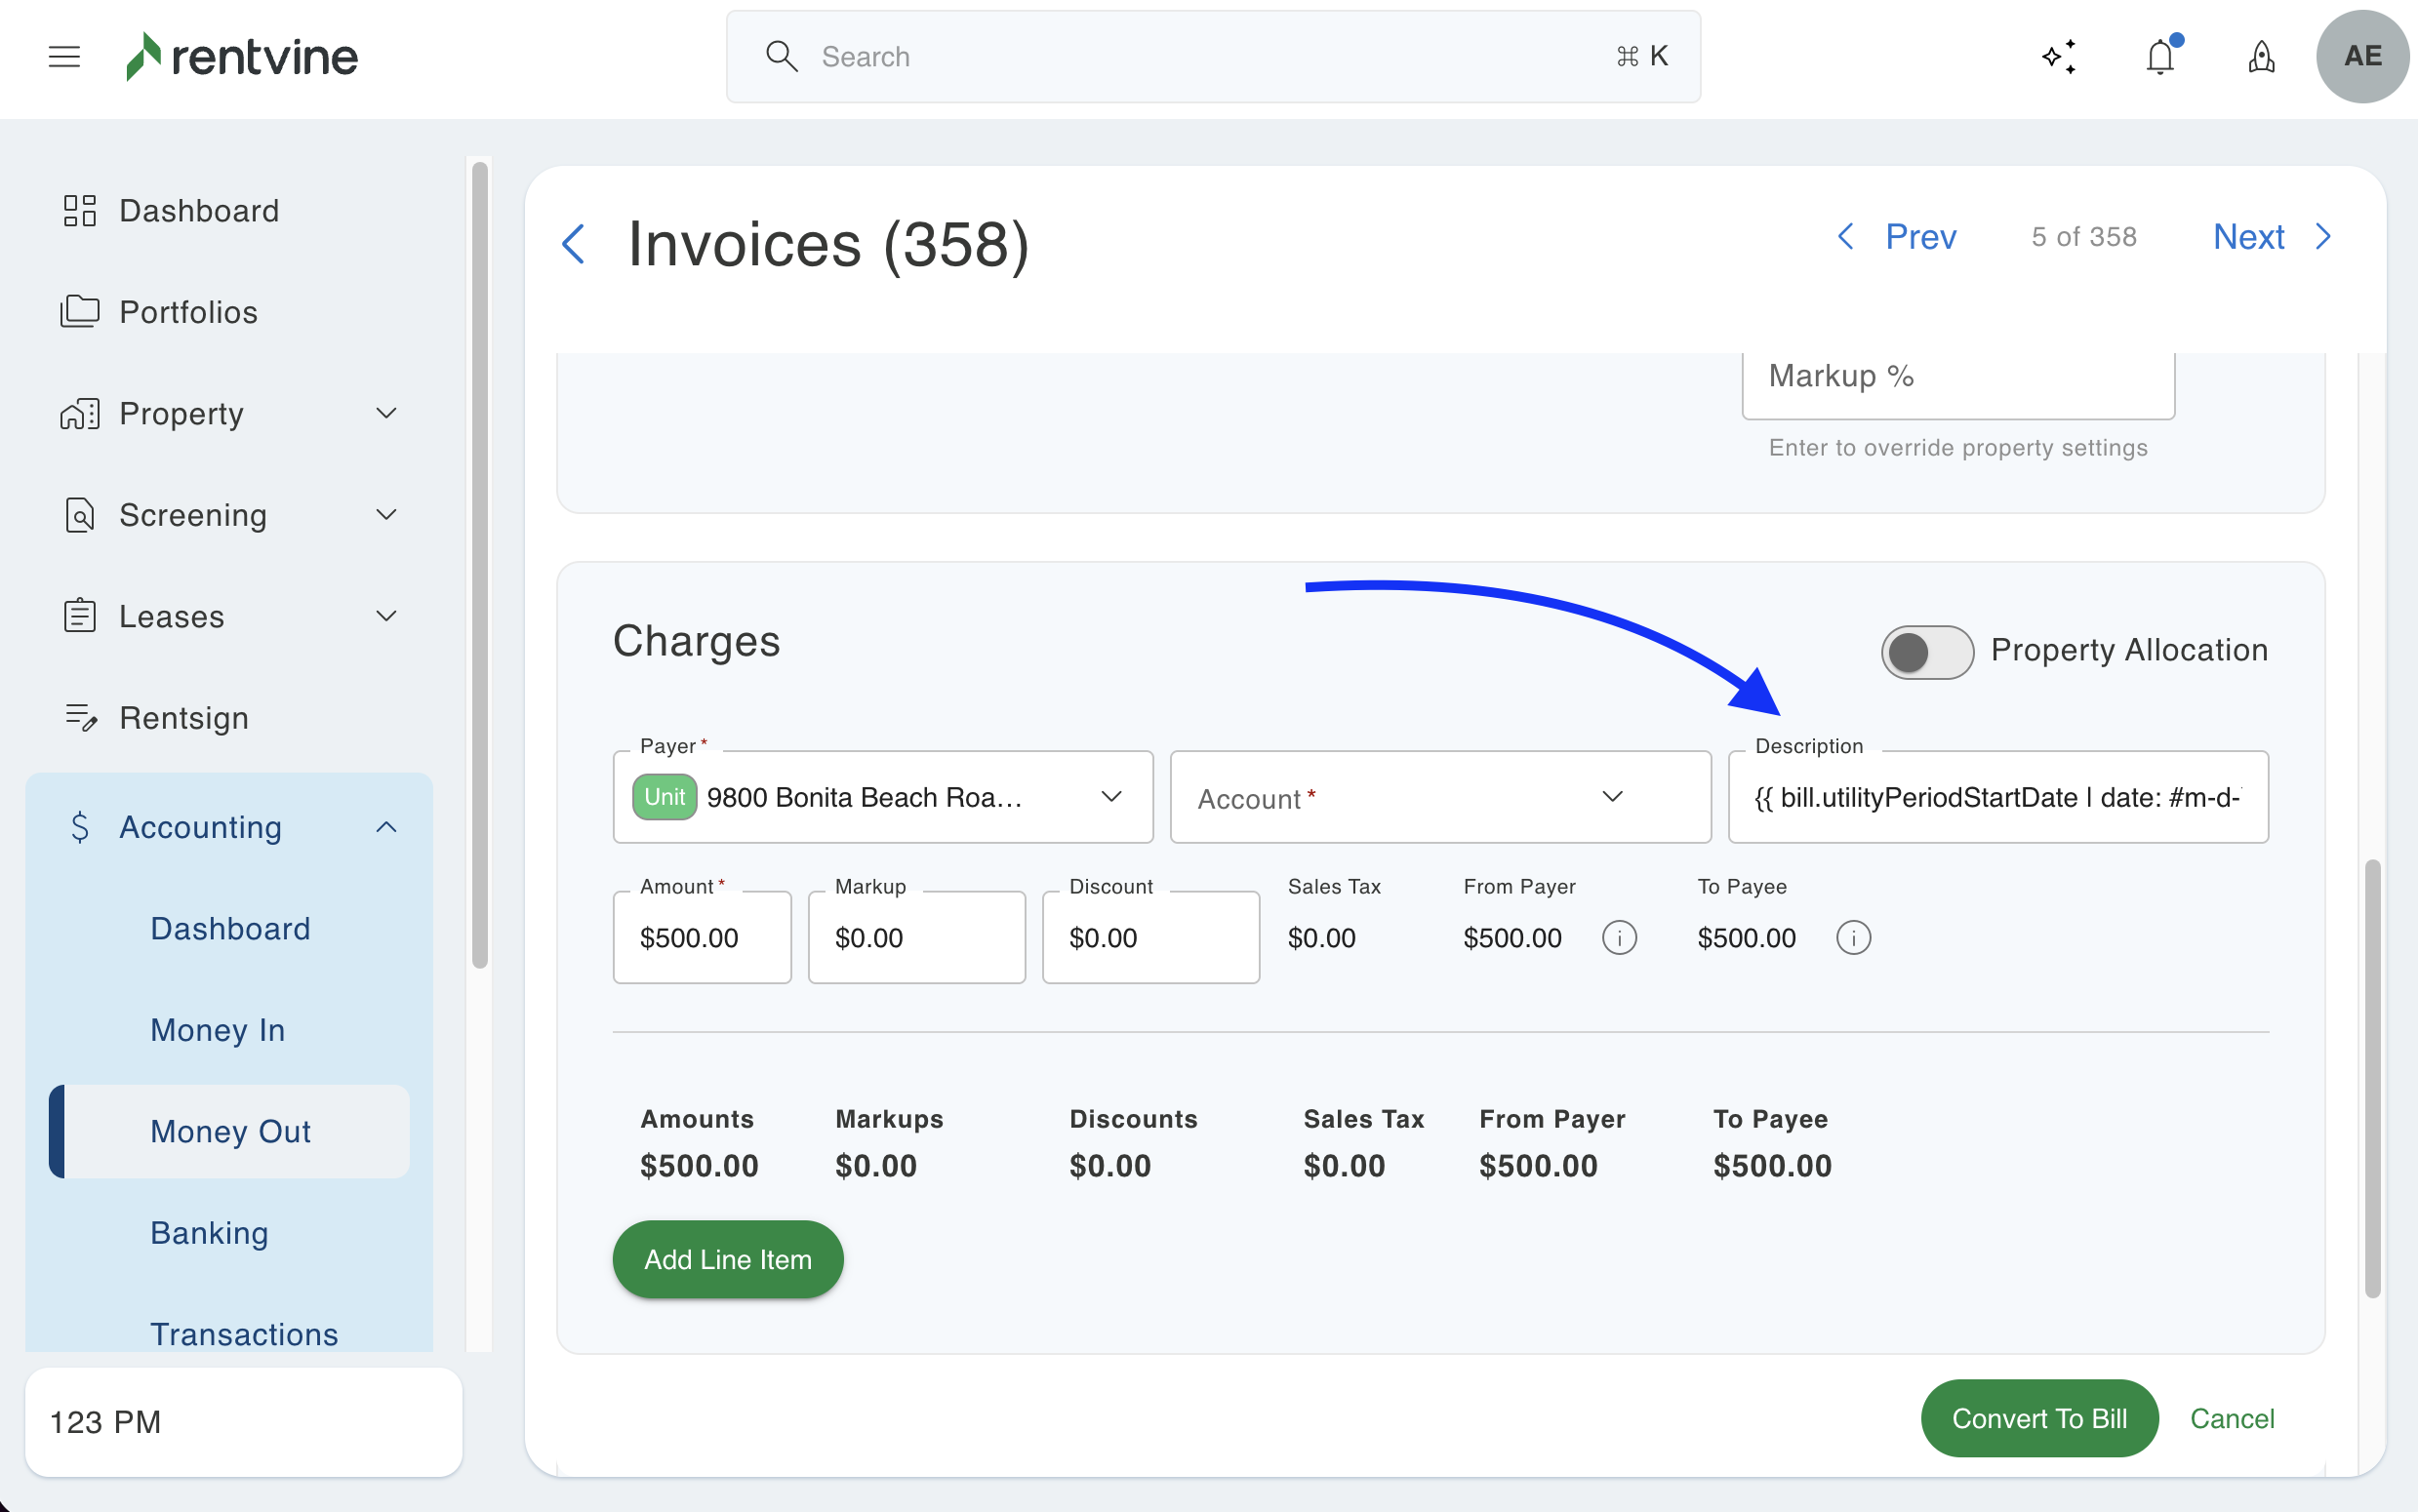
- After all of the necessary information is reviewed, you can click convert to bill at the bottom of this page.
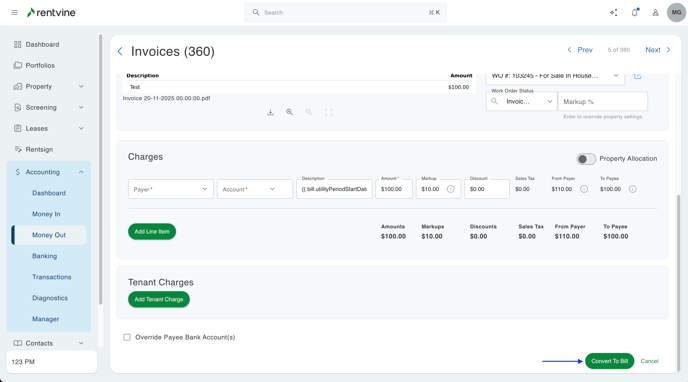
- Viewing the bill, you will see that all of the filled fields were pulled into the processed invoice properly.
