- The first step is to go to the accounting tab and click on banking. From here, you will be able to select one of your bank accounts.

- From the details page, scroll down until you see the box labeled "Bank Account Information". In the top right of this box, you will need to click the edit button.

- This will pull out a sidebar where you can scroll down until you find the field "Check Signatory". You can enter the signature here, and this is what will be displayed on the check. Make sure to click save to save this change.

- To make sure this displays on your checks, you will need to make sure it is added to your check template. You can find this under your check template settings in your global settings.

- In here, you will see the field "Check Signature". This will pull from the signature that was added under the bank account. You can click on this and drag and drop it to the desired location.

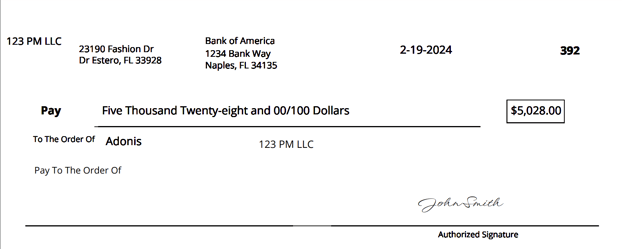
Here is an example of how this will display on a printed check
This will also change the check signature for remote checks sent from the system if you have not already set up your remote check processing. If you have already been set up for remote check processing and would like to have a new signature set, you will need to reach out to support@rentvine.com. We will be able to resend the verification, and it will then pull the new check signature.