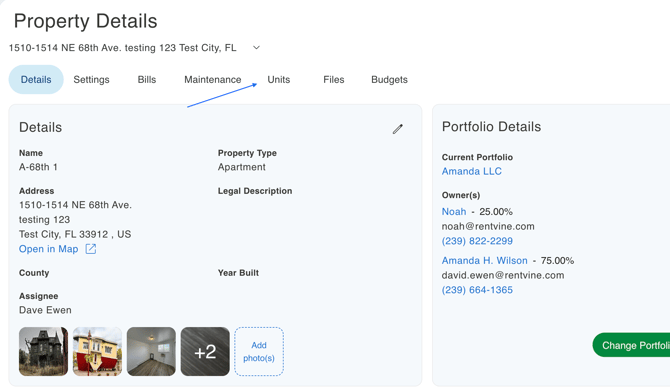
- Make sure that the property is considered a multi-unit property. You can check this by heading to the property details and looking for the property type.
- If the property is set up as a multi-unit property, you should see a “Unit” tab located at the top of the property page, just above the Details section.
- If you do not see the “Unit” tab, it likely means the Multi-Unit toggle was not enabled when the property was originally created. In this case, the property is currently configured as a single-unit property.
Proper Creation of Multi-Unit Property
Improper Creation of Multi-Unit Property
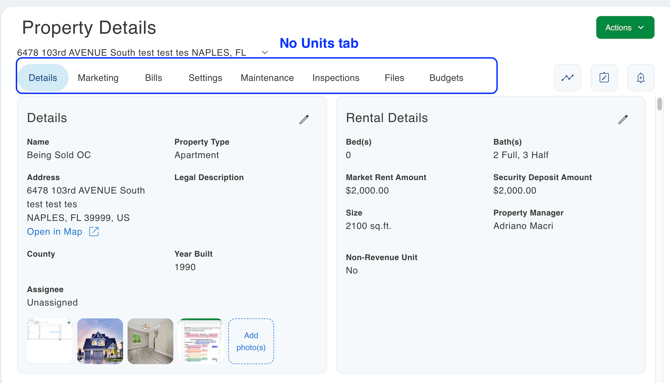
If you do not see the "unit" tab at the top, please refer to the article attached.
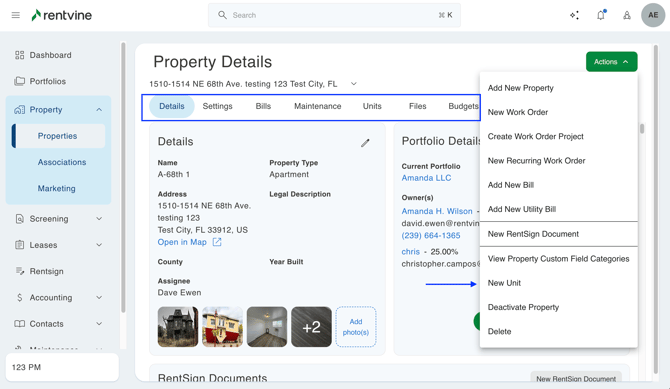
2. If the property was created properly and it is considered a multi-unit, then you will want to select the green actions button, and then "new unit."
Fields to Fill Out
- Name
- Address
- Address 2
- City
- State
- Postal Code
- Country
- Market Rent Amount
- Security Deposit Amount
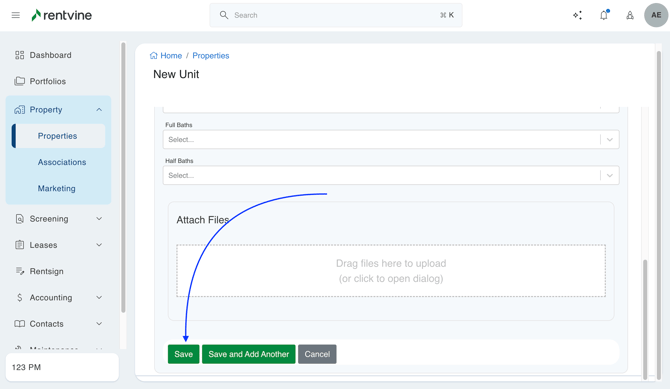
- Size
- Beds
- Full Baths
- Half Baths
You will also have the option to attach any Files to the unit.
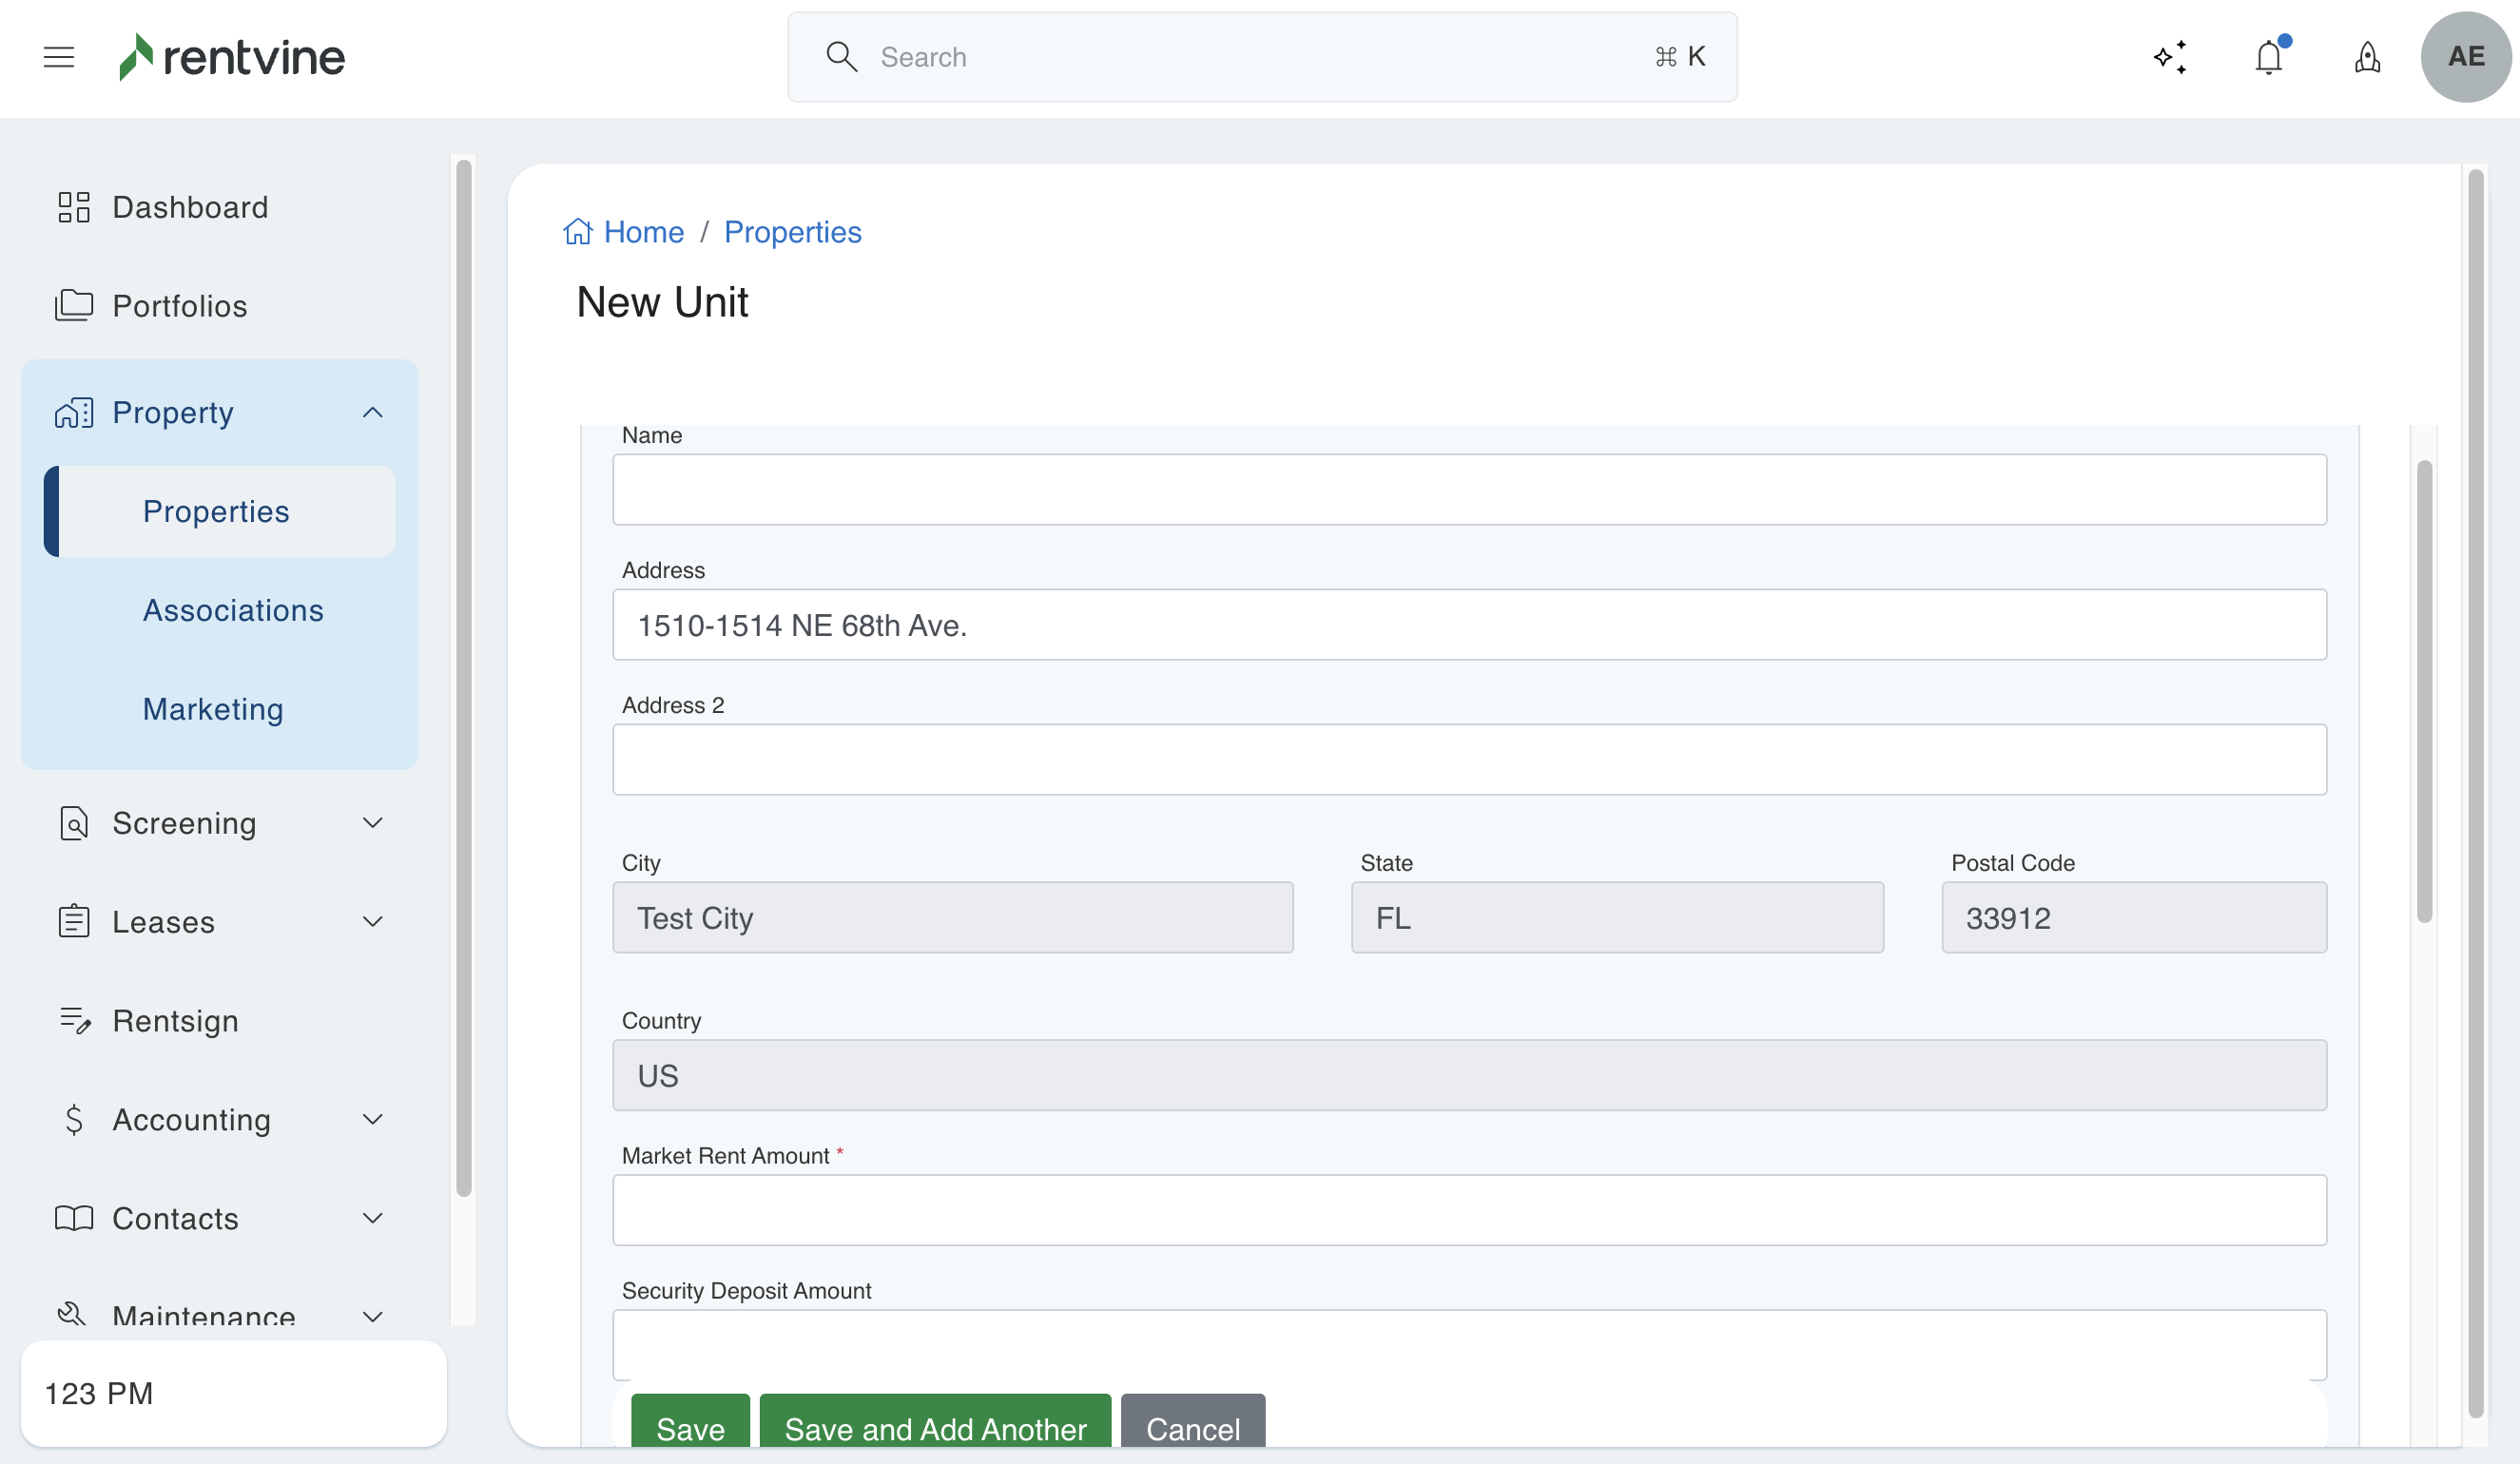
It is important to specify what unit it is, either in the main Address line or the address 2 line.
Once you have filled out all fields, you will click save and that will bring you to the unit details page.
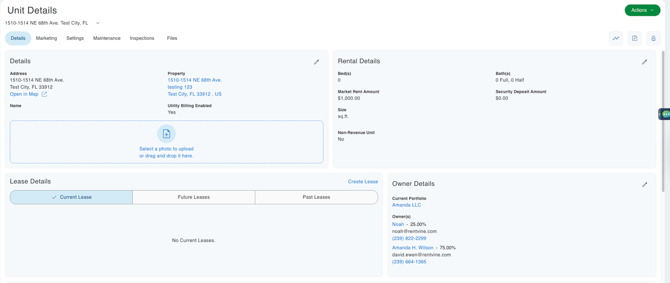
Viewing a Newly Created Unit
To view a newly created unit under a property:
-
Navigate to the Property section.
-
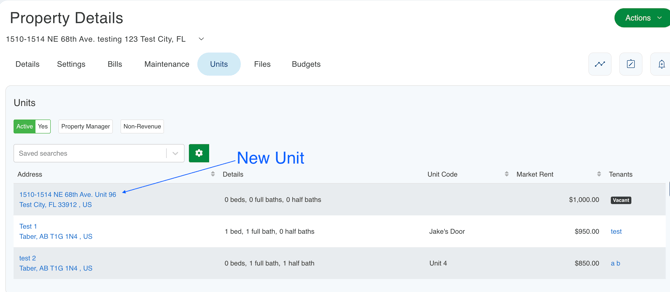
At the top of the property page, select the “Unit” tab to view all associated units.
If you do not see a "Unit" tab, the property may not have been created as a multi-unit property. In that case, you will need to recreate the property with the Multi-Unit option enabled.